How to Add a Notice Period Policy?
To create a new notice period policy, follow these steps:
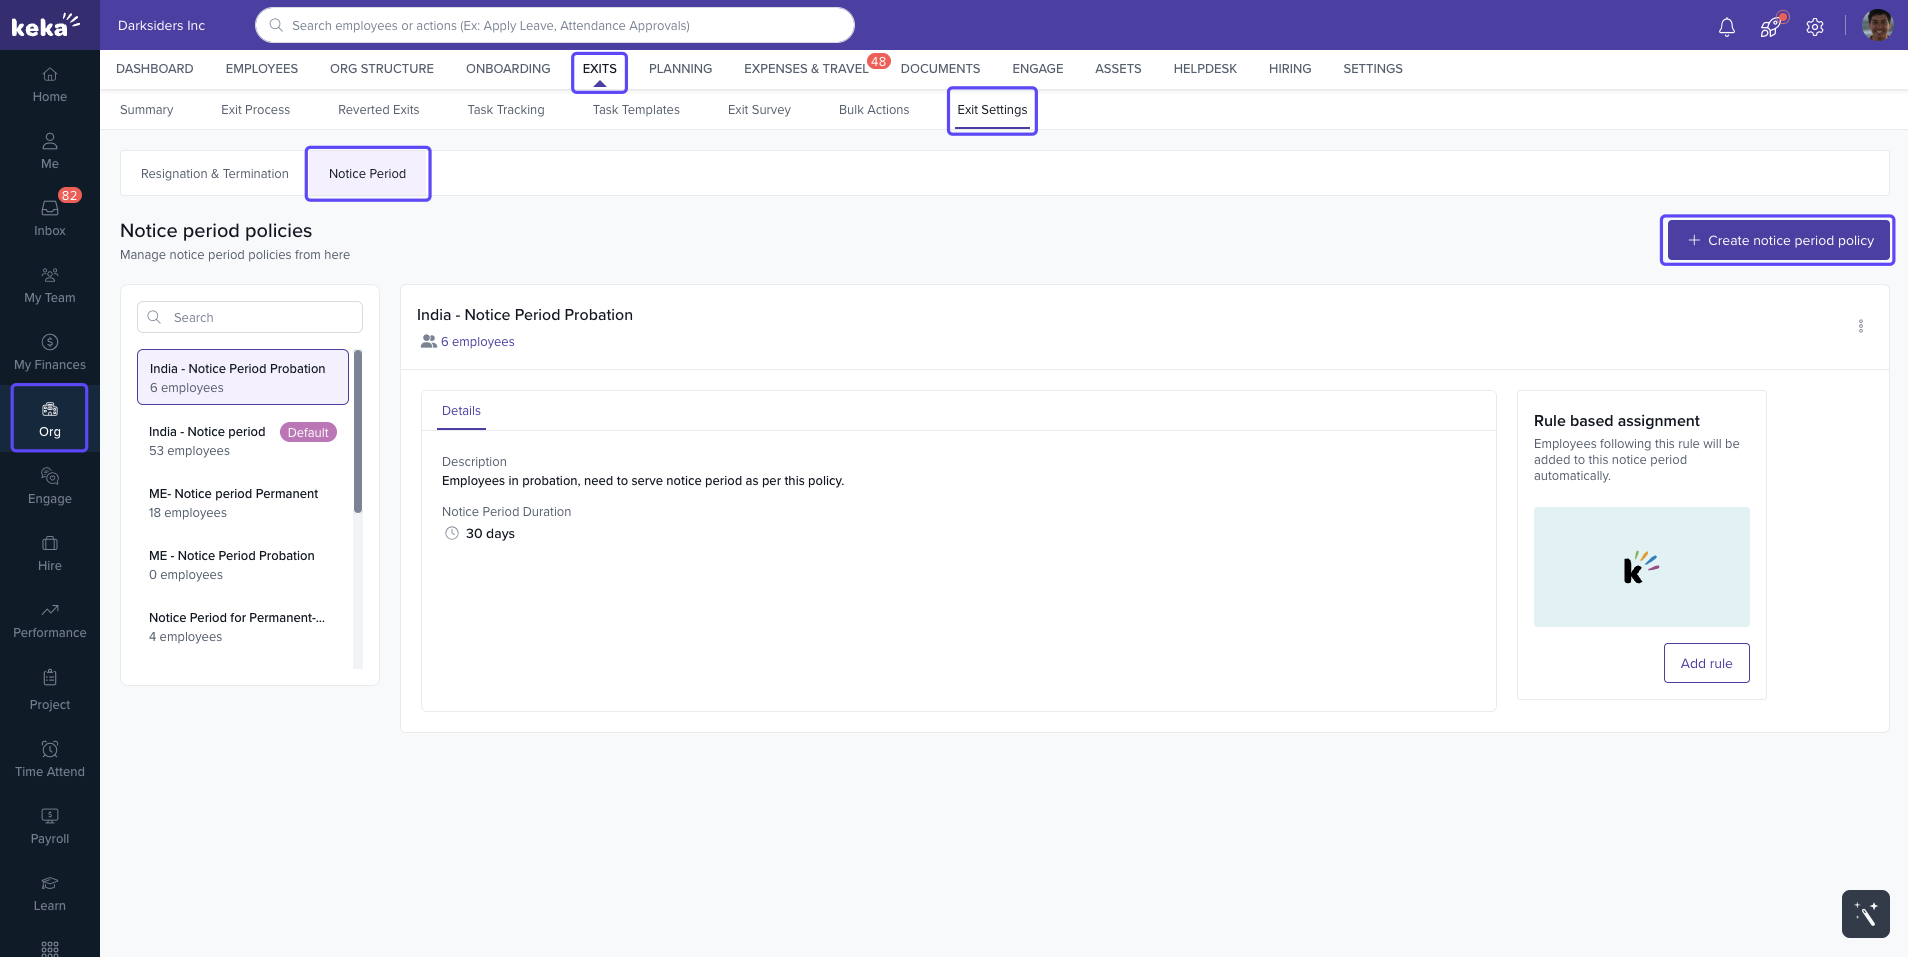
Go to Org from the left navigation menu.
Under the Exits tab, click on Exit Settings.
Select Notice Periods to access the Notice Period tab.
-
Click on + Create Notice Period to start a new policy.
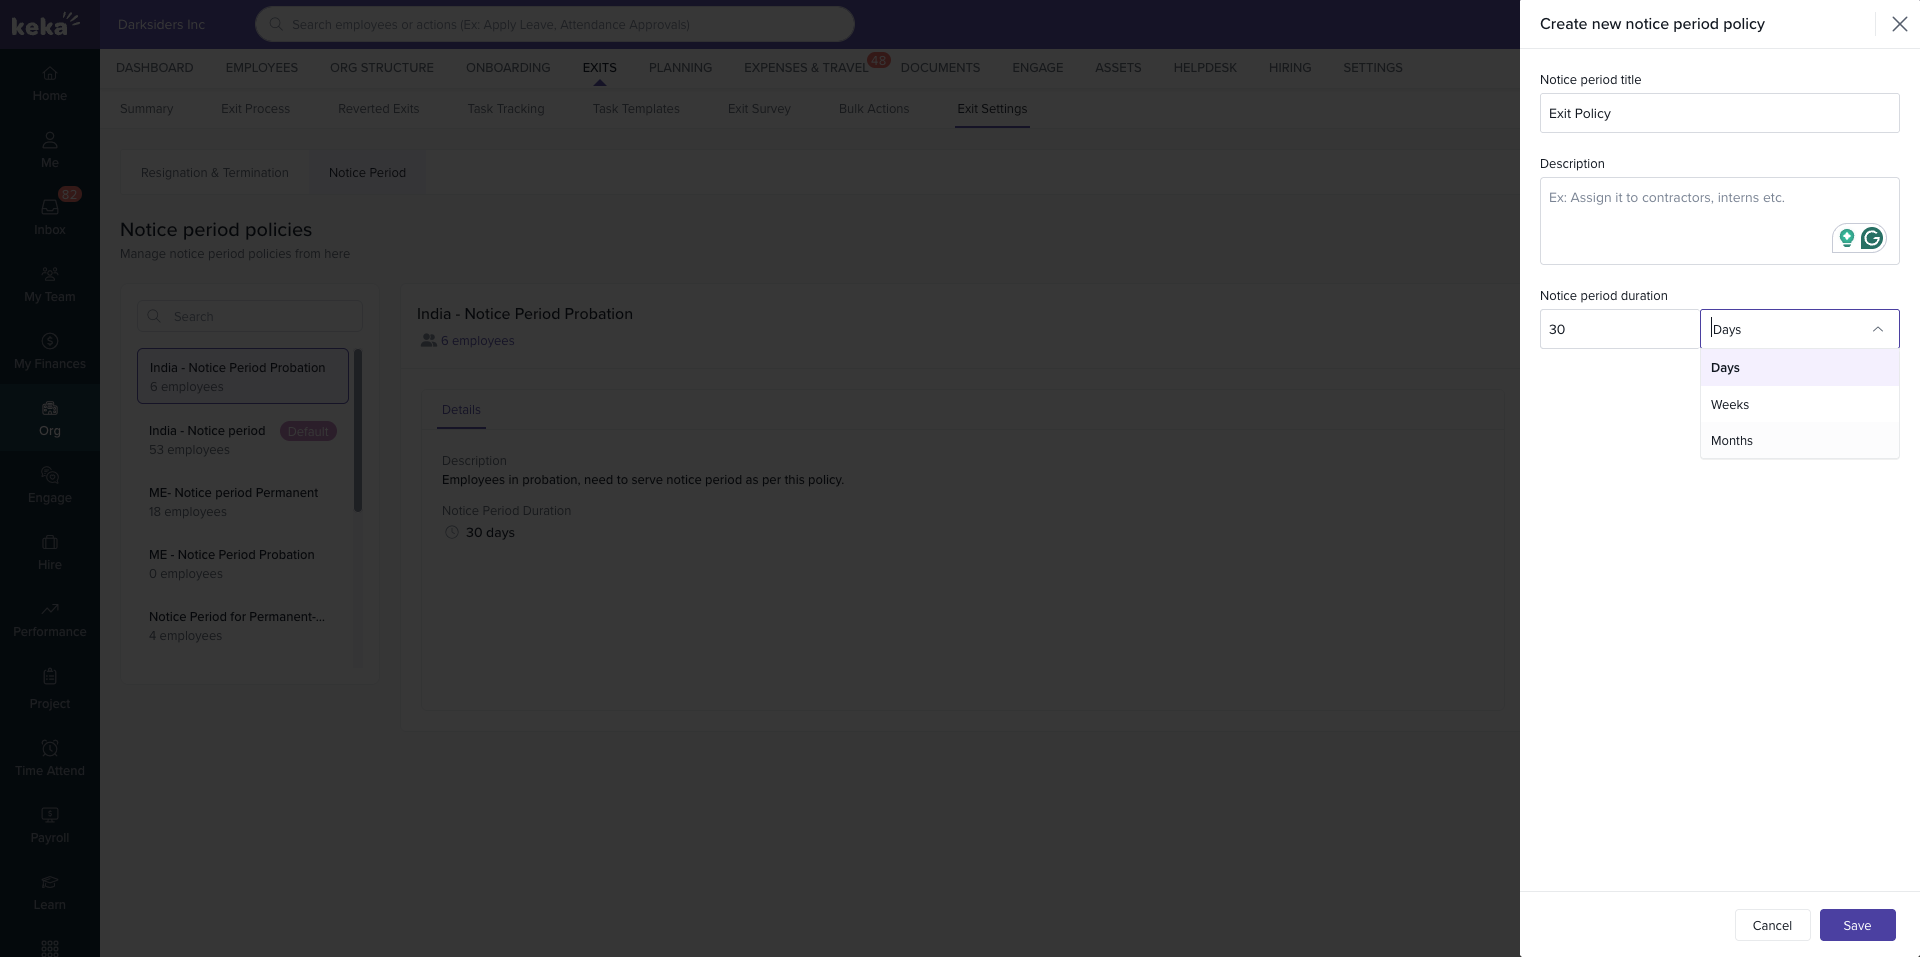
In the Add Notice Period dialog box, enter the following details:
Name of the policy: Provide a clear name for the policy.
Description: Add a short description for the policy.
Notice Period: Define the duration of the notice period.
Duration to be considered: Specify when the notice period starts.
Once you’ve filled in the necessary details, click Save to create your new policy. The policy will then appear in the Notice Period tab.
2. Assigning Notice Period Policy to Employees
You can assign a notice period policy to employees in two ways:
Assigning Notice Period Individually
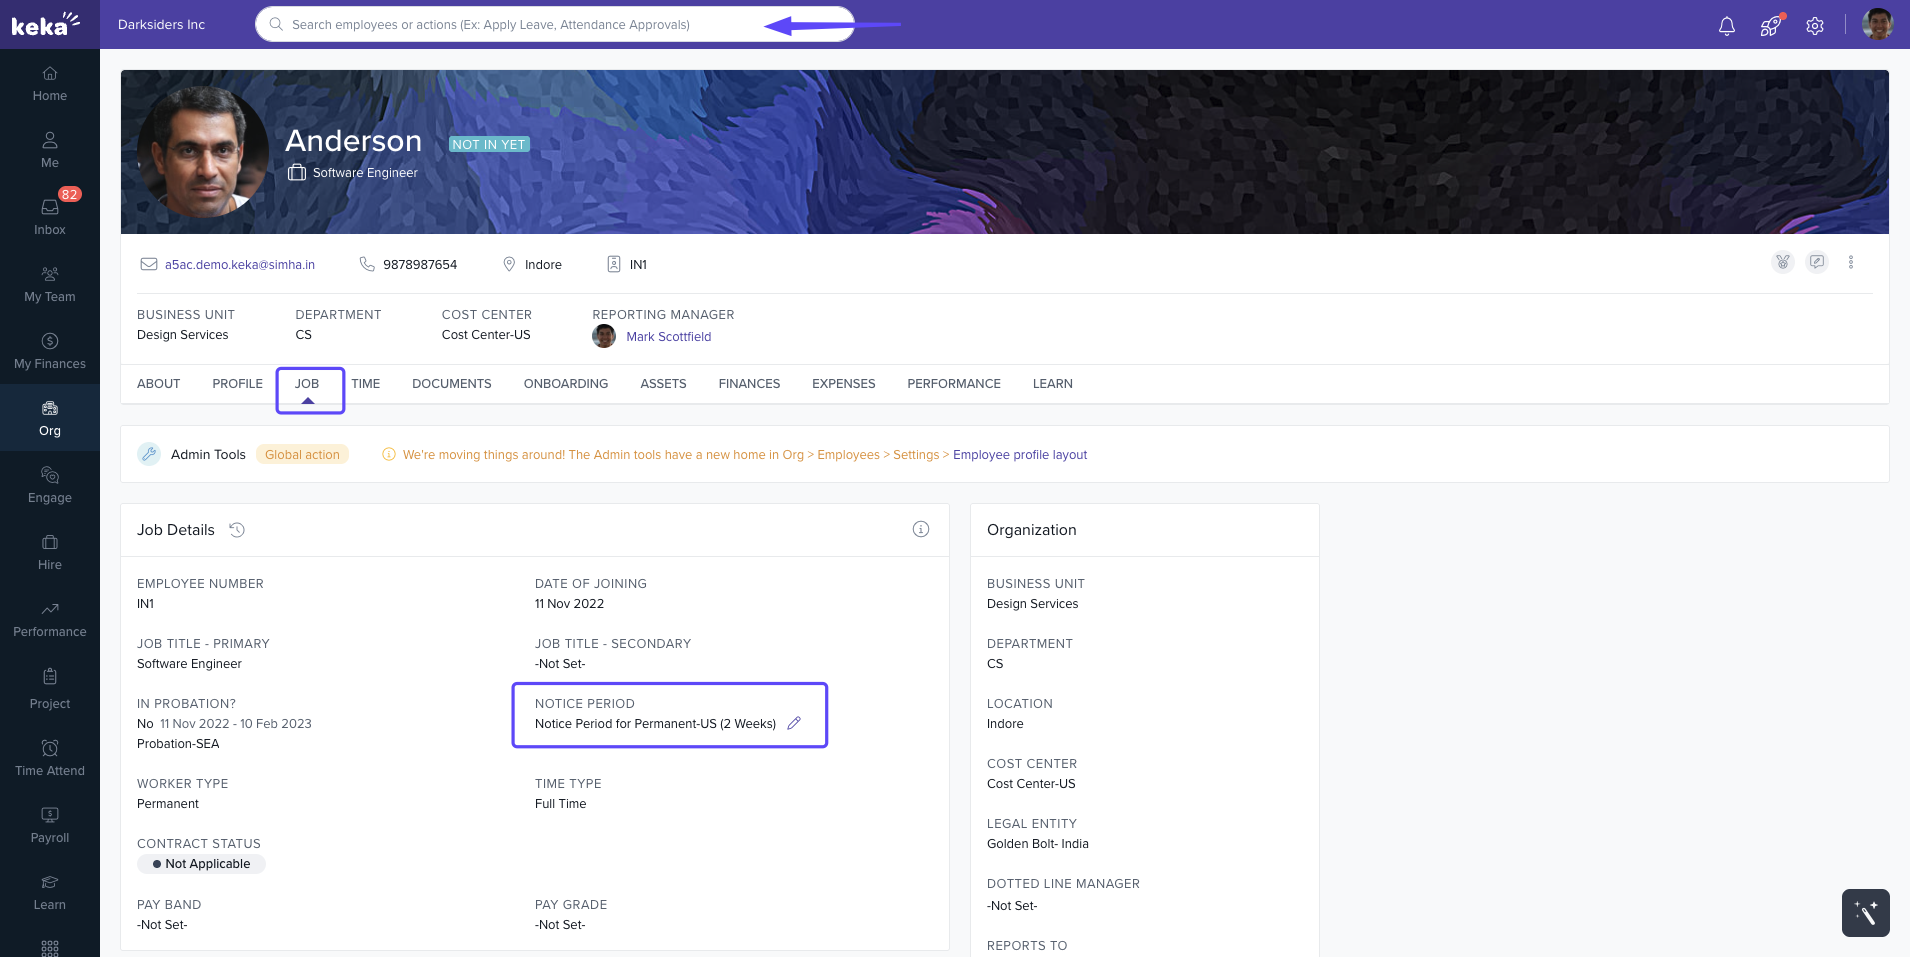
Use the Global Search Bar to search for the employee you want to assign a notice period to.
In the Employee Profile, go to the Job tab, where you’ll find the Notice Period Policy section.
-
Click the pencil icon next to the Notice Period Policy field to edit or assign a new policy.
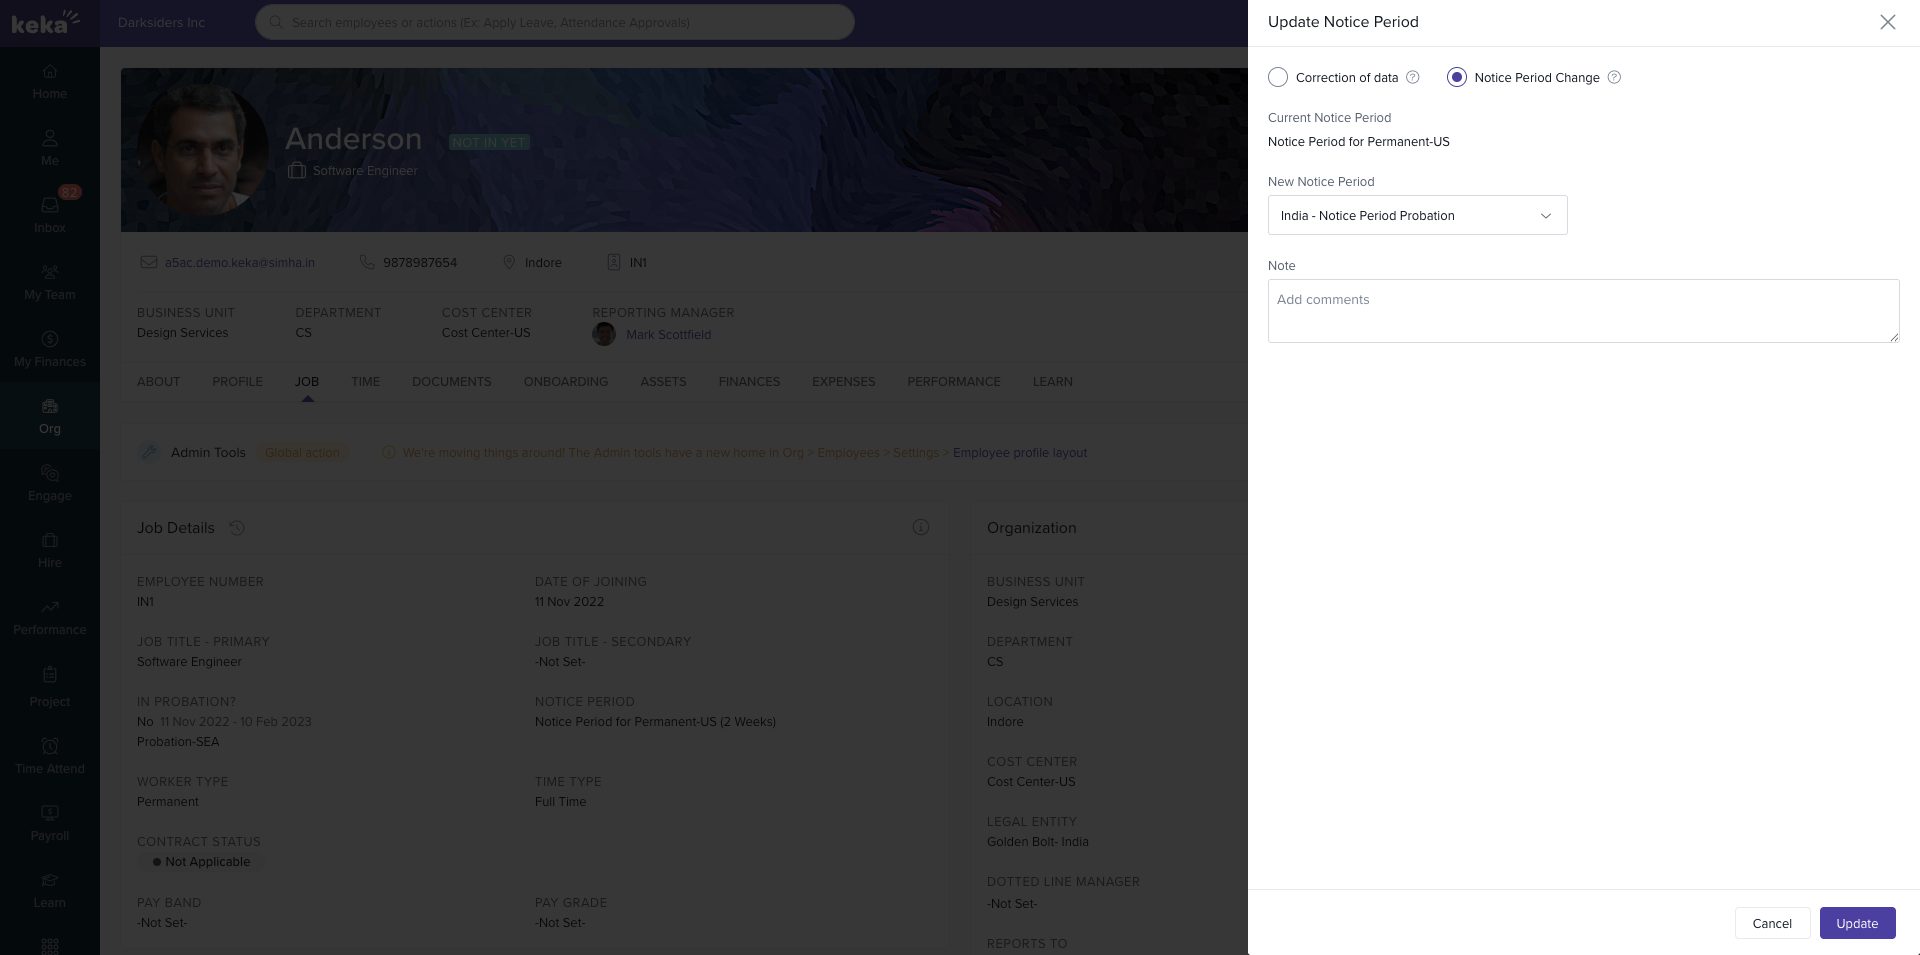
In the Update Notice Period window, select New Notice Period Policy from the dropdown list.
-
Choose the relevant notice period policy for the employee and click Update to save the changes.
Assigning Notice Period Policy in Bulk
-
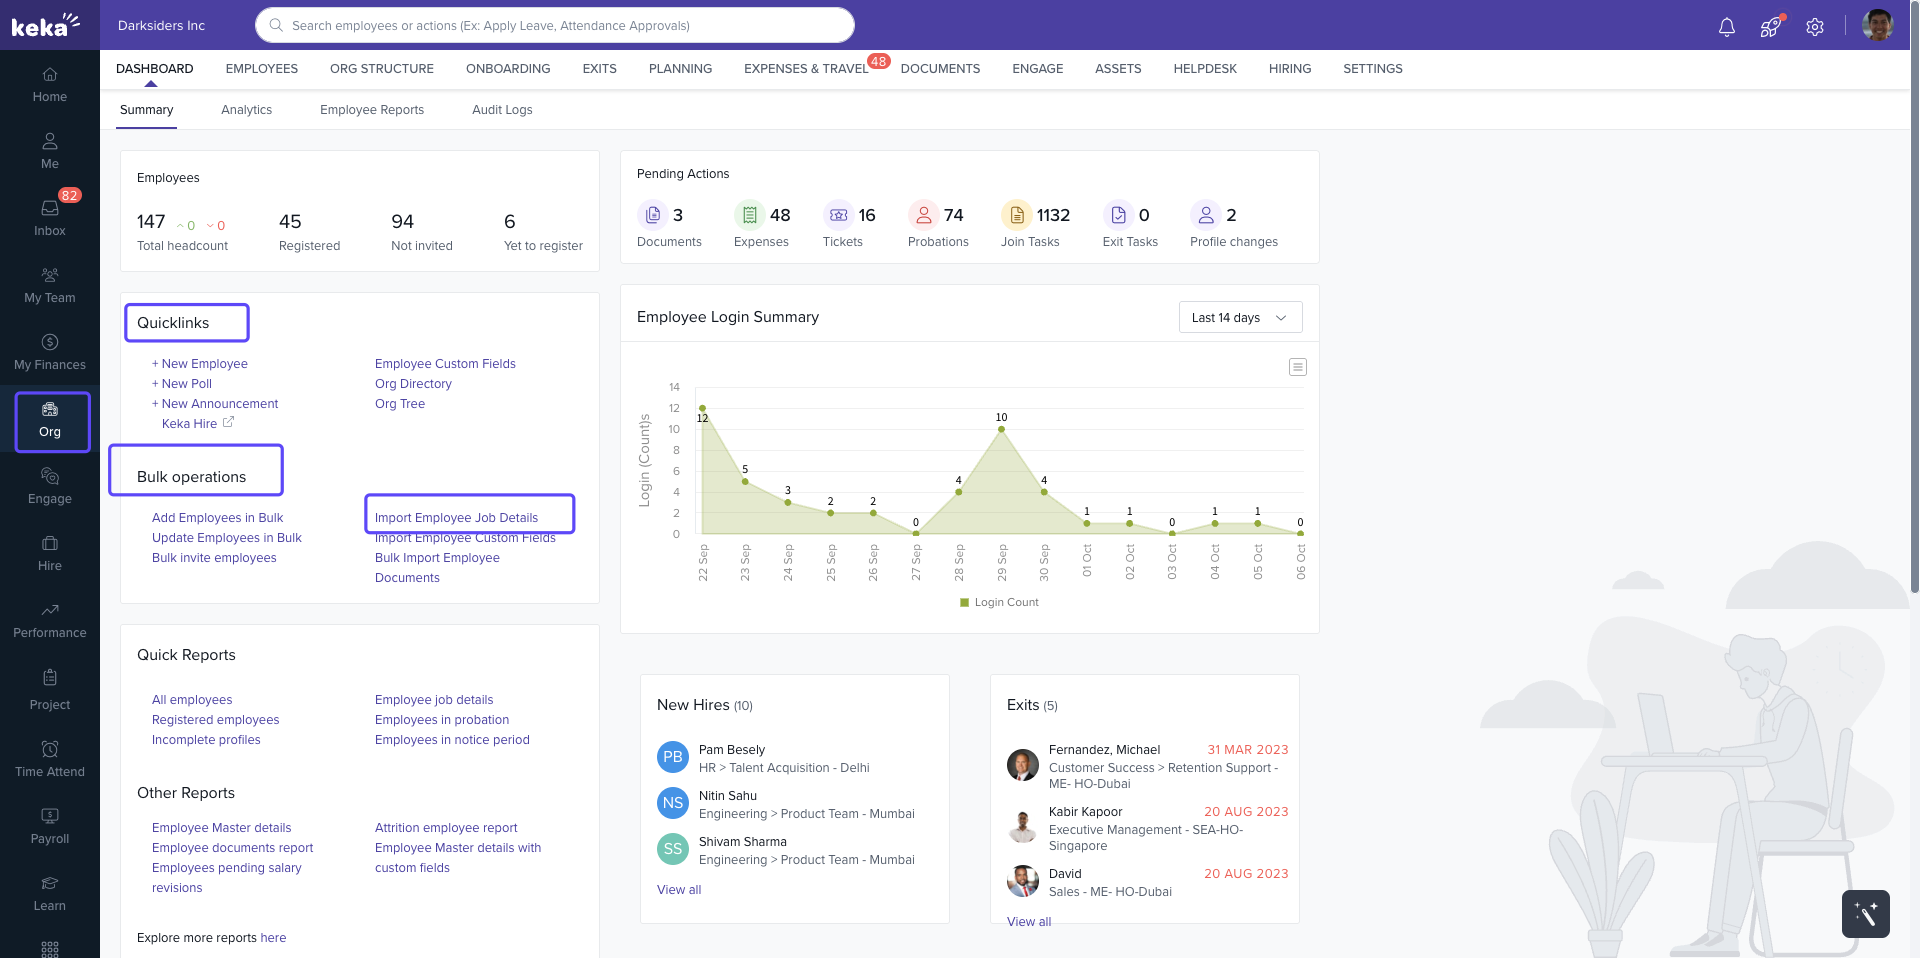
From the Org menu, navigate to Bulk Operations and click on Bulk Import Job Details.
-
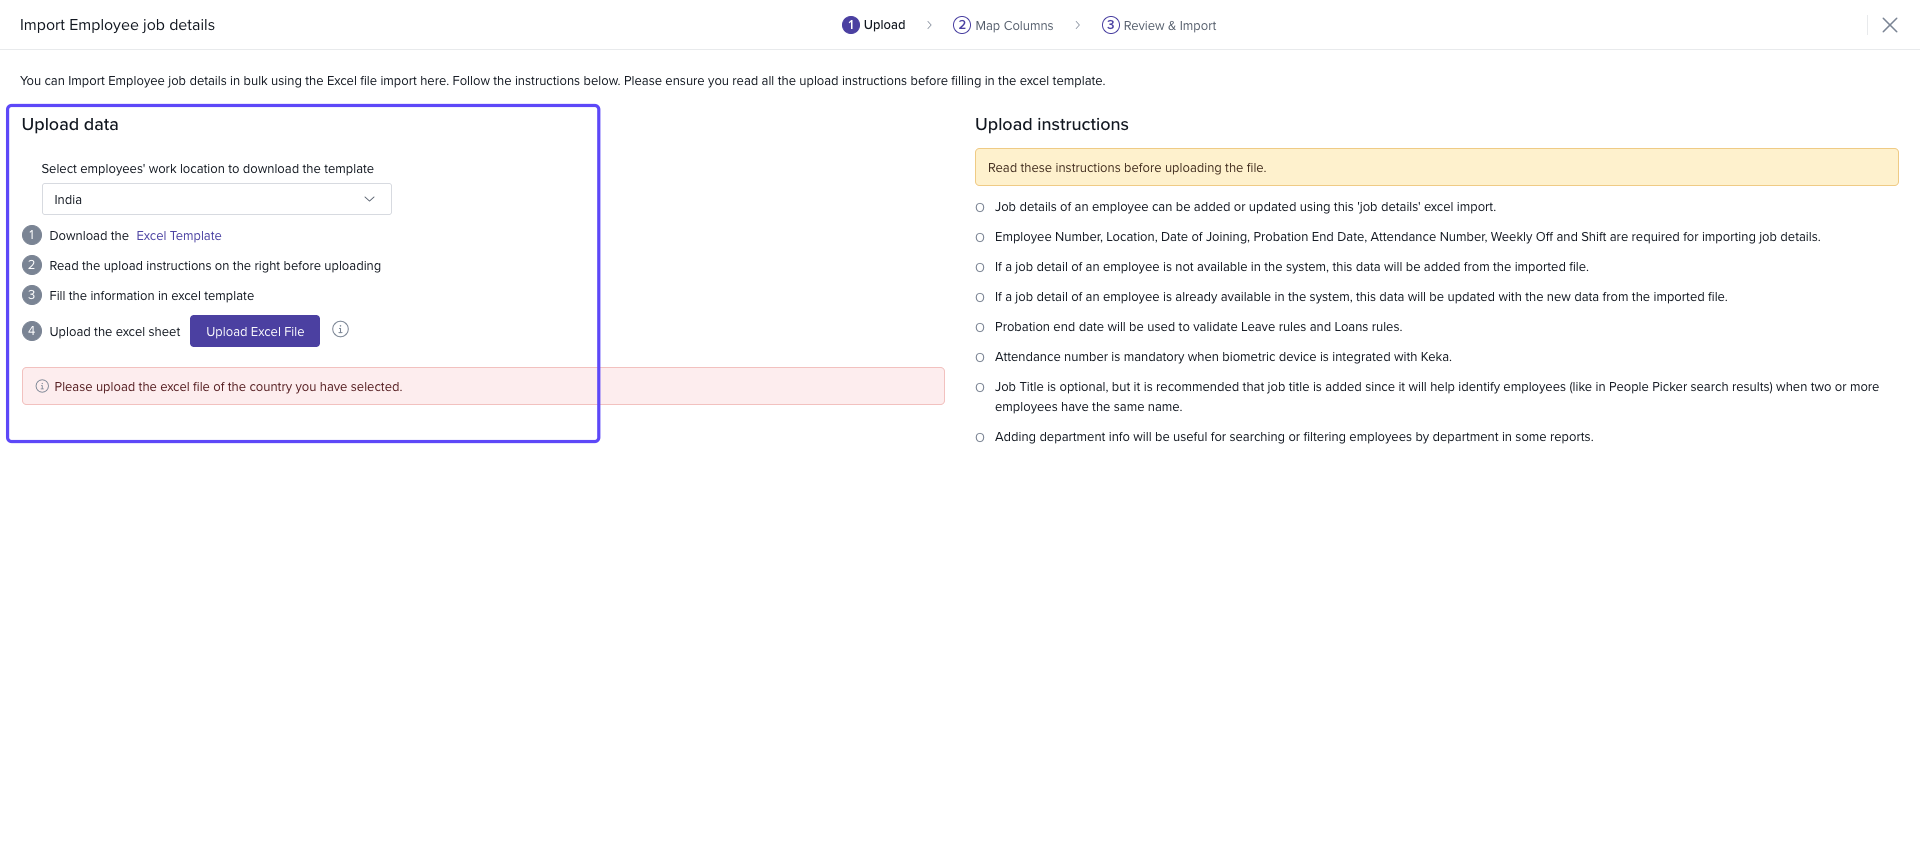
On the Import Employee Job Details screen, click on Download Excel Template.
-
Choose between All Employees: Include all employees in the downloaded Excel file. orOnly group of employees: Include only group of employees based on selected filters.

-
Update the Notice Period information in the Excel sheet.

Upload the edited Excel file by selecting Upload Excel File.
Review and match columns, then click on Complete once everything is correct. The policy will be updated for the employees in bulk.
How to Edit or Delete a Notice Period Policy?
You can make changes or remove notice period policies as needed. Here’s how:
In the Notice Period tab, select the policy you want to modify.
-
Click the three dots next to the policy and choose one of the following actions:
Set as Default: Set this policy as the default for new employees.
Edit: Modify the policy name, description, or duration. Click Update to save the changes.
Delete: Remove the policy. Note: You cannot delete a policy if there are employees currently assigned to it.

By following these steps, you can easily manage and customize notice period policies for your employees, ensuring smooth and efficient offboarding processes.
Comments
0 comments
Please sign in to leave a comment.