The Employee Documents tab in Keka is the central place for managing all employee document-related tasks. It categorizes documents based on their verification status, alerts you about upcoming expirations, and even allows you to create custom folders for better organization.
This article explains how to access the Employee Documents tab and make use of its different views for pending, submitted, and verified documents.
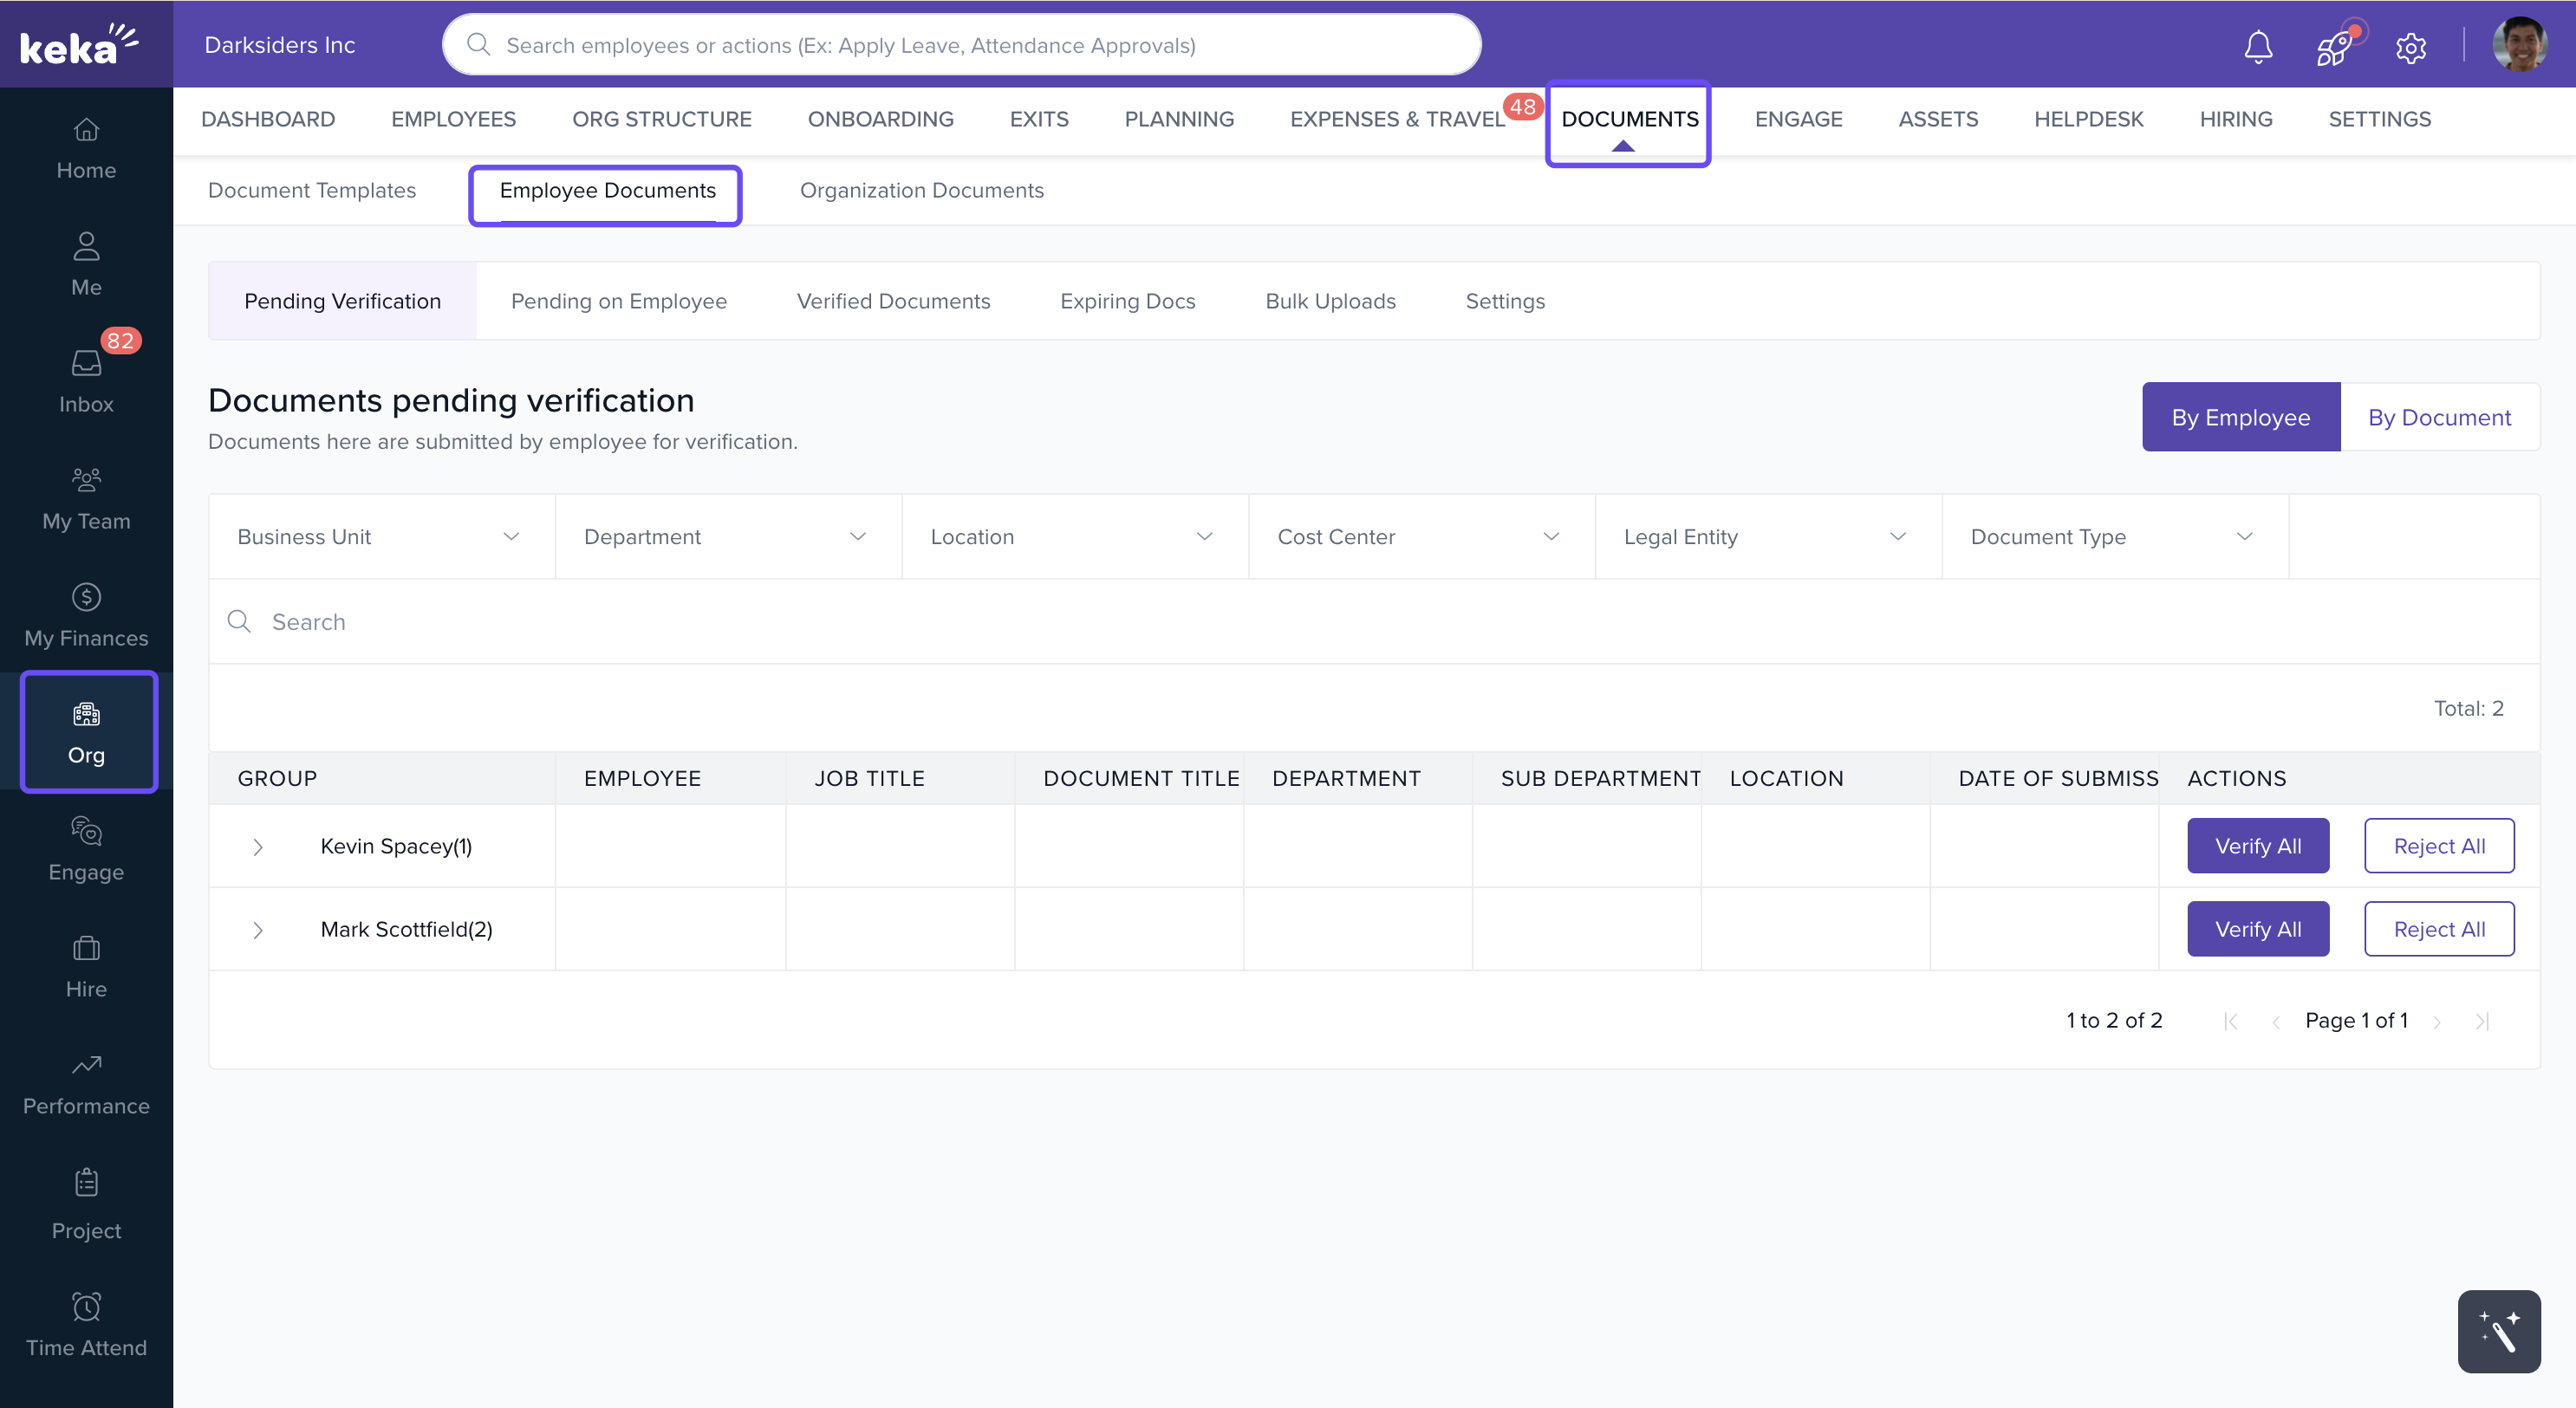
How to access the Employee Documents Tab?
Navigate to Org > Documents > Employee Documents.
Once inside, you’ll find multiple tabs that organize employee documents based on their current status.
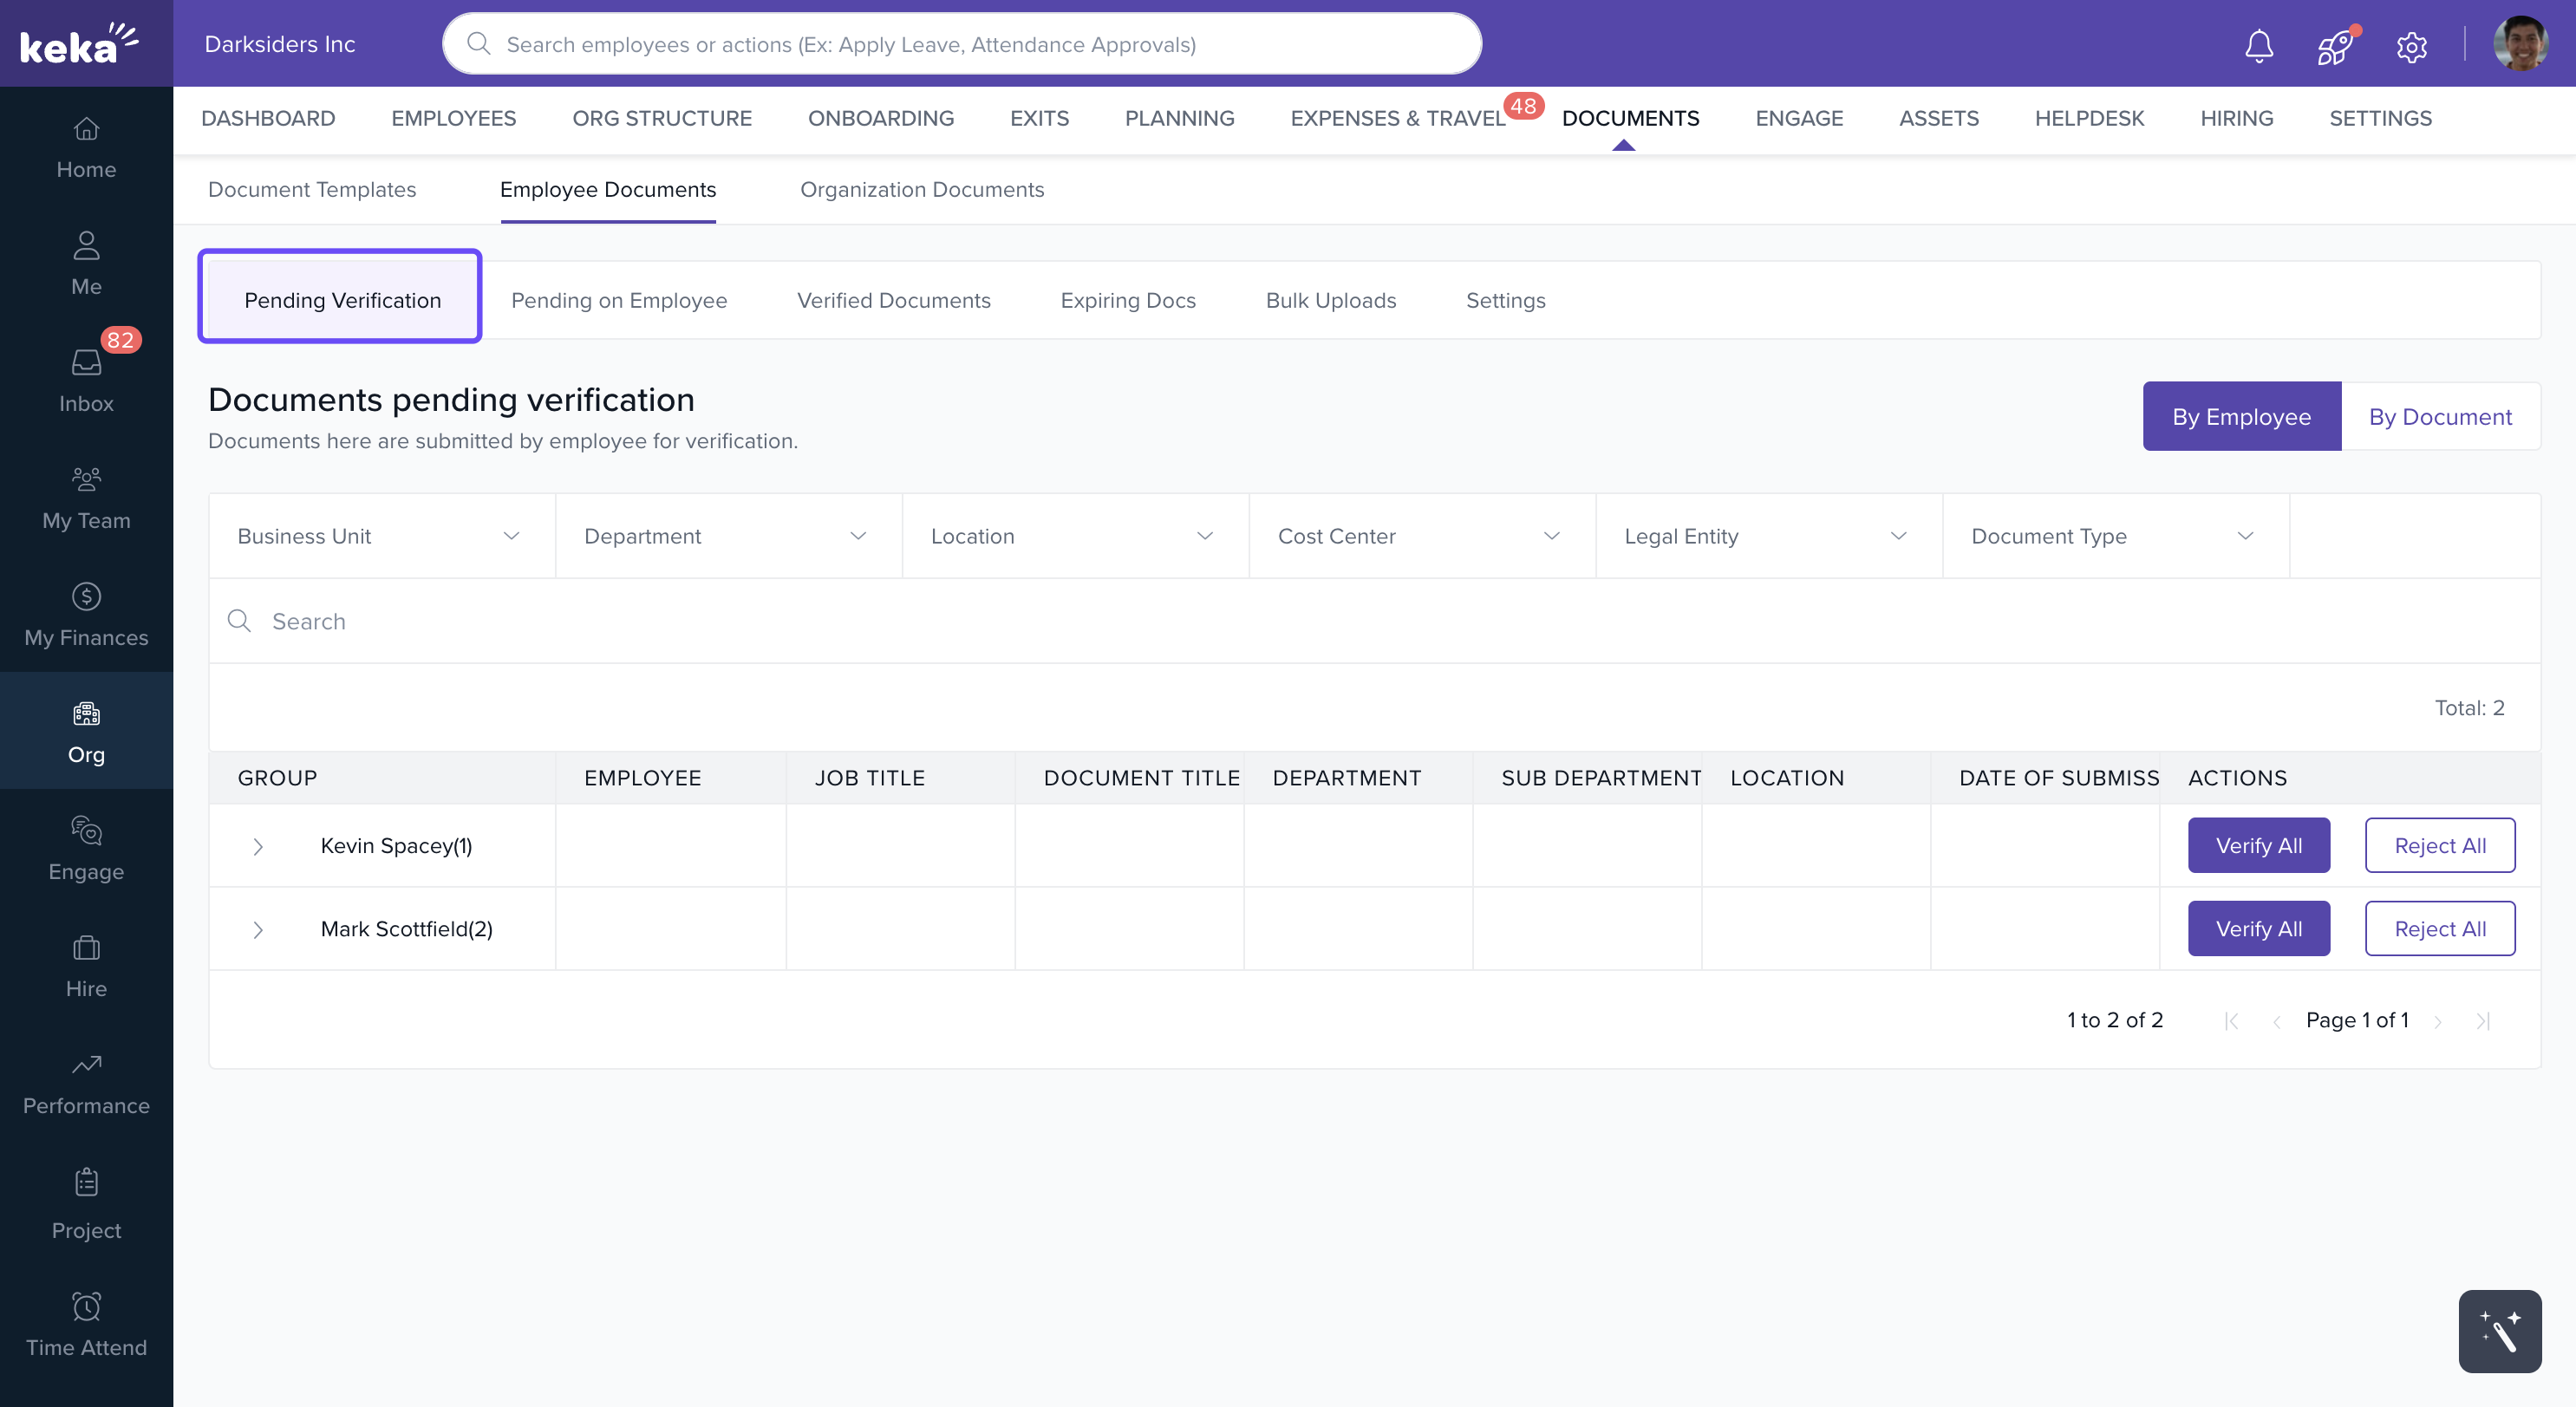
Pending Verification
When employees upload documents, they first move to the Pending Verification tab.
-
From here, administrators can:
Verify documents.
Reject documents if they don’t meet requirements.
Sort documents by Employee or by Document Type for quick analysis.
Note: Only documents uploaded directly by employees appear here. Documents uploaded by admins on behalf of employees are automatically marked as verified.
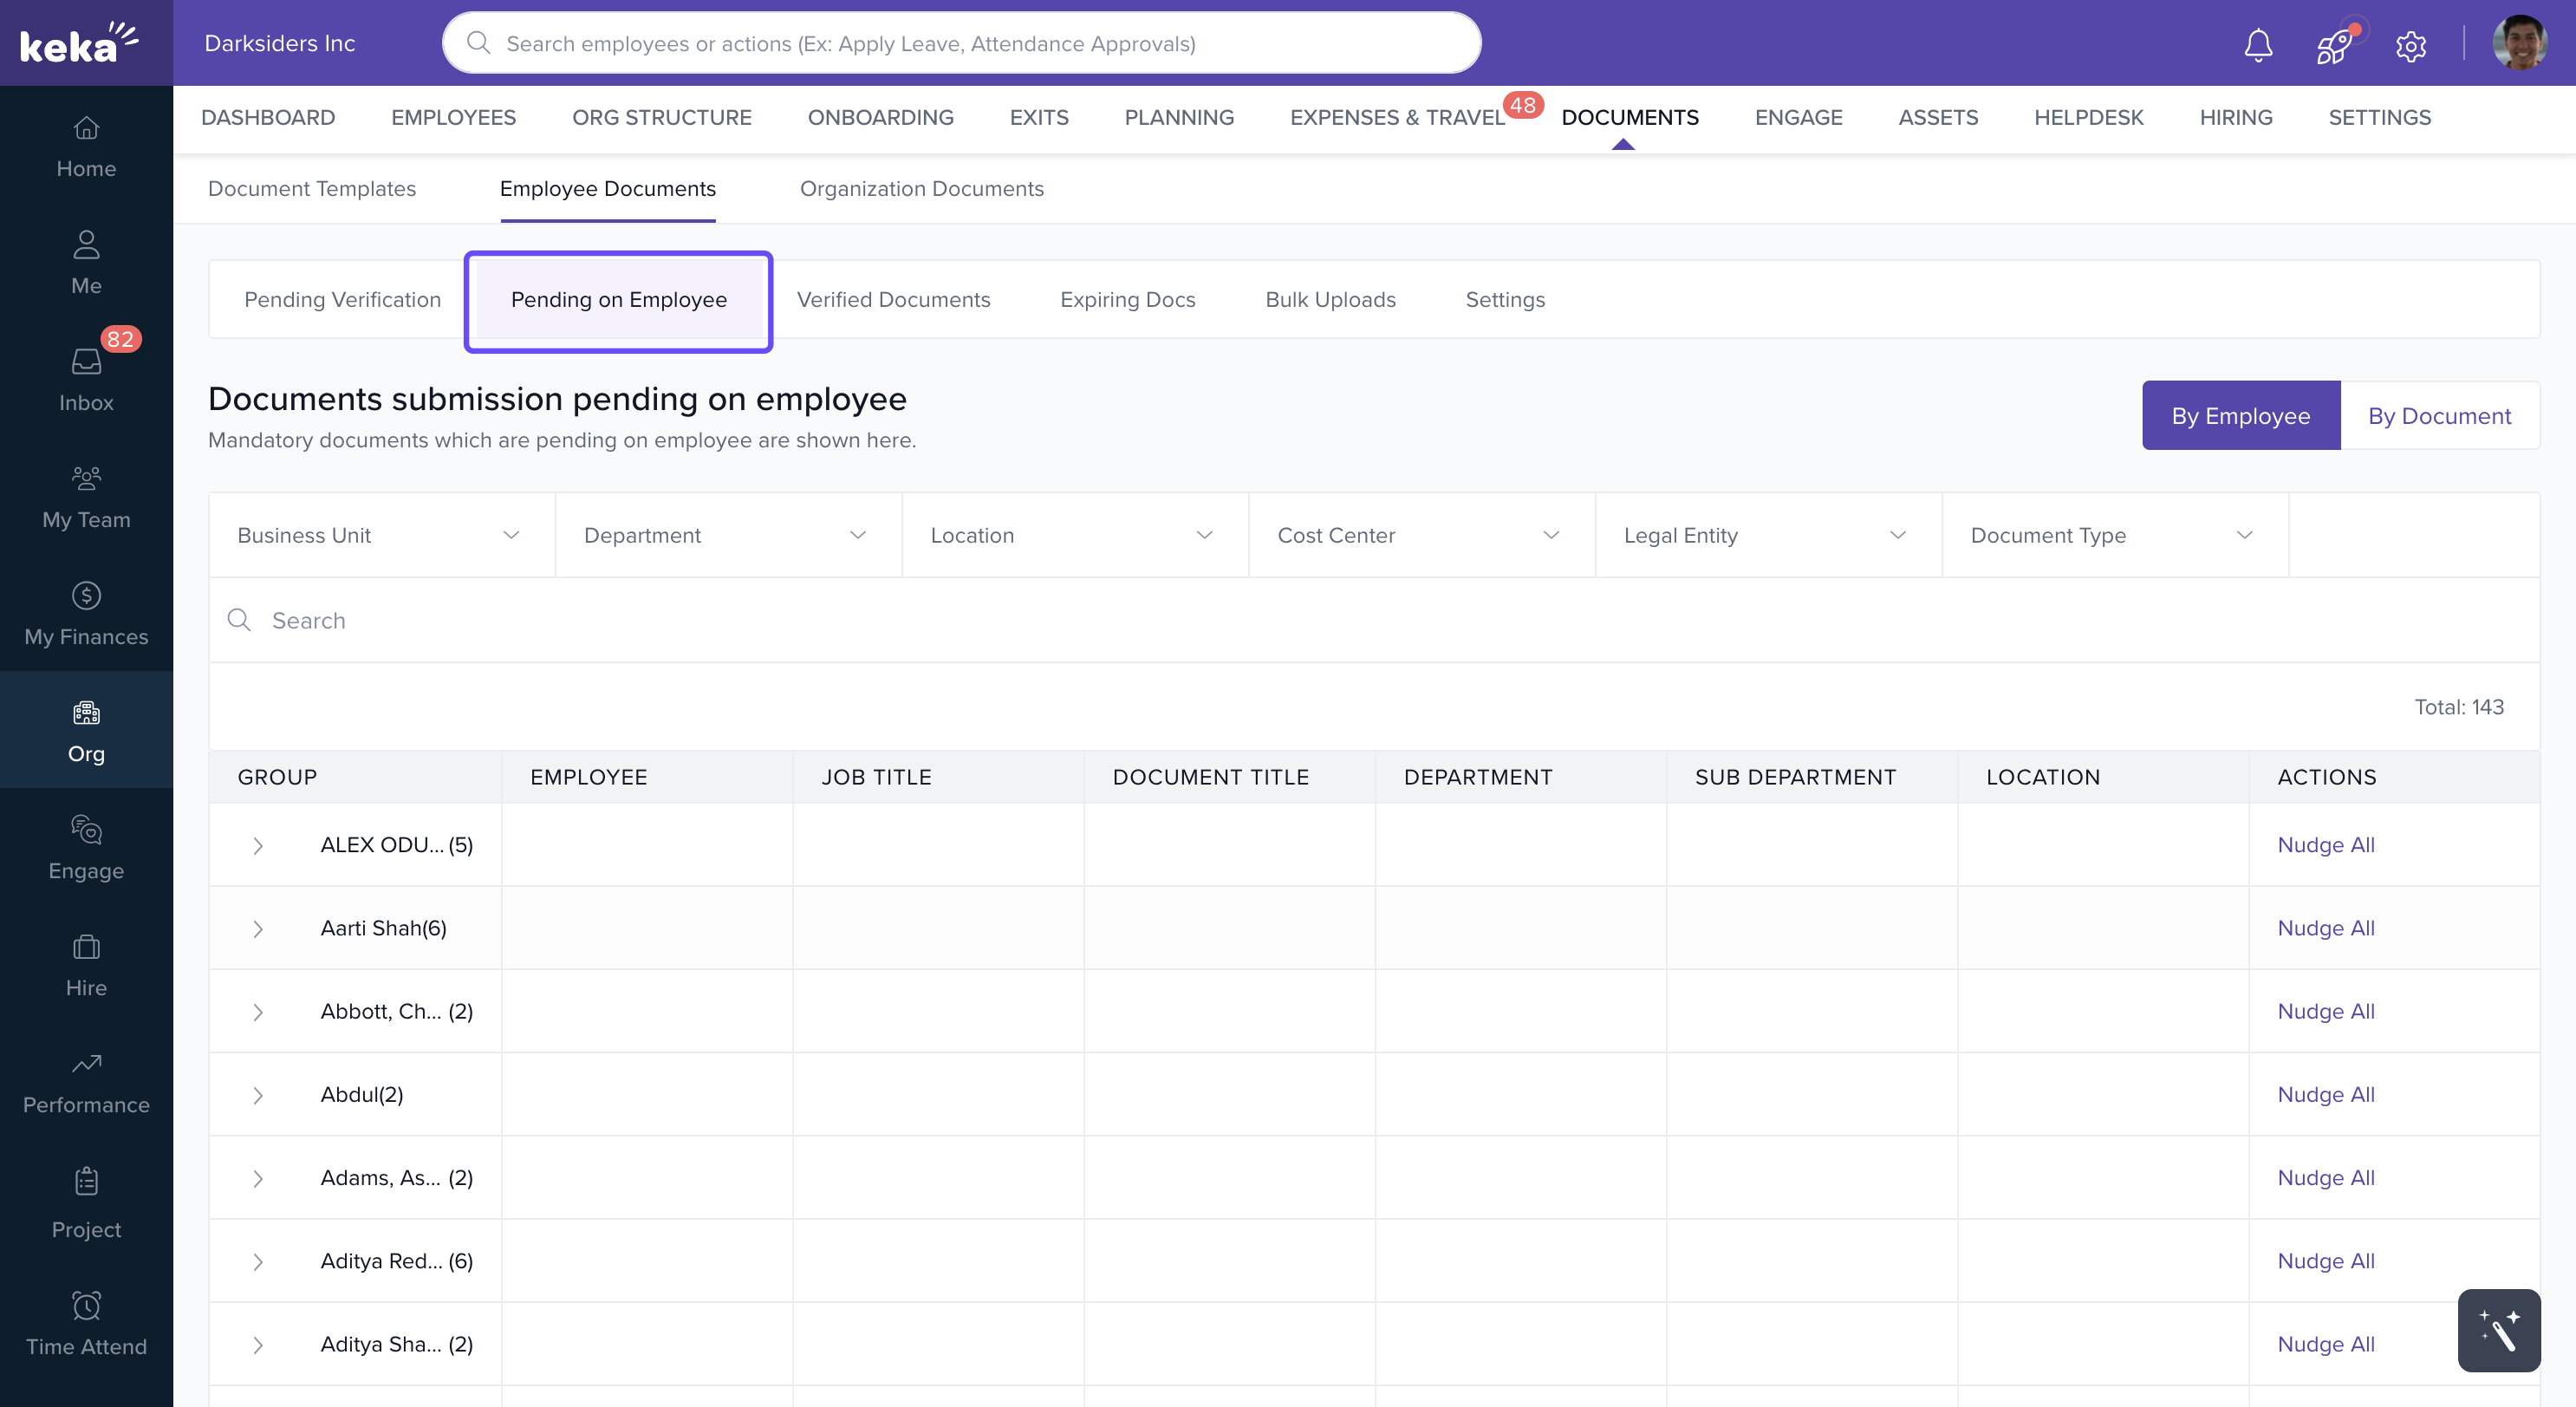
Pending on Employee
This tab lists mandatory documents that employees are yet to submit.
Admins can send reminders by clicking Nudge All.
Sorting options allow you to view pending items by Employee Name or by Document Type.
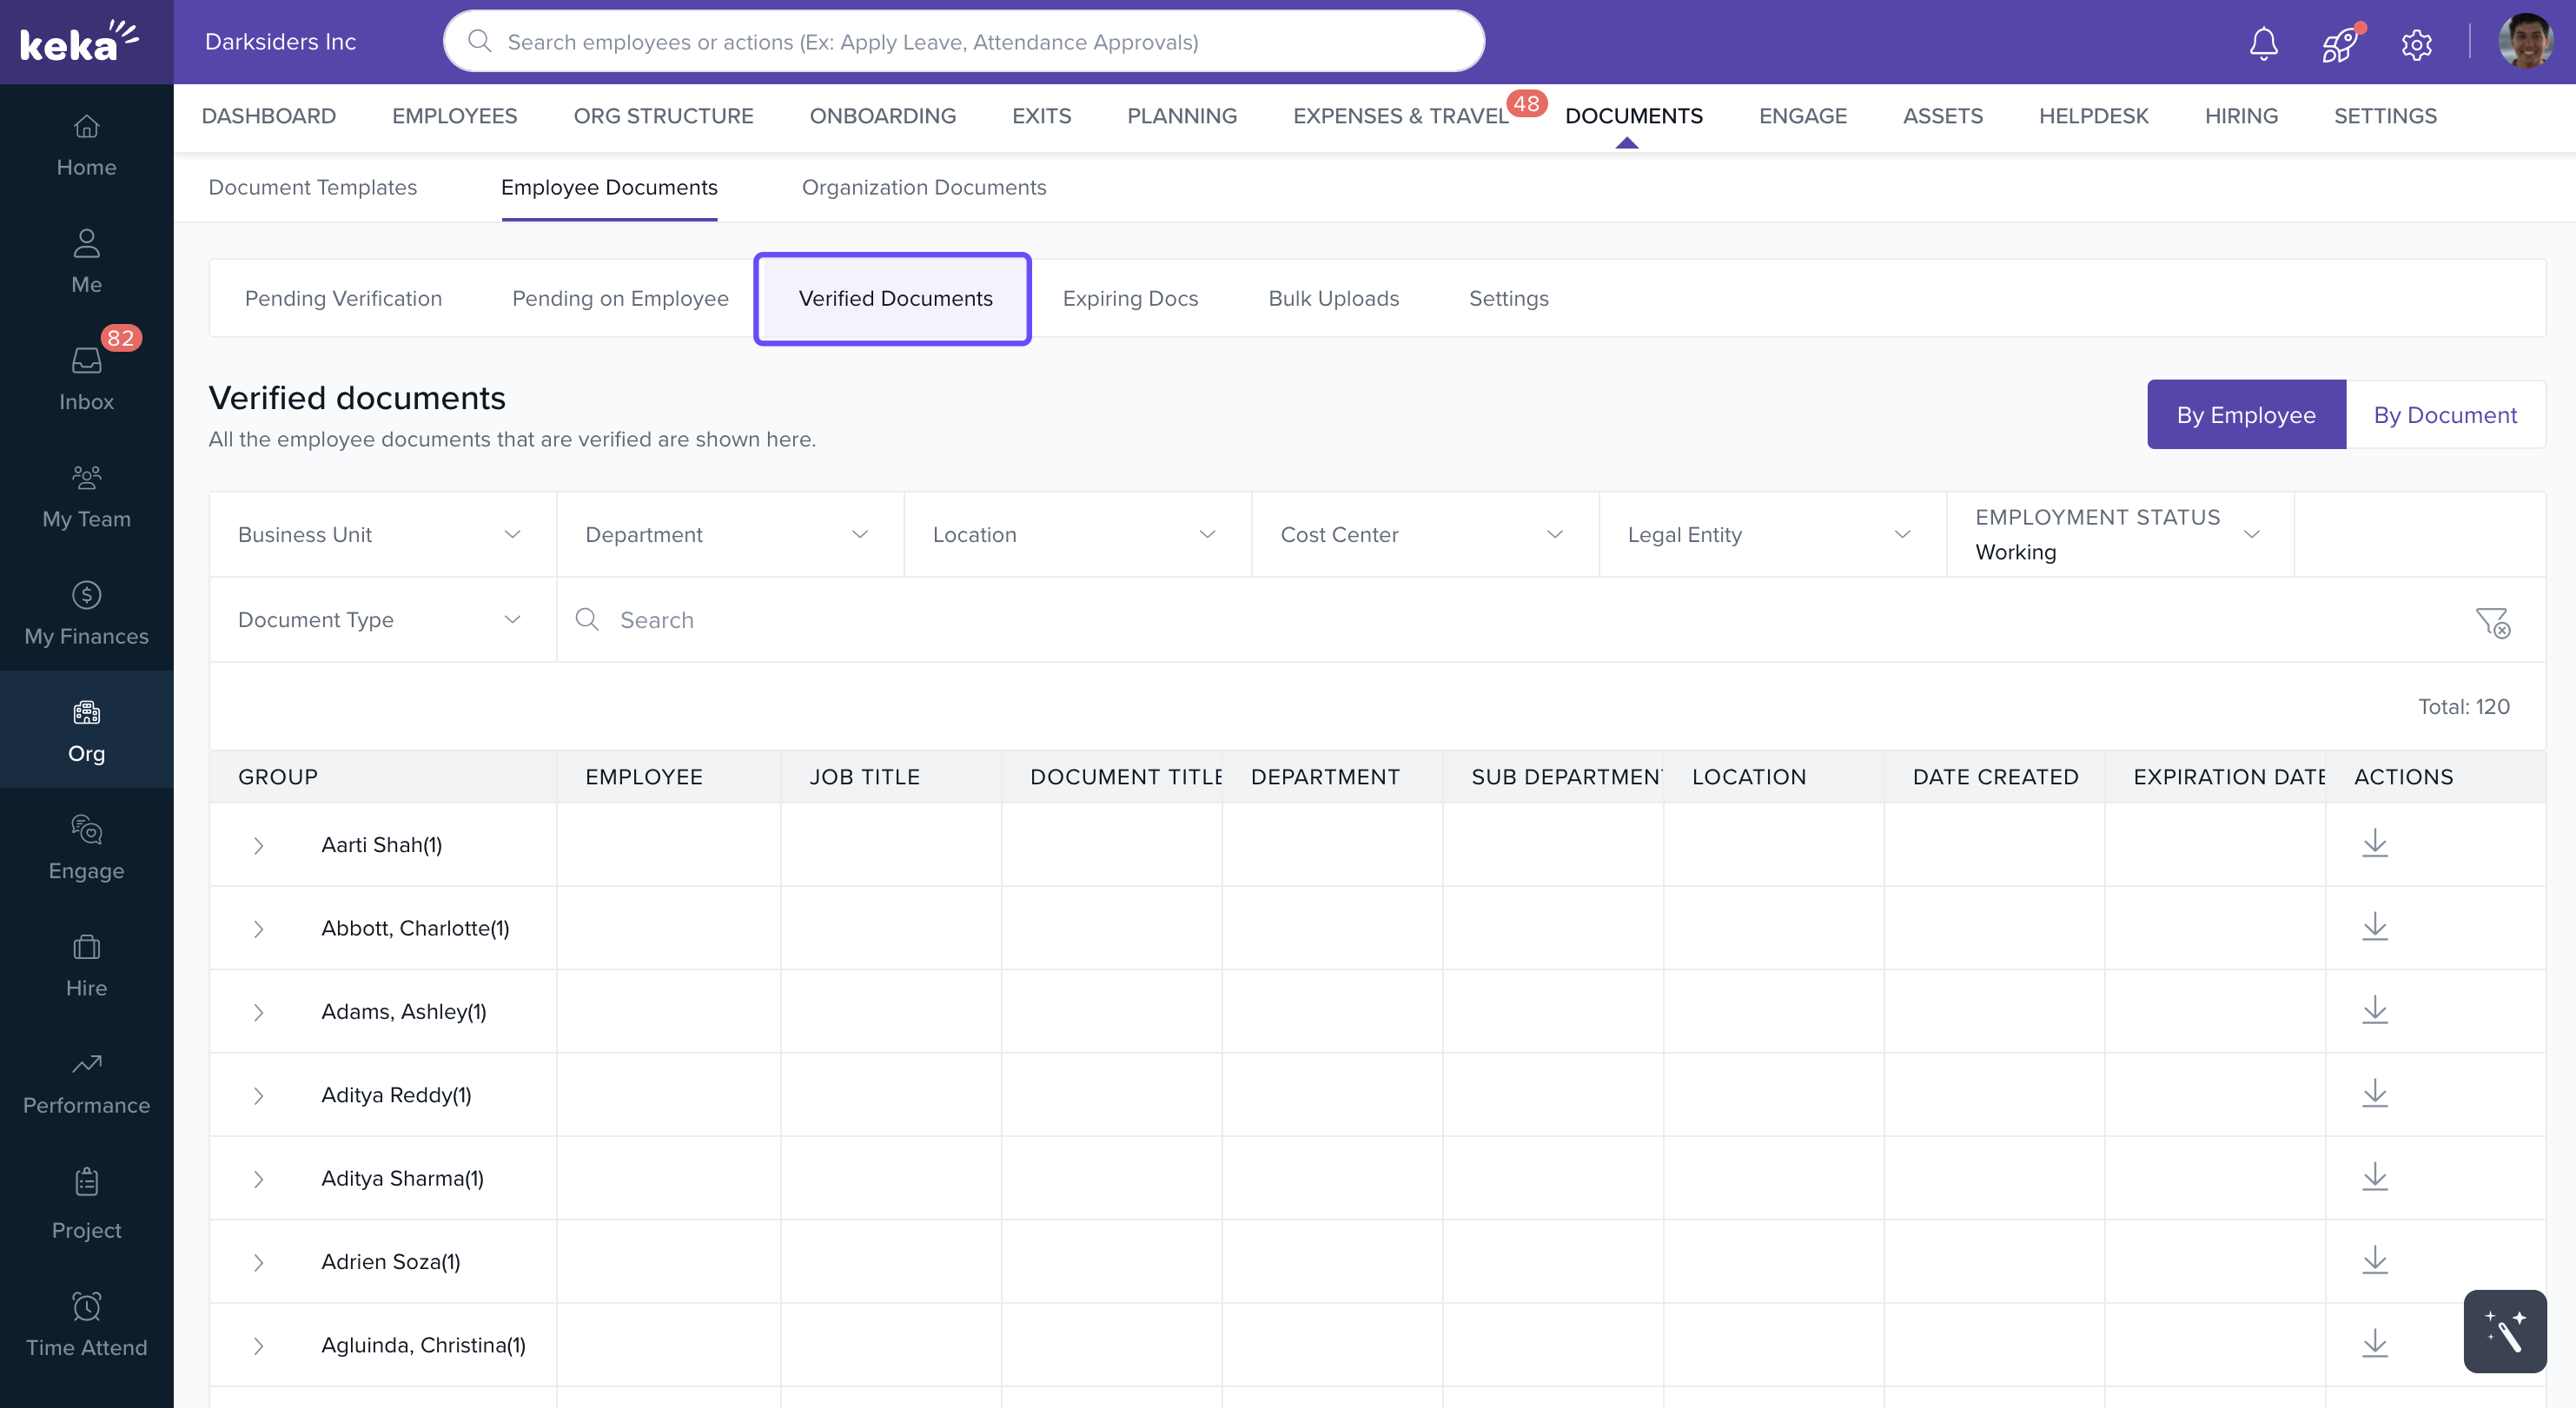
Verified Documents
Once approved, documents appear in the Verified Documents tab.
-
Here, you can:
Click View to see document details.
Use the three-dot menu to Delete Document if necessary.
Download documents using the Download icon.
Expiring Documents
- Documents that are expired or yet to expired are shown here.
- You can also choose to request new Documents here.
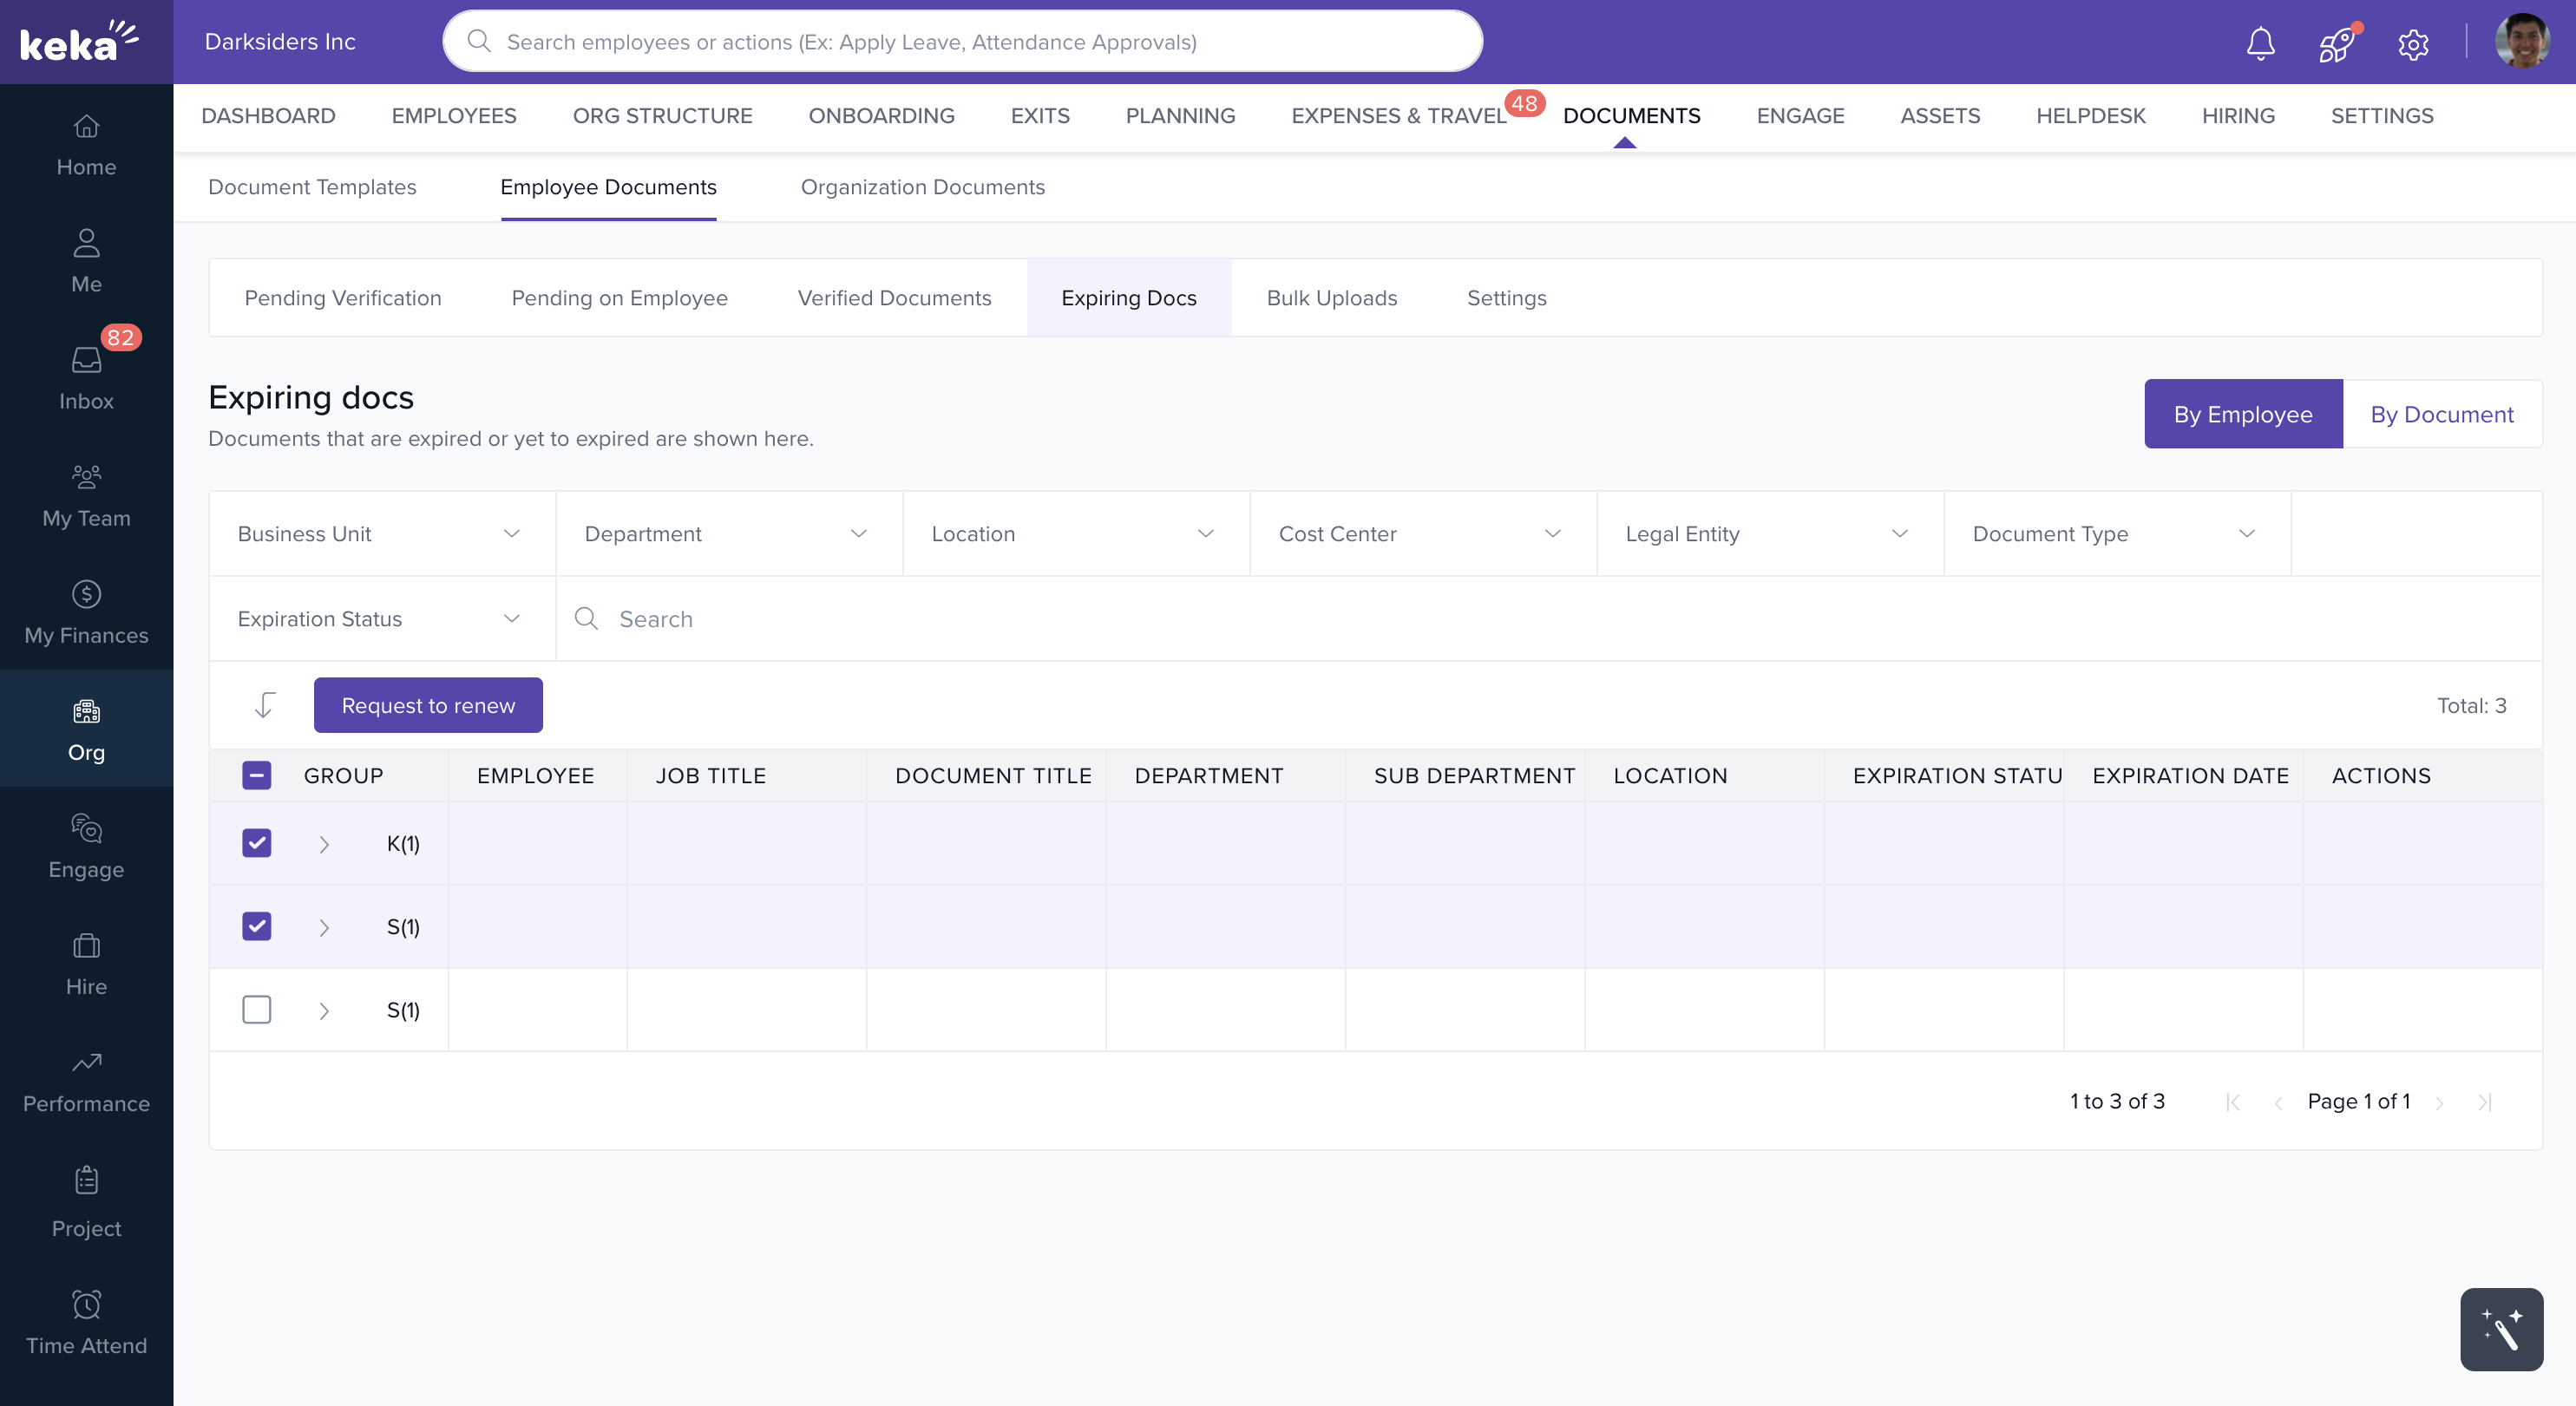
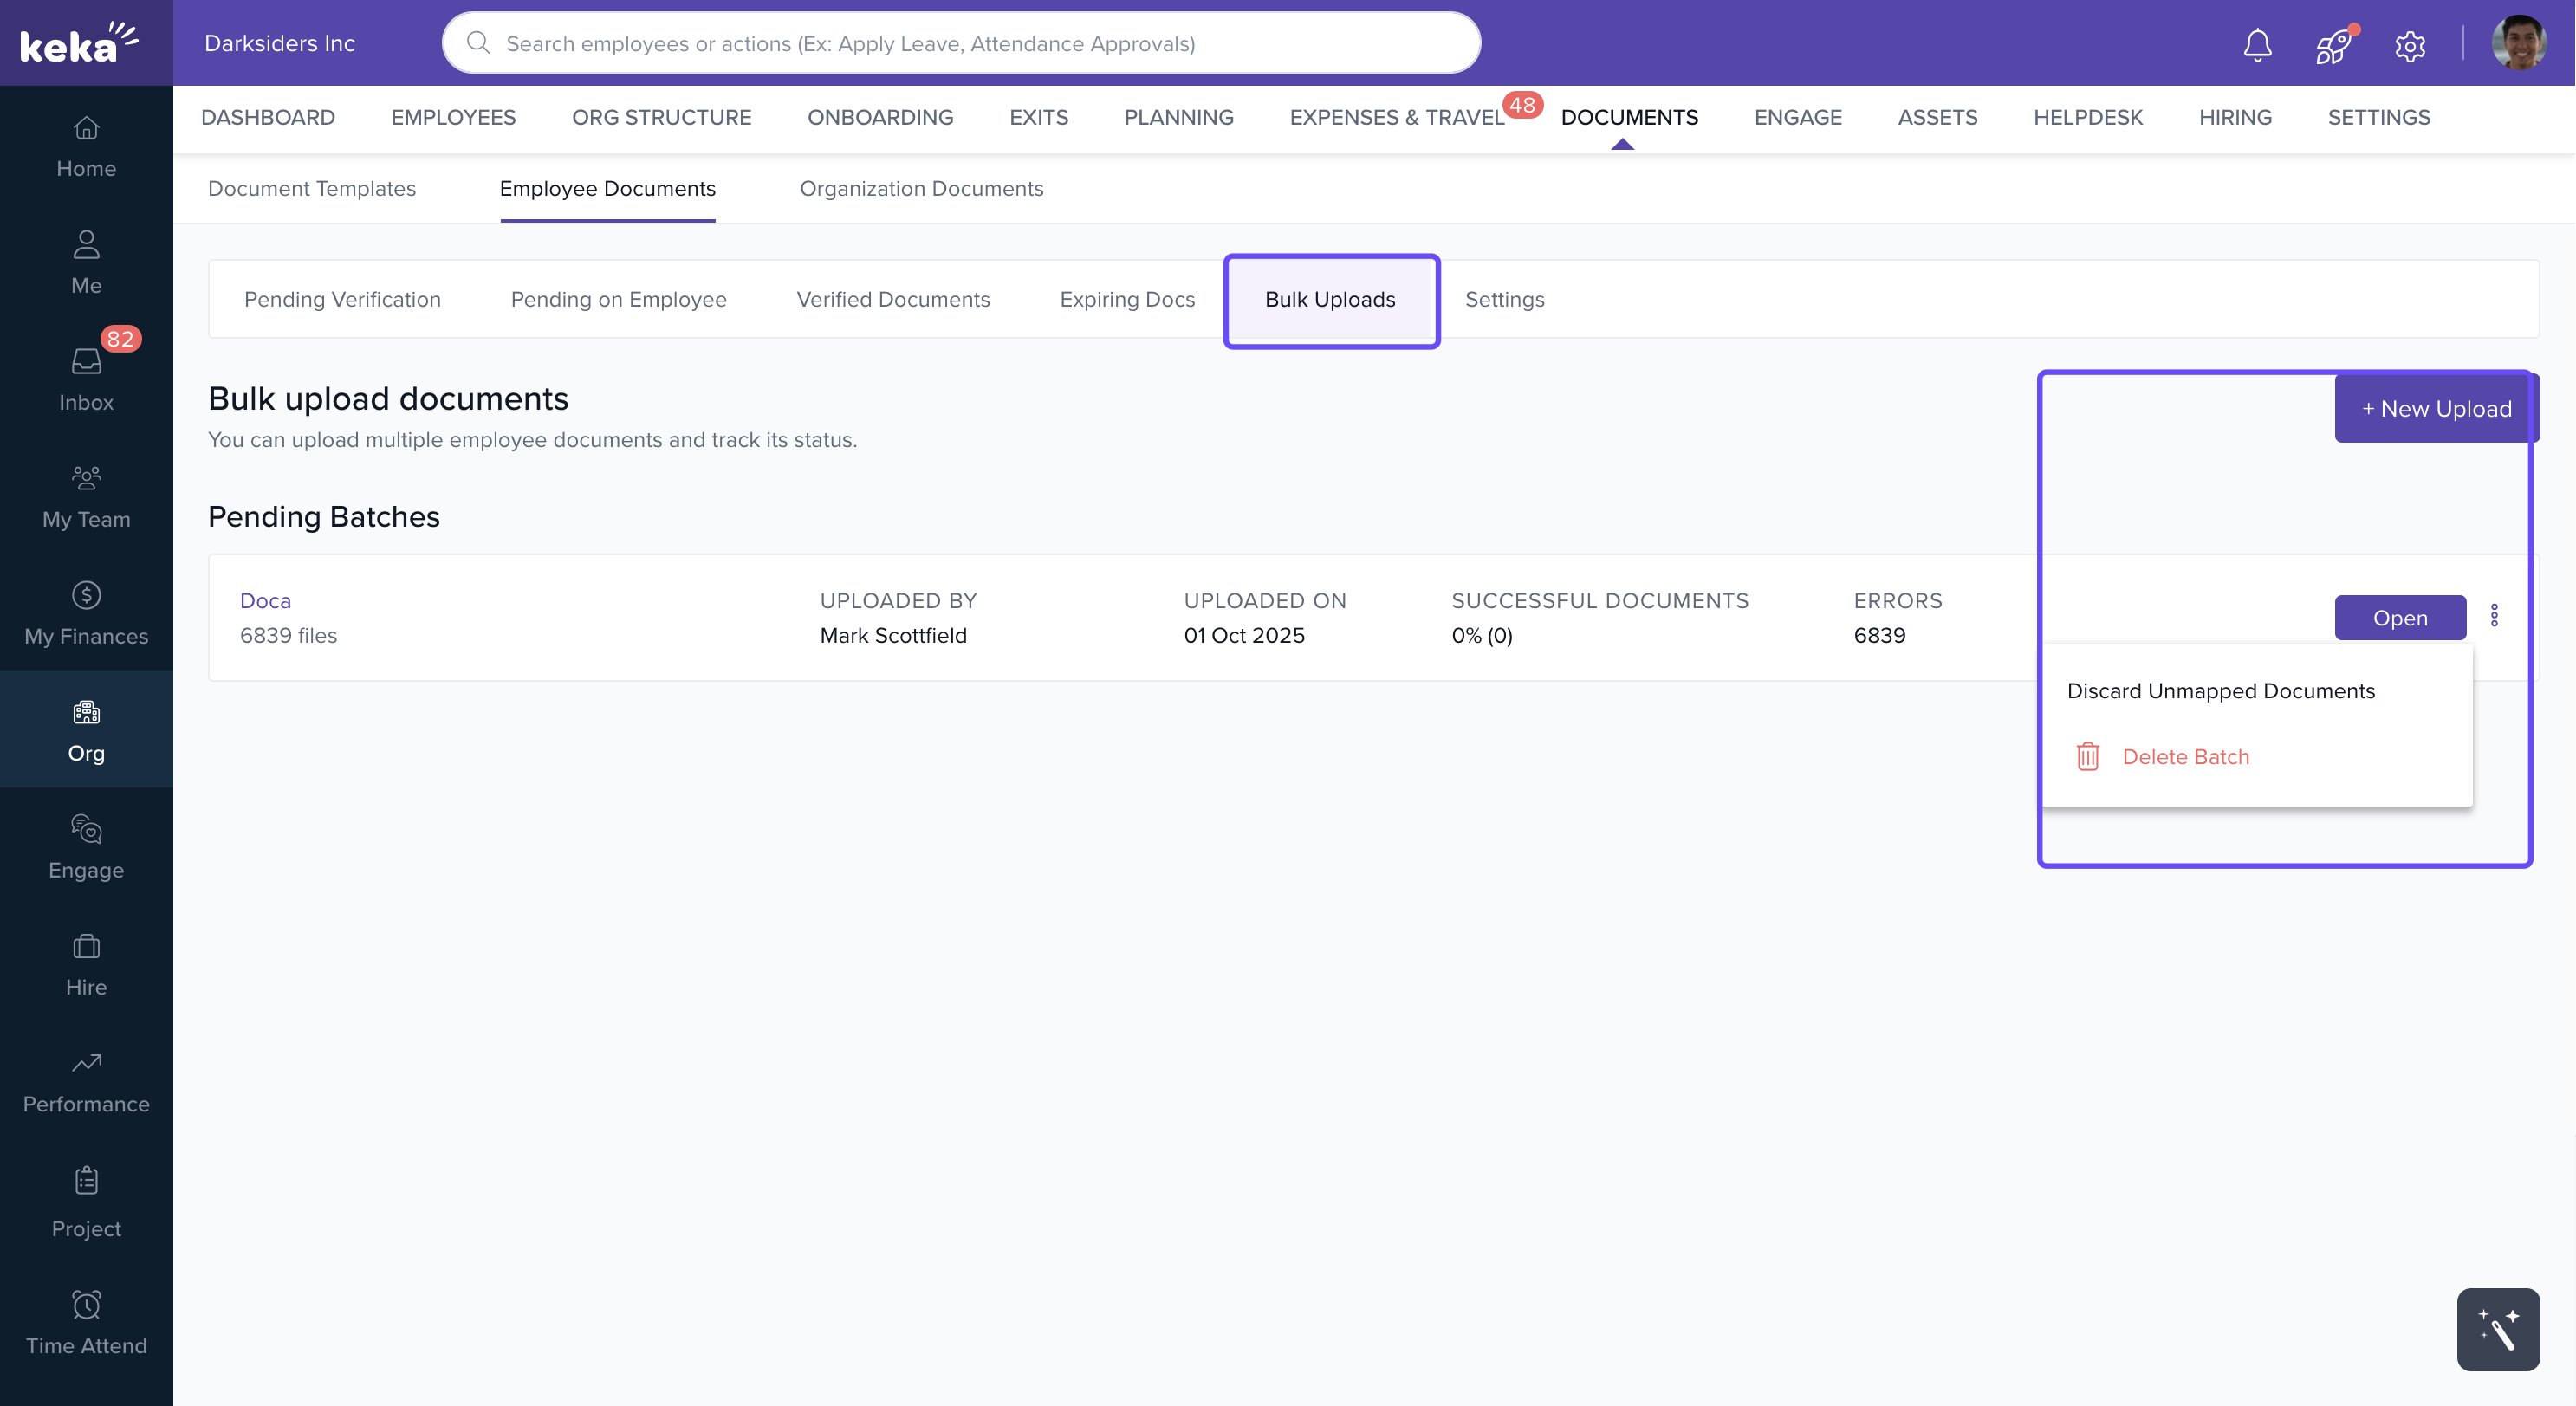
- You can also bulk upload documents here.
- Delete the uploaded batch
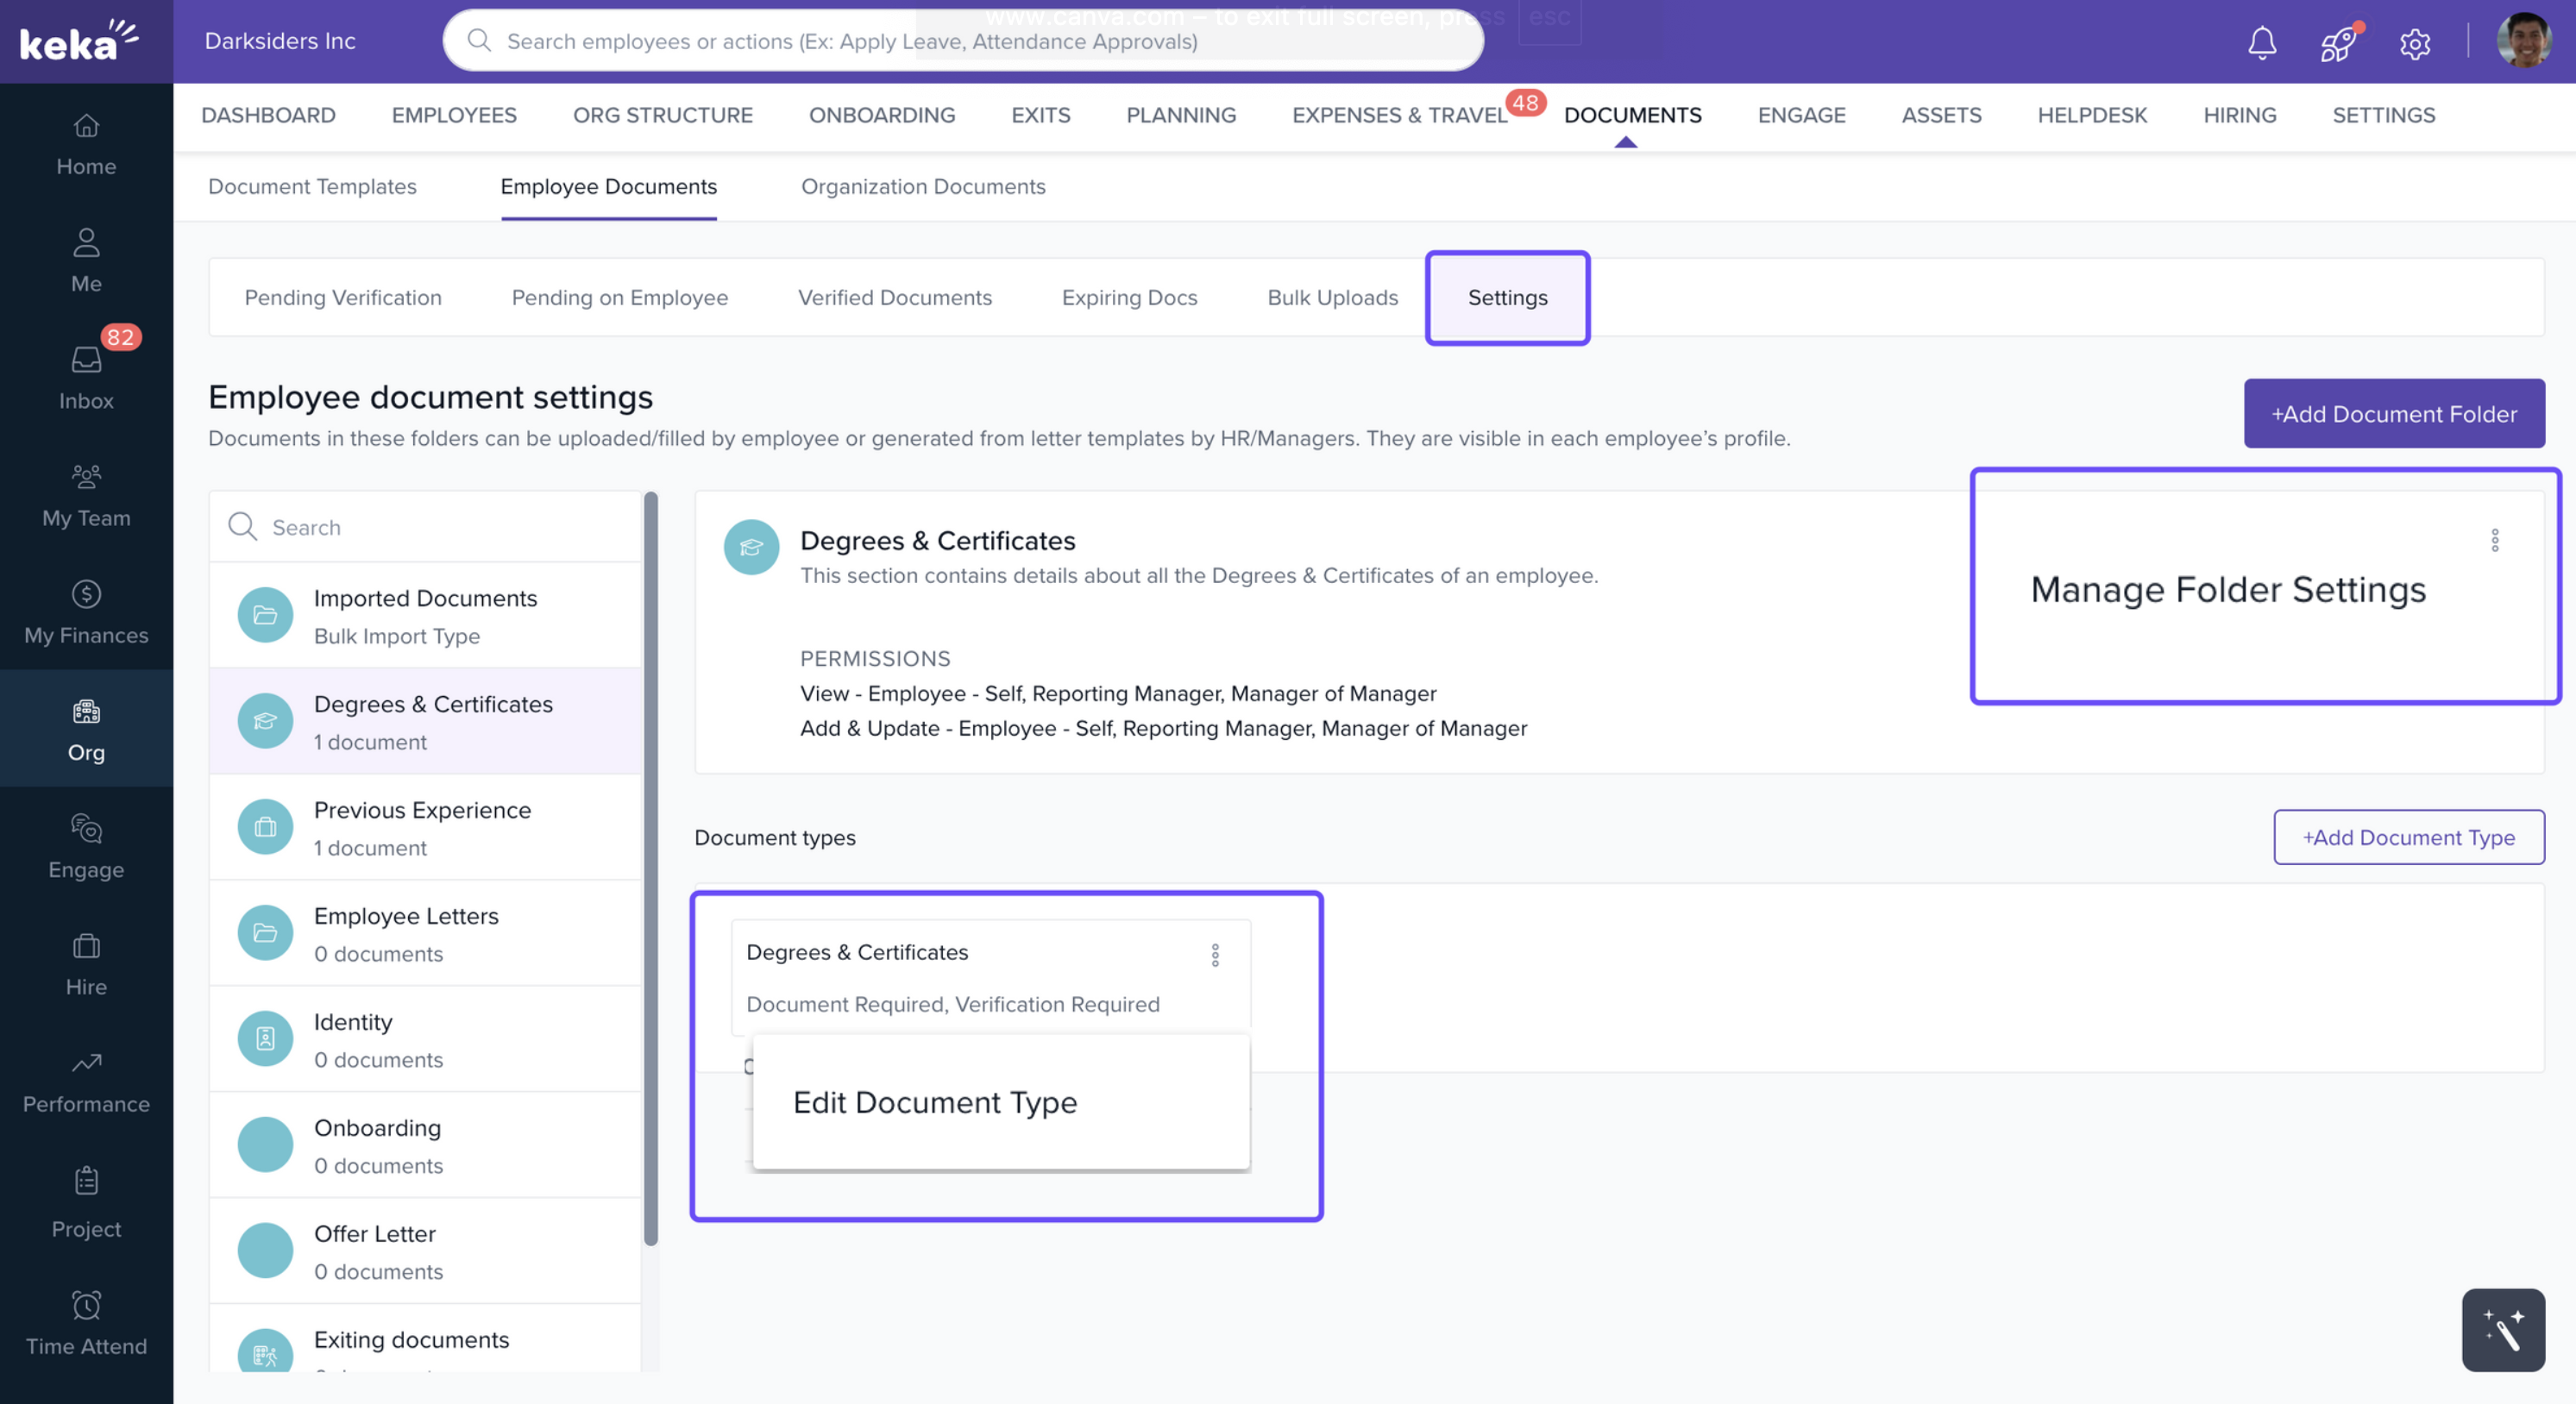
Settings Tab
- Here you can manage folder settings and edit document type.
Adding a new document folder
Click +Add Document Folder (top-right).
-
In the Add Folder screen:
Enter Folder Name (e.g., “Medical Records”).
Optionally add a Description.
Check Mark folder as confidential if this folder should only be accessed by limited roles.
-
Set Folder Permissions by role:
-
For each role (e.g., Employee-Self, Reporting Manager, Department Head), choose whether they can:
View Documents
Add / Update Documents
-
Click Add to create the folder.
Tip: Confidential folders are only visible to users with explicitly granted permissions.
Adding a Document Type to a Folder
Once you've created a folder in the Employee Documents section, you can define specific document types for that folder.
A document type specifies what kind of file should be uploaded—such as a PAN card, offer letter, or relieving letter—and allows you to configure who should upload it and what validations should apply.
Adding document types helps ensure that the right documents are uploaded by the right people, with clear expectations.
To add a document type to a folder:
In the left pane, select the folder where you want to add a document type (e.g., Offer Letter).
Click +Add Document Type in the right pane.
Document type settings
1. Name of the Document
Example:
PAN Card,Offer Letter,Graduation CertificateThis is a required field and will be shown to employees or admins based on who needs to upload.
2. Description (Optional)
Add guidance or upload instructions for employees. Example: “Upload a scanned copy of your PAN Card.”
3. Upload Frequency
Choose whether:
Employee can upload only one document of this type
(For documents like Aadhaar, PAN, Passport)Employee can upload multiple documents of this type
(Useful for certificates, experience letters, etc.)
Upload Rules and Settings
You can configure additional rules to control how this document type behaves:
| Option | What It Does |
|---|---|
| ✅ This document is mandatory | Marks the document as required for submission |
| ✅ Employee can mark as not applicable | Lets employees skip if it doesn’t apply (e.g., Passport for local-only staff) |
| ✅ File upload is optional | Allows use of form fields without uploading a file |
| ✅ Document verification required | Marks the document for admin review and approval |
| ✅ Ask for document expiry date | Prompts employee to enter expiry details (e.g., for visas, IDs) |
Tips
Use “Mark as not applicable” for document types that apply only to some roles or locations.
Use verification required when admins need to approve the uploaded document. Only these documents will show up in the Verified
Add expiry dates for documents like ID cards or work permits so you can track renewals.
The Employee Documents tab helps streamline document management by organizing them into Pending Verification, Pending on Employee, and Verified Documents. This ensures a smooth verification process, better compliance, and easy access to employee records.
Comments
0 comments
Please sign in to leave a comment.