Introduction
The Candidate Portal gives your applicants a personalized view into your organization and open roles. You can customize this space with your branding, welcome message, and useful links to enhance their experience.
This guide walks you through setting up and customizing your Candidate Portal in Keka Hire.
Manage the Candidate Experience Portal
Go to the Keka Hire portal.
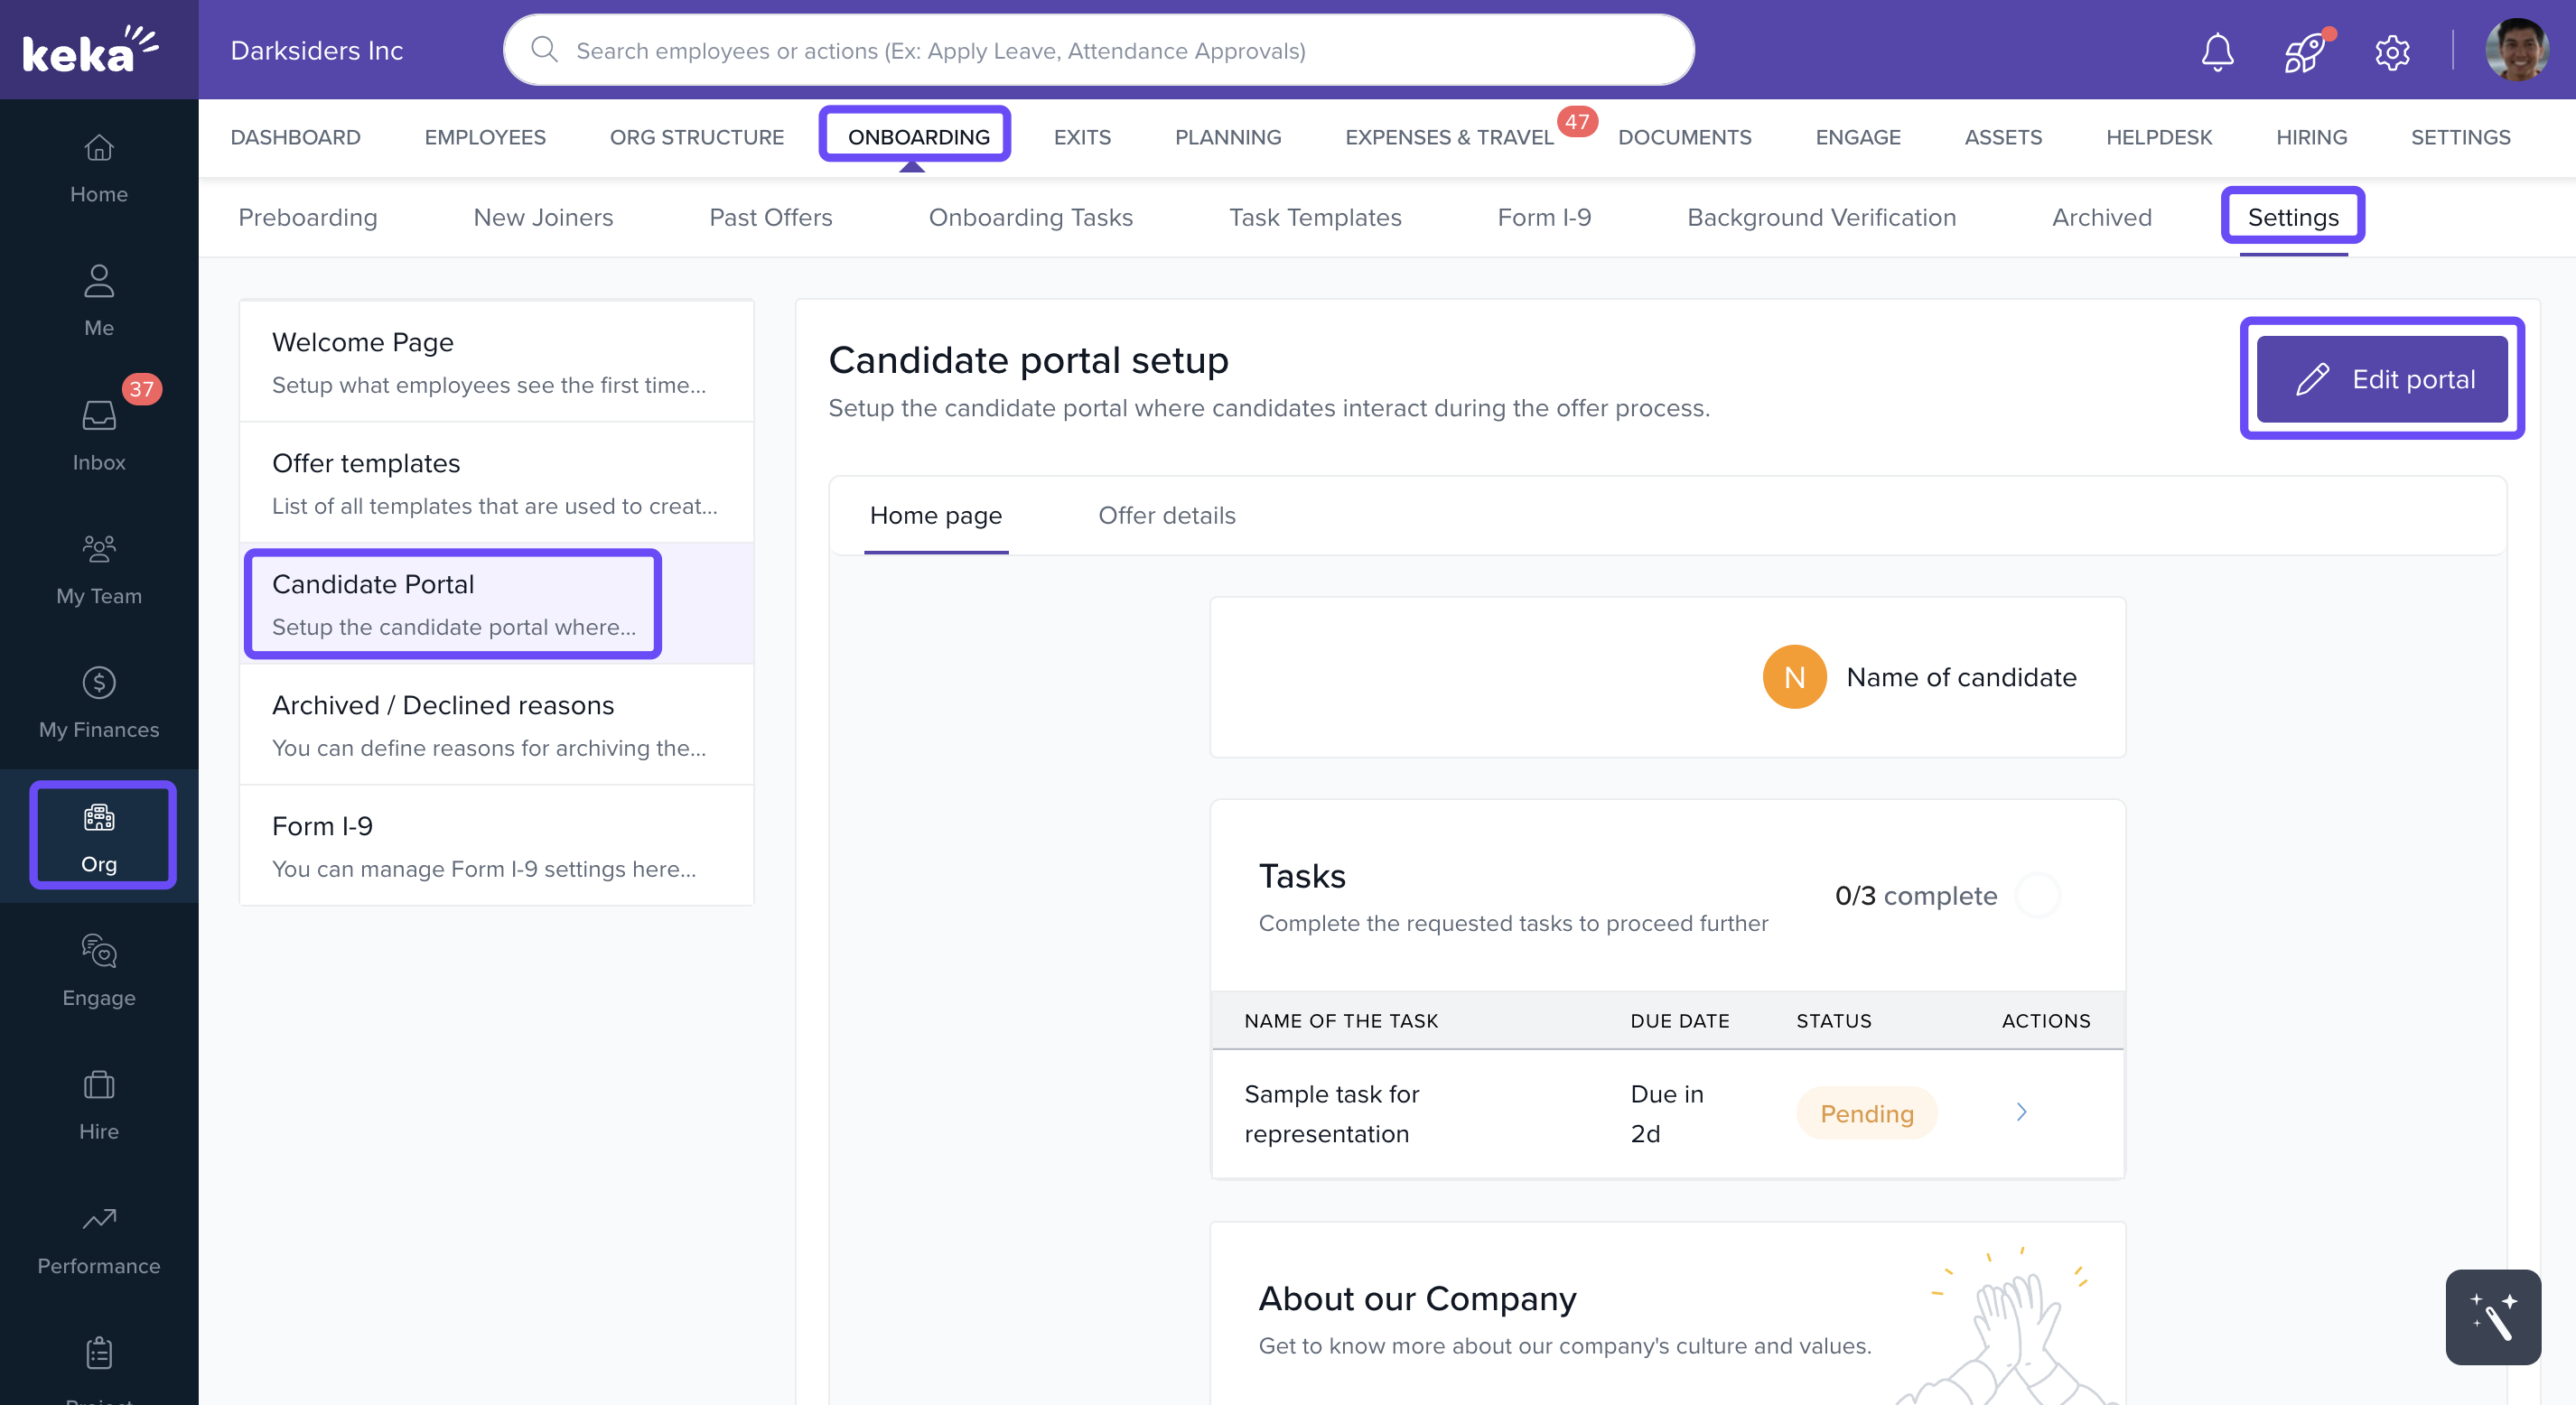
Click Org from the left menu.
Select Onboarding, then click Settings.
Under Settings, choose Candidate Portal.
Click Edit Portal.
You'll now be in the Candidate Experience window where you can customize various elements:
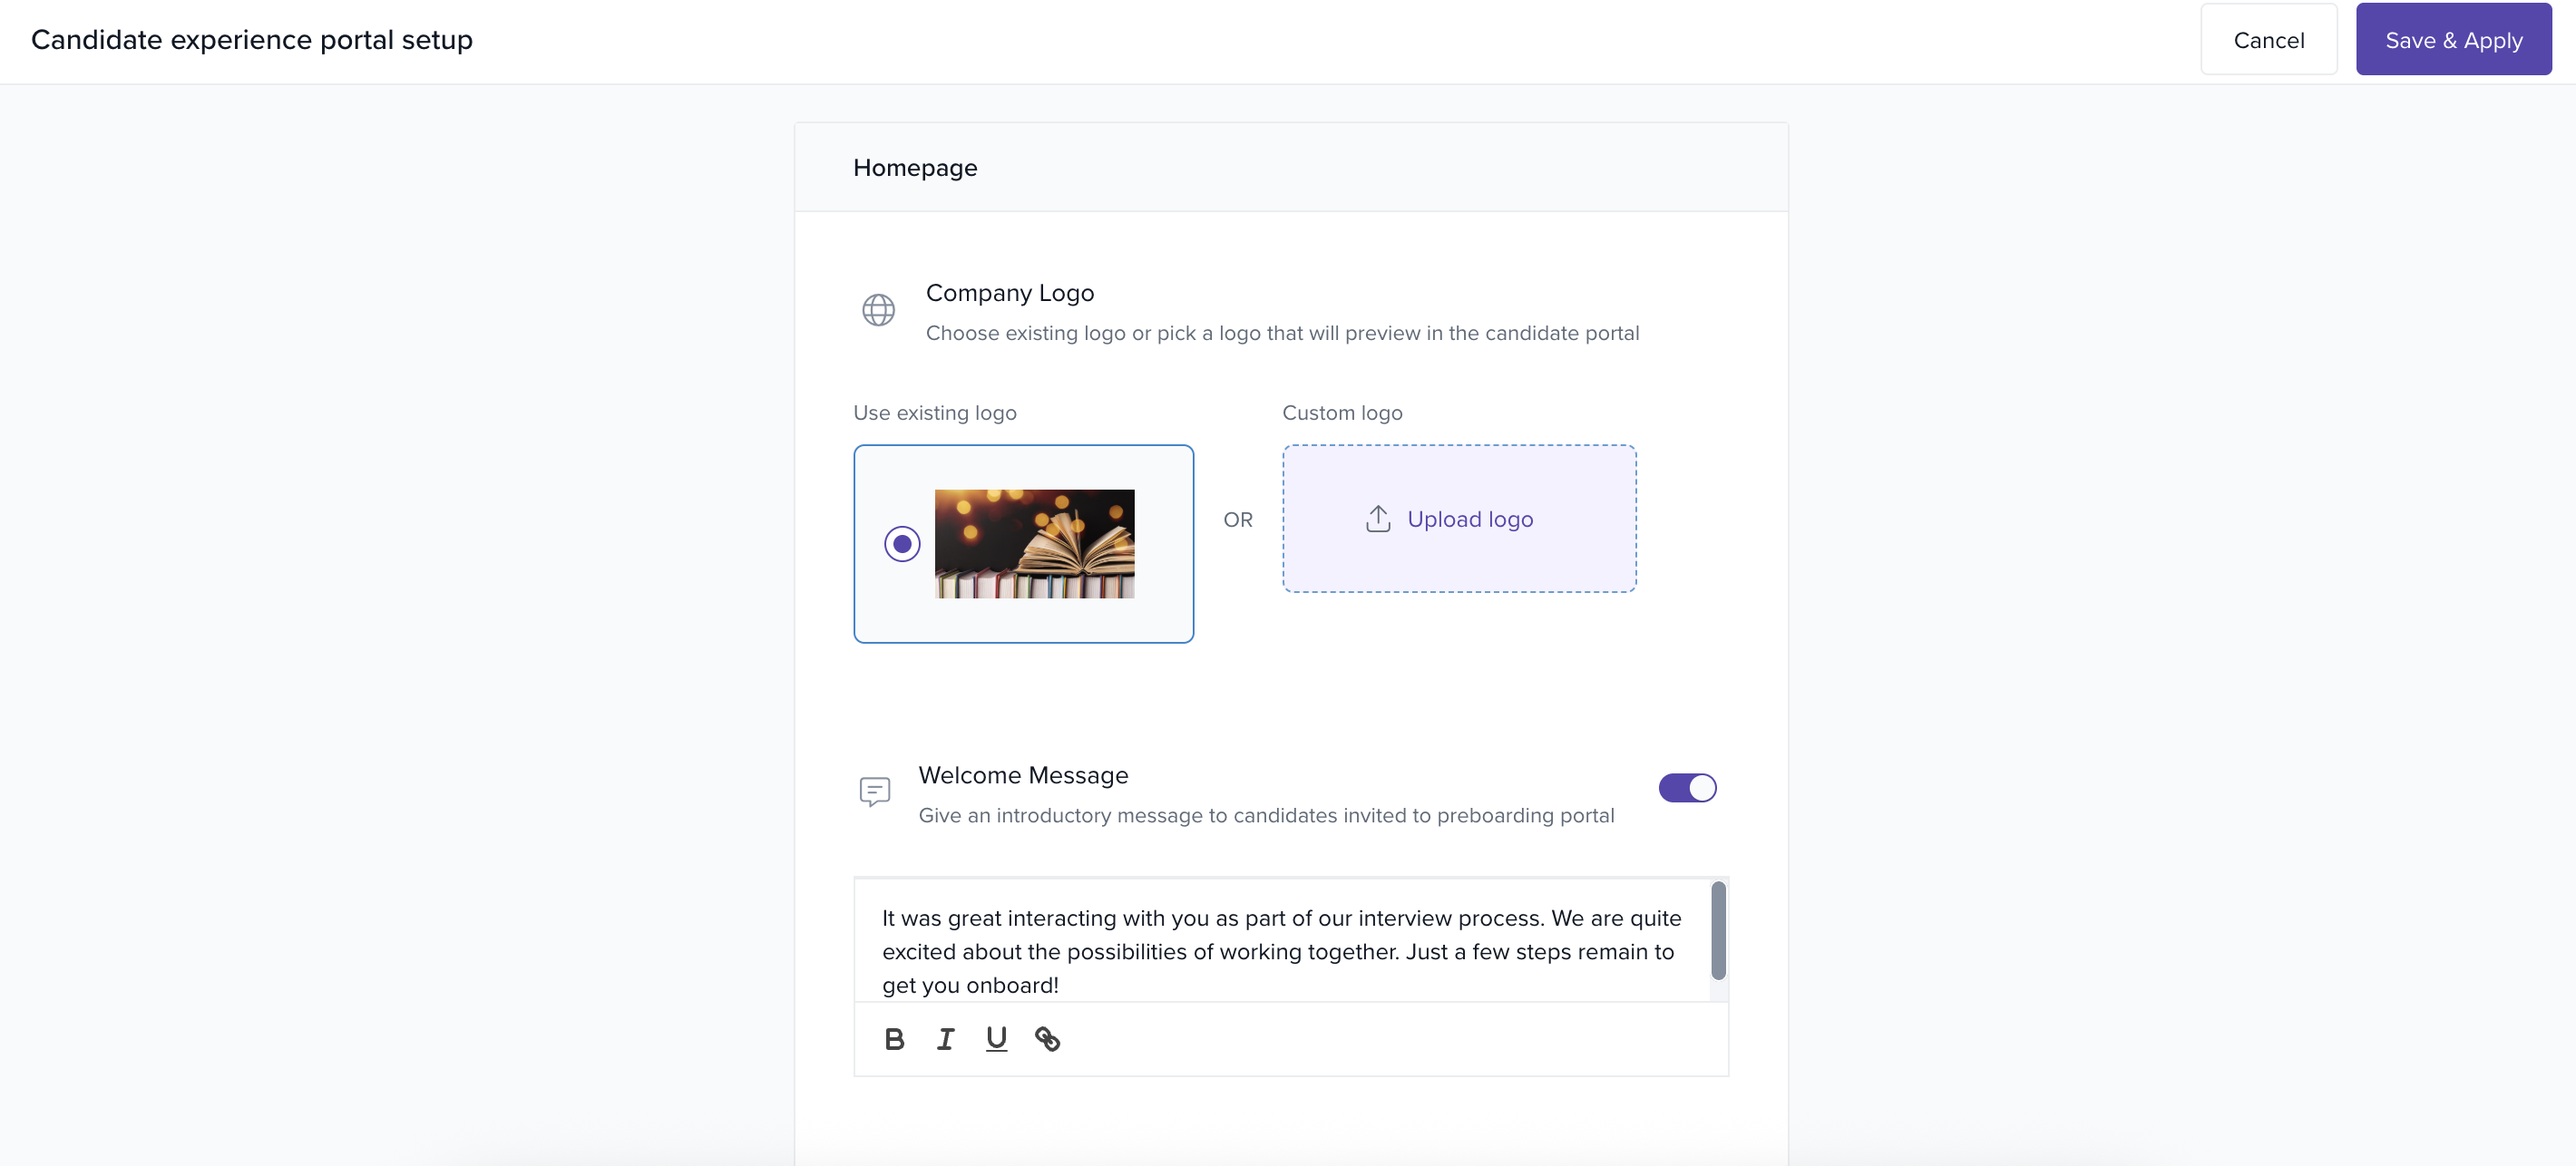
Homepage Content
Enter your organization's introduction or a welcome message.
You can use your existing logo or upload a new one.
To display a welcome message, make sure to toggle the Welcome Message option on.
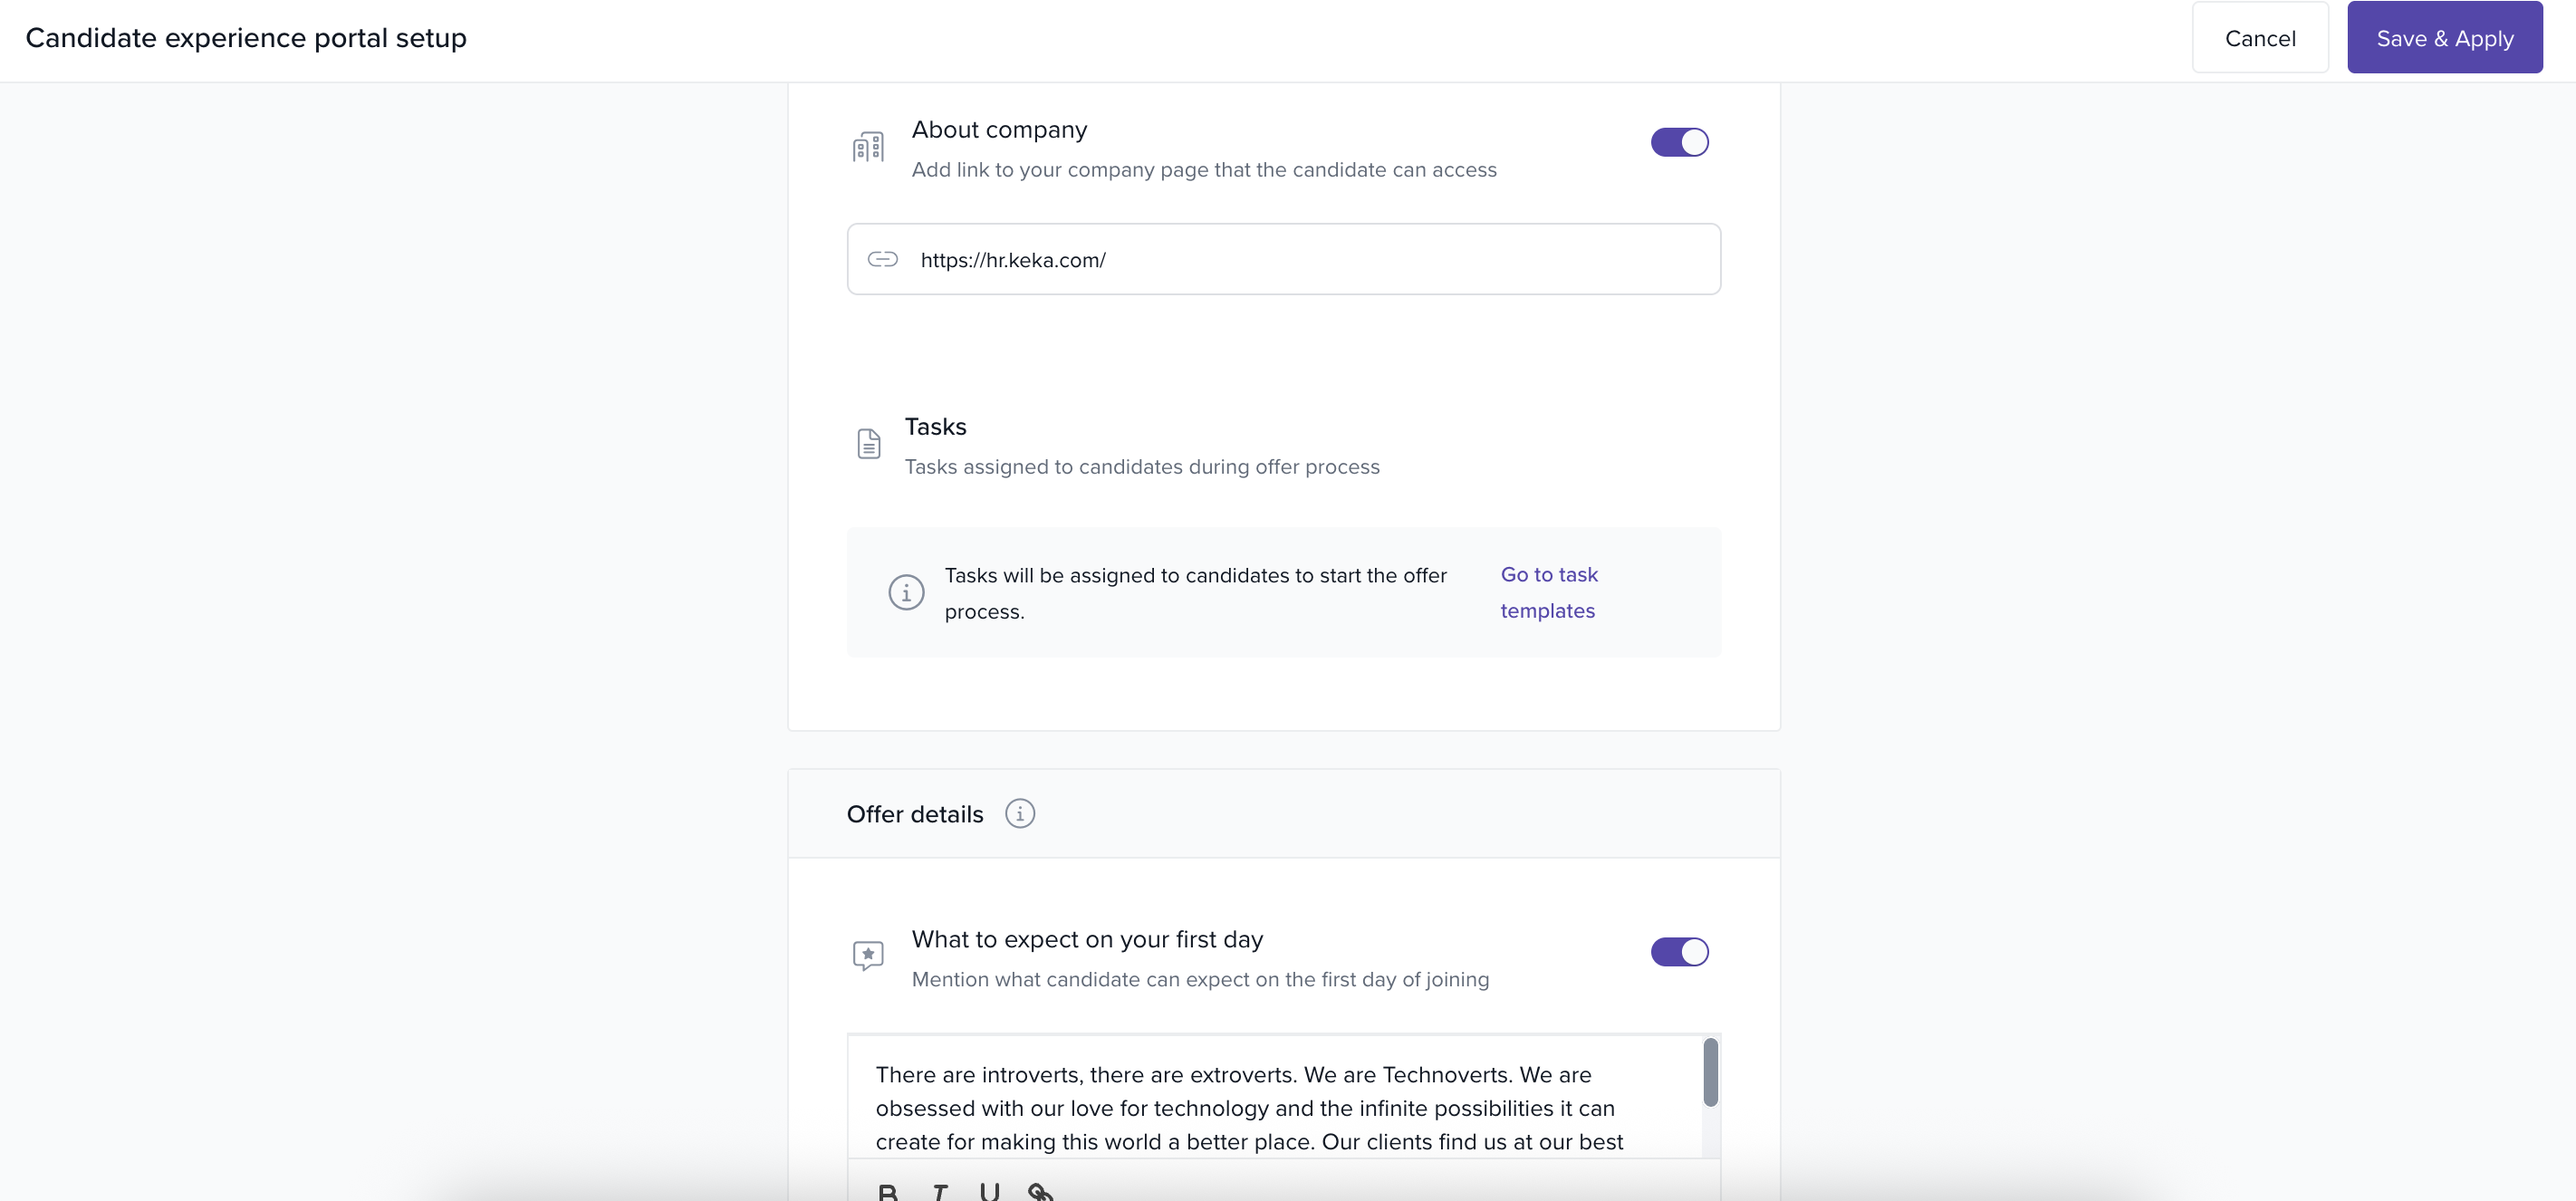
About the Company
Toggle About the Company to on if you want to add a link to your company website. This helps candidates learn more about your organization.
Task Templates
In the Tasks section, click Go to task template.
Choose from available templates to assign tasks to candidates.
Offer Details
Fill in the Offer Details section with specific information about the job offer extended to the candidate.
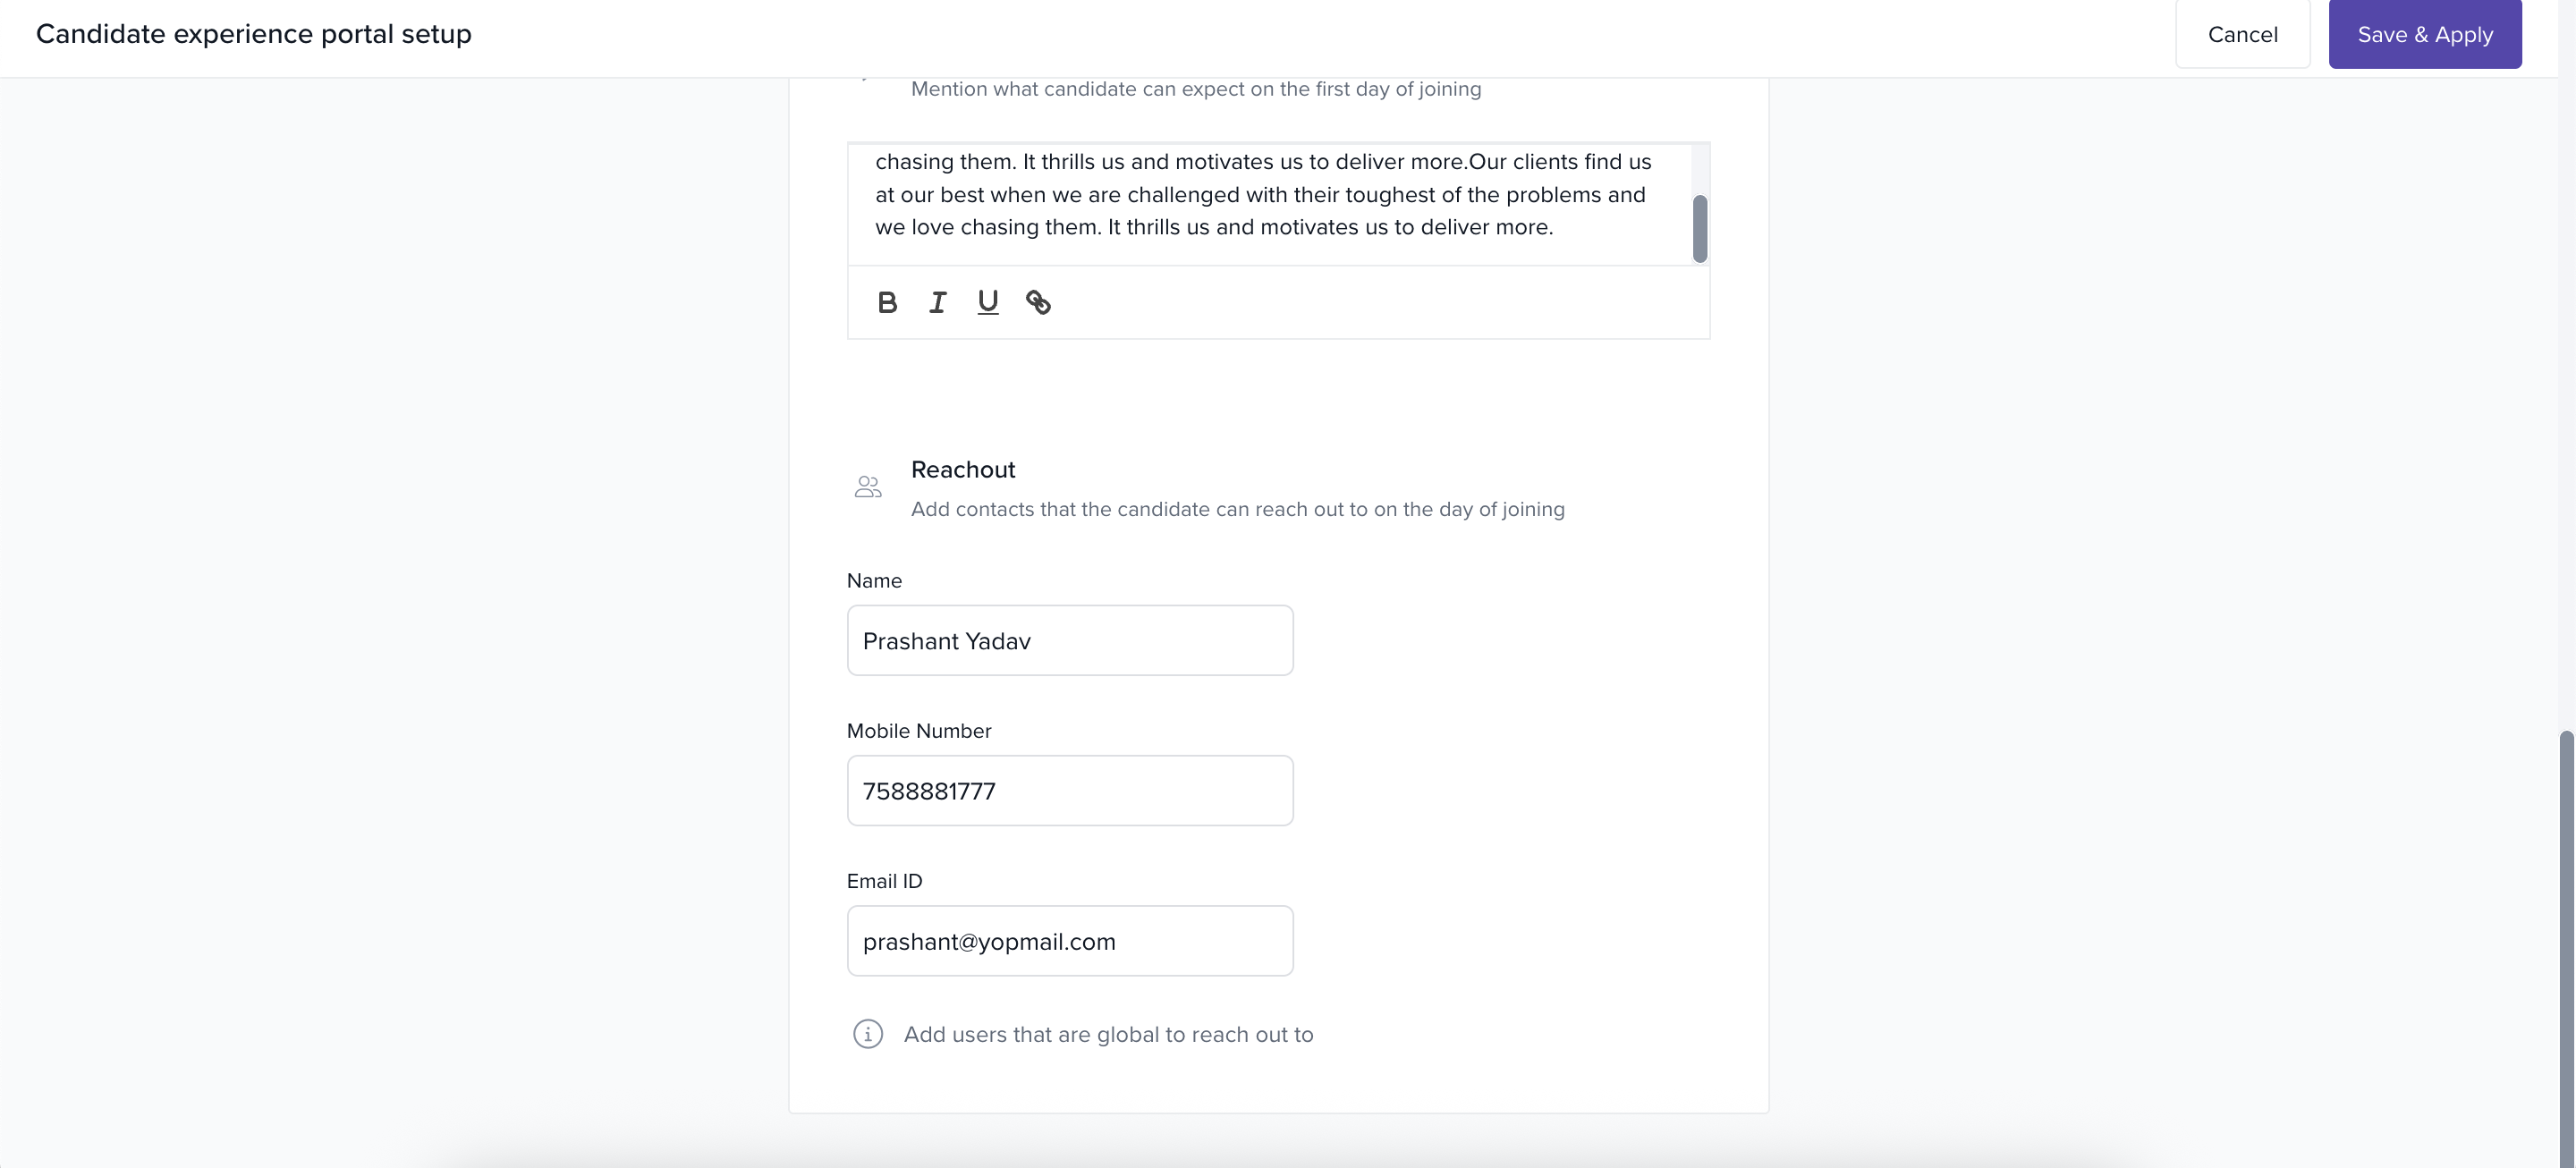
Reachout Section
Provide the contact details of an employee who will assist the candidate on their joining day or if they have further questions.
After filling in all necessary details, click Save and Apply.
Your updates will now be visible to candidates whenever they access the portal.
Options & Variants
Welcome Message Toggle: Must be switched on to enter and display a message.
Logo: You can keep your existing logo or upload a new one.
About the Company Toggle: Optional — use it to provide a link to your company's site.
Please feel free to reach out to our Product experts for any further queries!
Comments
0 comments
Please sign in to leave a comment.