Introduction
If your organization switched to Keka mid-year, you’ll want to ensure all employee leave records are accurately reflected—including past leaves taken or carried over. Keka lets you import these past leave balances using initial adjustments so that your records stay complete and compliant.
This guide walks you through importing two types of leave balances and adjusting them in bulk.
Types of Leave Balances
There are two types of past leave balances you can import:
Consumed/Availed Leave Balance
These are leaves employees have already taken. Importing this data will subtract the number of leaves from their current Keka balance.Carryover Balance
These are unused leaves that employees are entitled to carry forward. Importing this data will add the number of leaves to their current balance.
Note: Both import templates follow the same format, but the Consumed/Availed file includes one extra column—Leave Start Date.
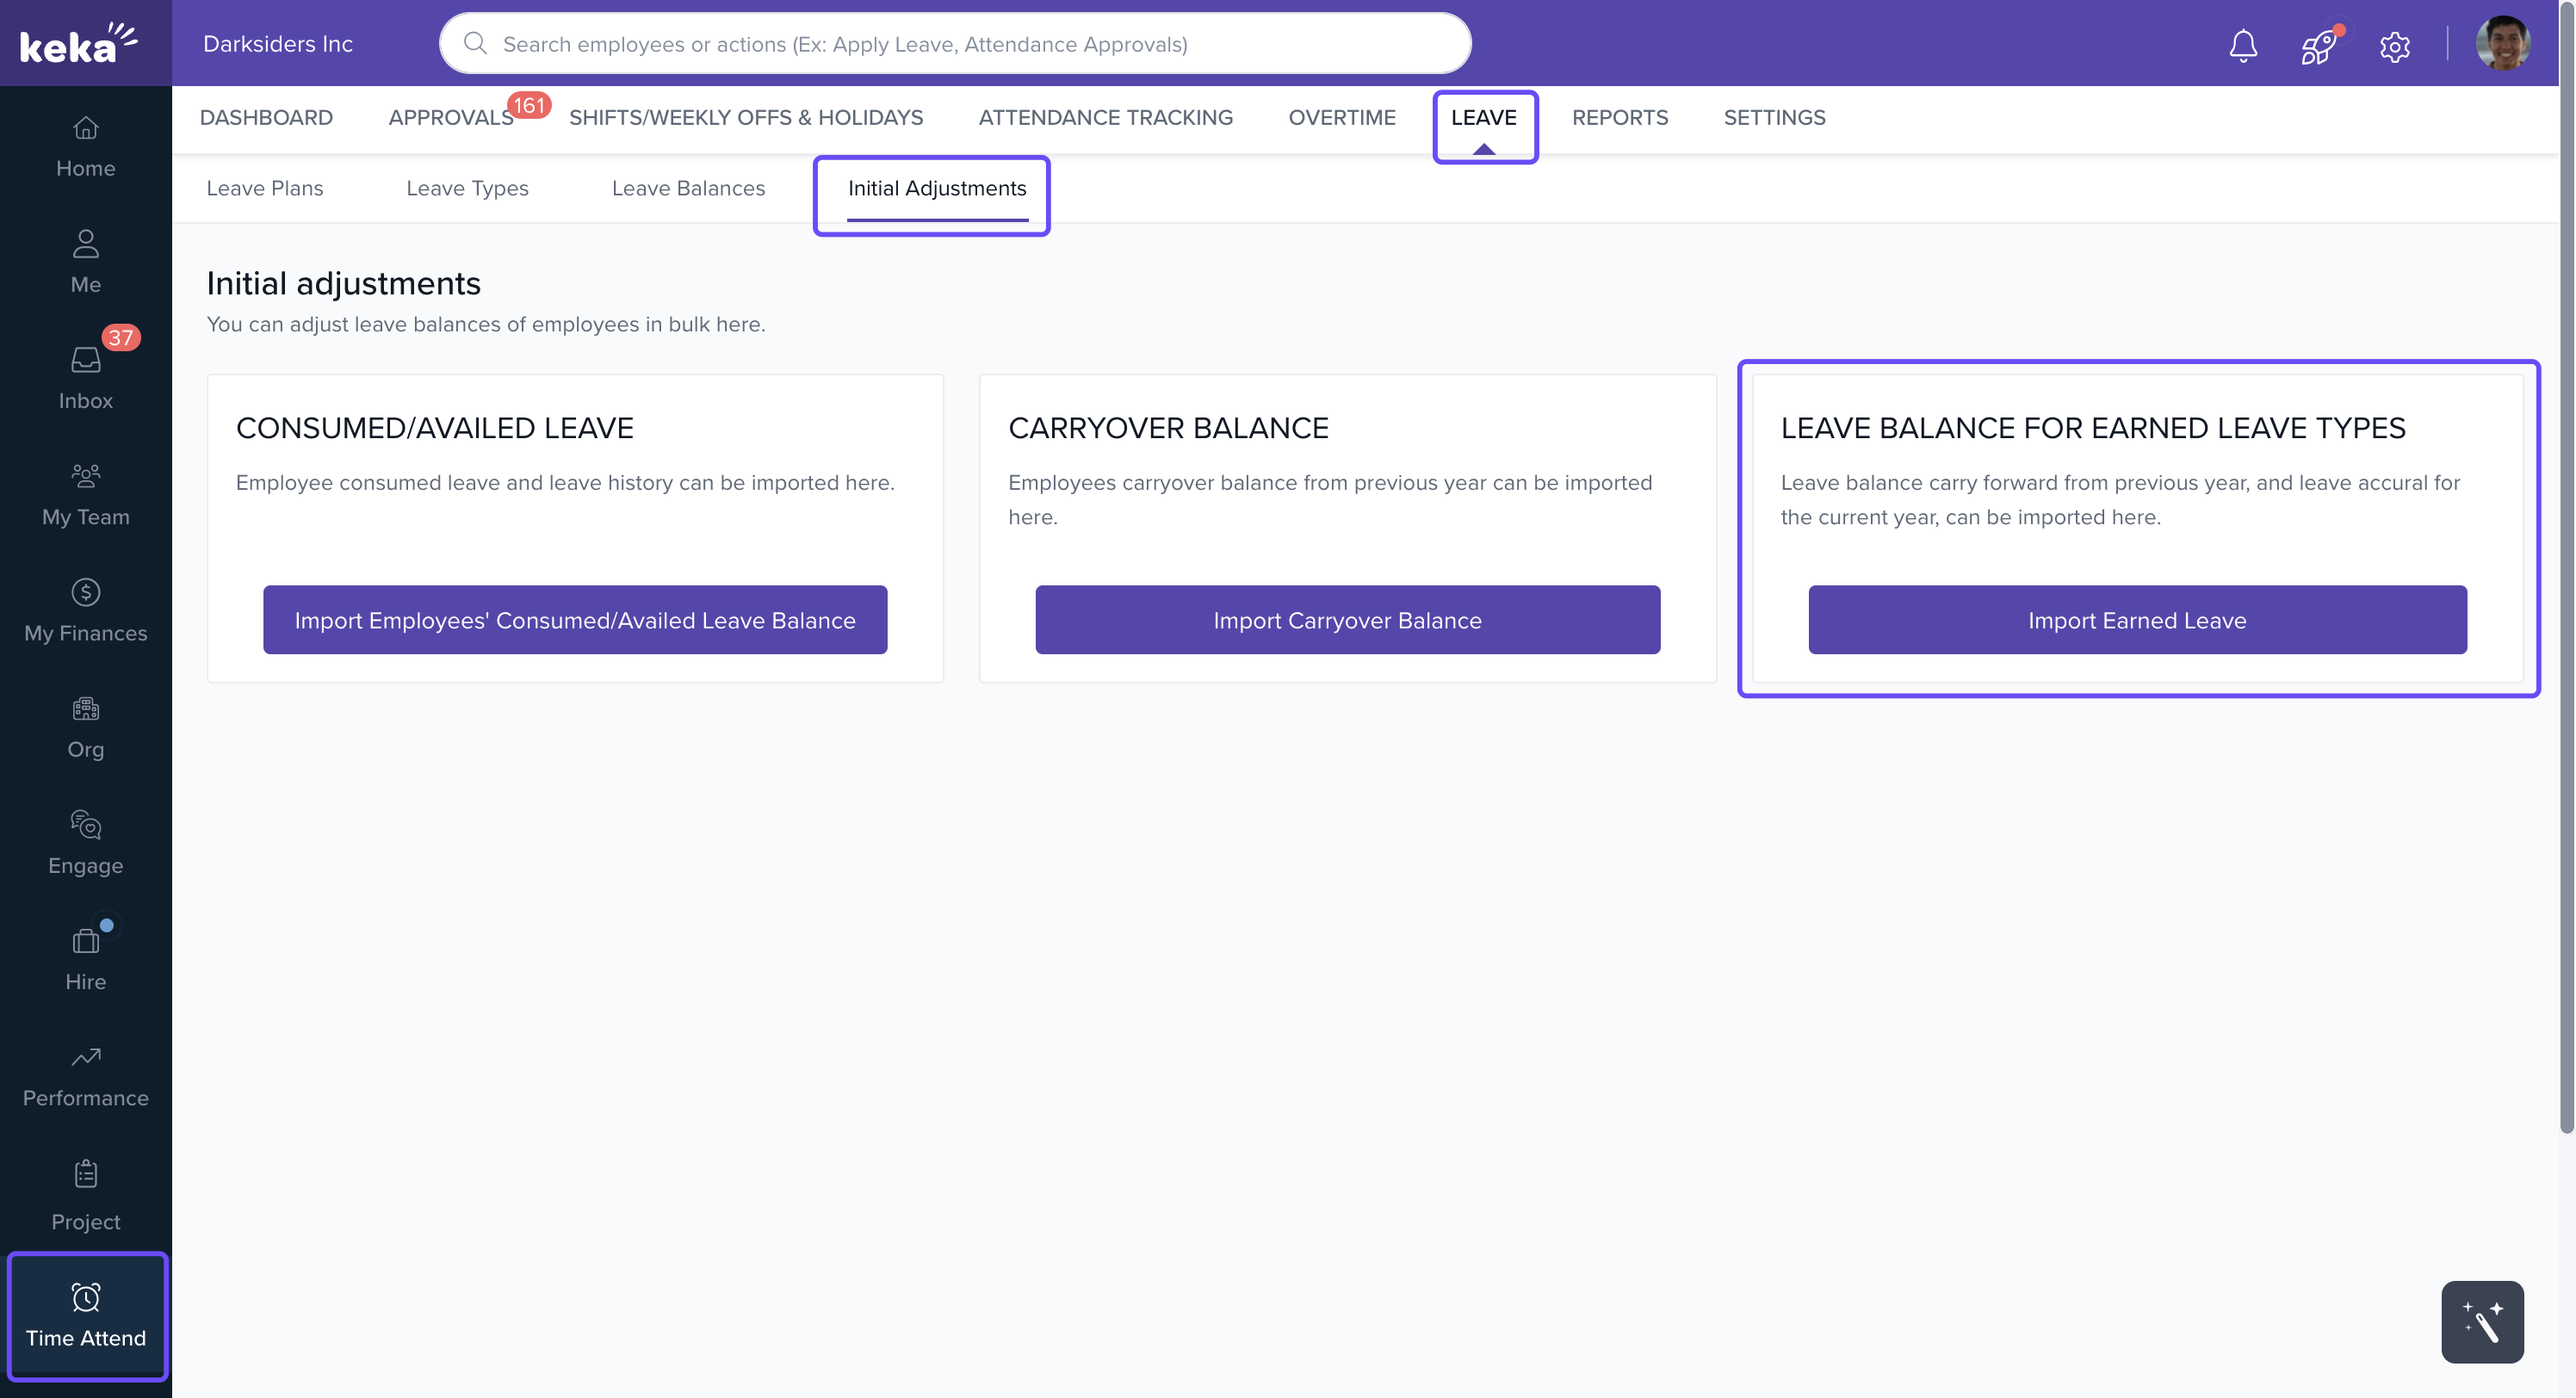
Steps to Import Past Leave Balances
You’ll complete this in three steps:
1. Download the Template
Choose the correct file based on the type of balance you're importing:
Consumed/Availed Leave Balance – Used to record leaves already taken.
Carryover Balance – Used to add unused leave balances from the past.
In this guide, we'll use the Consumed/Availed template for demonstration, but the steps are the same for both.
2. Add the Data
Open the downloaded template and fill in the required details.
Mandatory Fields – Consumed/Availed:
Employee Number – Matches the Employee Number in Keka.
-
Leave Start Date – The date from which the leave was taken.
Tip: This helps Keka identify when the leave occurred for proper balance calculation.
All other fields are optional. Fill in only the leave types you need to adjust.
Mandatory Fields – Carryover:
Employee Number – Matches the Employee Number in Keka.
Other fields are optional. Only update the balances you want to carry forward.
3. Upload the File
Upload your completed Excel sheet to Keka.
Check the preview and make sure your leave types match the correct columns (e.g., Casual Leave appears under the Casual Leave column).
If there’s an error, fix the spreadsheet and re-upload it.
Note: You don’t need to do anything with the Ignore Excel Columns button.
Once uploaded successfully, your employee balances will be updated in the system.
Viewing the Leave Balance
To confirm the import:
Go to the employee’s profile page.
-
Check the Leave Balance section.

Look for updates in the relevant leave types (e.g., Casual Leave).
-
You can click View History to see how the balance was adjusted.
For example, if an employee took 2 days of Casual Leave before Keka was implemented, their balance will now reflect -2 days, showing that the leave has been accounted for.
Comments
0 comments
Please sign in to leave a comment.