To enable integration between Keka and Slack, you’ll first need to create a Slack app and set up incoming webhooks.
This guide walks you through the entire process — from creating the app to configuring it for use in Keka.
Creating a Slack App
Follow these steps to create a new Slack app for Keka integration:
Open https://api.slack.com/apps in your web browser.
-
Click Create New App.
-
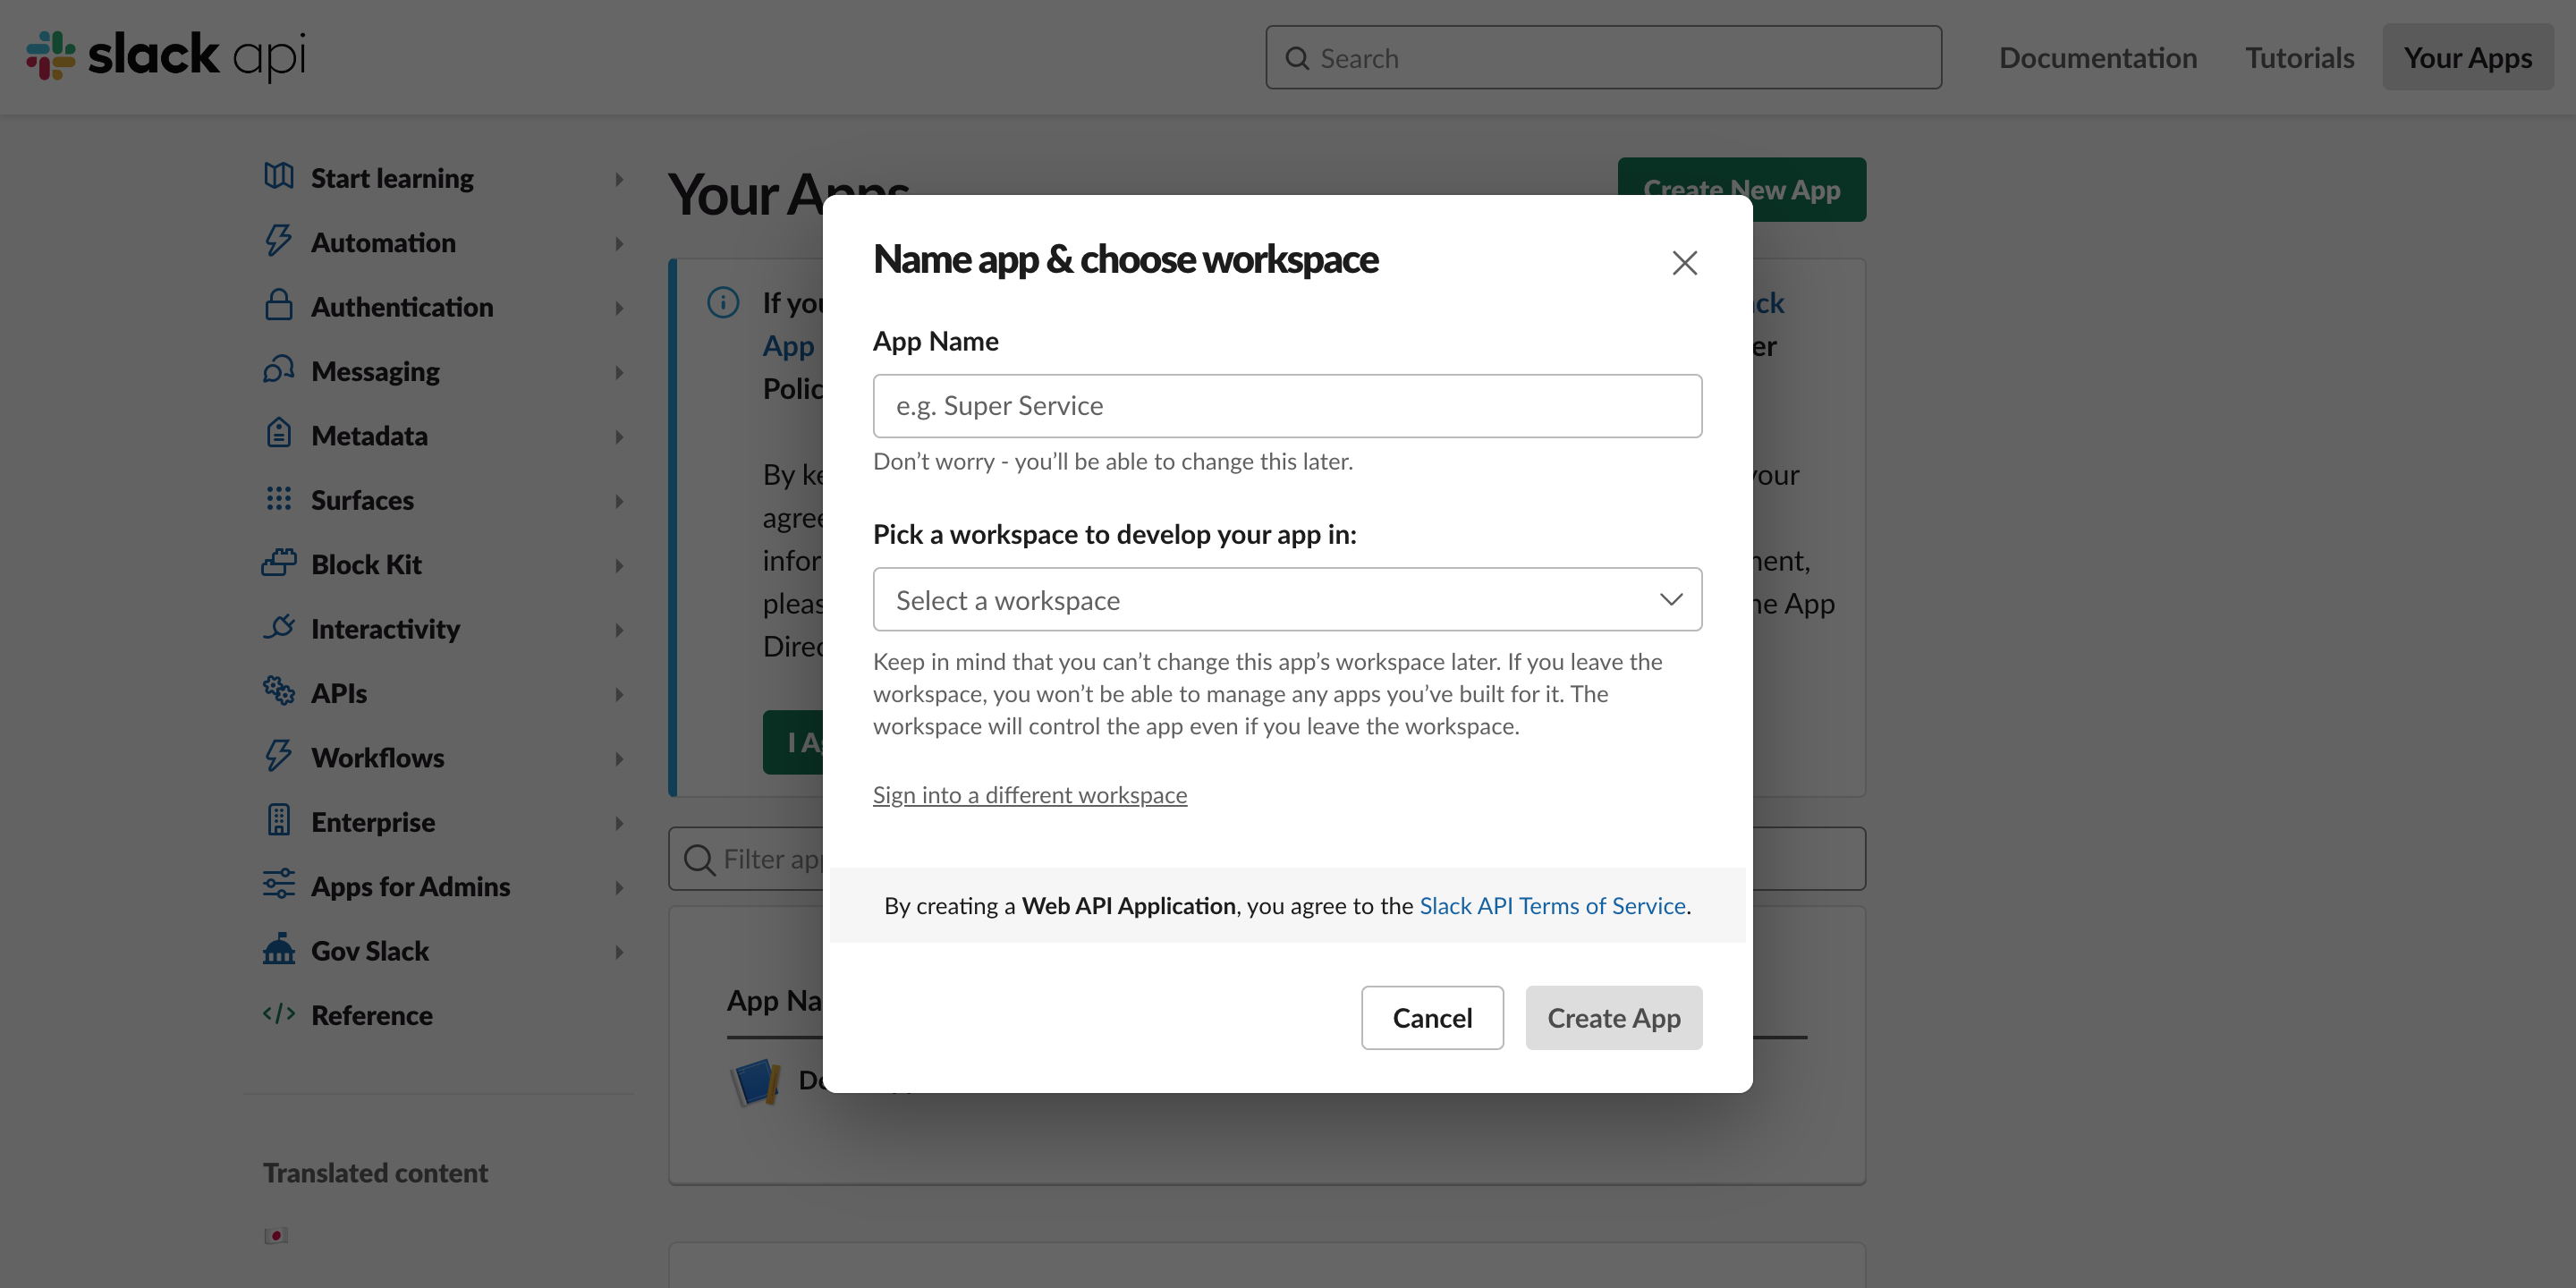
In the pop-up window, choose From Scratch as the app type.
Enter a name for your app and select the workspace where it should be installed.
Click Create App to finish.
🎉 Congratulations! Your Slack app has now been successfully created and added to your workspace.
Enabling Incoming Webhooks
Incoming webhooks allow Keka to send automated messages to your Slack channels. To enable them:
-
In your Slack app configuration page, go to the left navigation bar and select Incoming Webhooks.
-
Enable the Incoming Webhooks toggle to activate the feature.
-
Scroll down and click Add New Webhook to Workspace.
In the new window, select the channel where Keka should post messages.
-
Click Allow to grant permissions.
Slack will generate a unique Webhook URL for your workspace.
Copy this URL — you’ll need it while setting up Slack integration in Keka.
You’ve now successfully enabled incoming webhooks for your Slack app!
Configuring Slack with Keka
Once you’ve created your Slack app and copied the Webhook URL:
Go back to Keka and navigate to the Slack Notifications configuration page.
Follow the steps in Configuring Slack Notifications to complete the setup.
This will connect your Slack app with Keka, allowing real-time updates and notifications to flow directly into your Slack channels.
By following these simple steps, you can quickly set up your Slack app and enable incoming webhooks for seamless communication between Keka and Slack.
We hope this guide helps you configure your Slack integration smoothly!
Comments
0 comments
Please sign in to leave a comment.