What are Locations?
Locations in Keka represent the physical sites where your company operates—such as offices, branches, factories, or warehouses. Defining locations helps you organize employees by work site, assign location heads, and support accurate HR operations across regions.
This guide explains how to add individual locations or import them in bulk using an Excel file.
Adding your organization’s location
Adding the locations where your company operates helps you segment employees by their work sites. You can also assign a Location Head to oversee each site for better on-ground management.
Here’s how to set up locations in the Keka HR portal:
Click Org from the left-side menu.
Select the Org Structure tab.
Go to the Locations tab.
Here, you’ll see a list of all configured locations. You can either add a location individually or import multiple locations in bulk.
Adding a location Individually
To add a new location manually:
Click Add Location.
-
In the Add Location window, enter the following details:
Name of the location
Group Email to reach everyone at that location
Timezone
-
Full address including:
Country
State
Address
City
Zip Code
Description (optional)
Click Add to save the location.
Once added, the location will appear in your locations list. You can also search for and assign a Location Head by selecting an employee, if needed.
Importing locations in bulk
To import multiple locations using an Excel file:
-
Click Import Location on the Locations screen.
-
In the Import Locations window, choose the country and click Download the Excel Template.
Note: You can only add new locations this way. Existing locations cannot be updated via import.
-
Fill in the required fields in the Excel file. The following fields are mandatory and must be completed:
Location Name
Timezone
Country
State
Address Line 1
City
Zip Code
Save the Excel file once all required data is filled in.

5. Return to Keka and click Upload Excel File.
6. Select your edited file and upload it.
7. On the Match Columns screen, make sure each column in your file matches the correct fields in Keka—especially if you’re not using the template.
8. Click Continue to go to the Preview Data screen.
Review your data.
If there are errors, they’ll be shown here.
Fix the errors in your Excel file and re-upload it.
Once the data is error-free, click Complete.
-
In the popup that appears, click Confirm to finish the upload.
The new locations will now be visible on the Locations screen.
Note: You cannot assign multiple locations to a single employee.
The locations you have added will now be visible on the Location screen.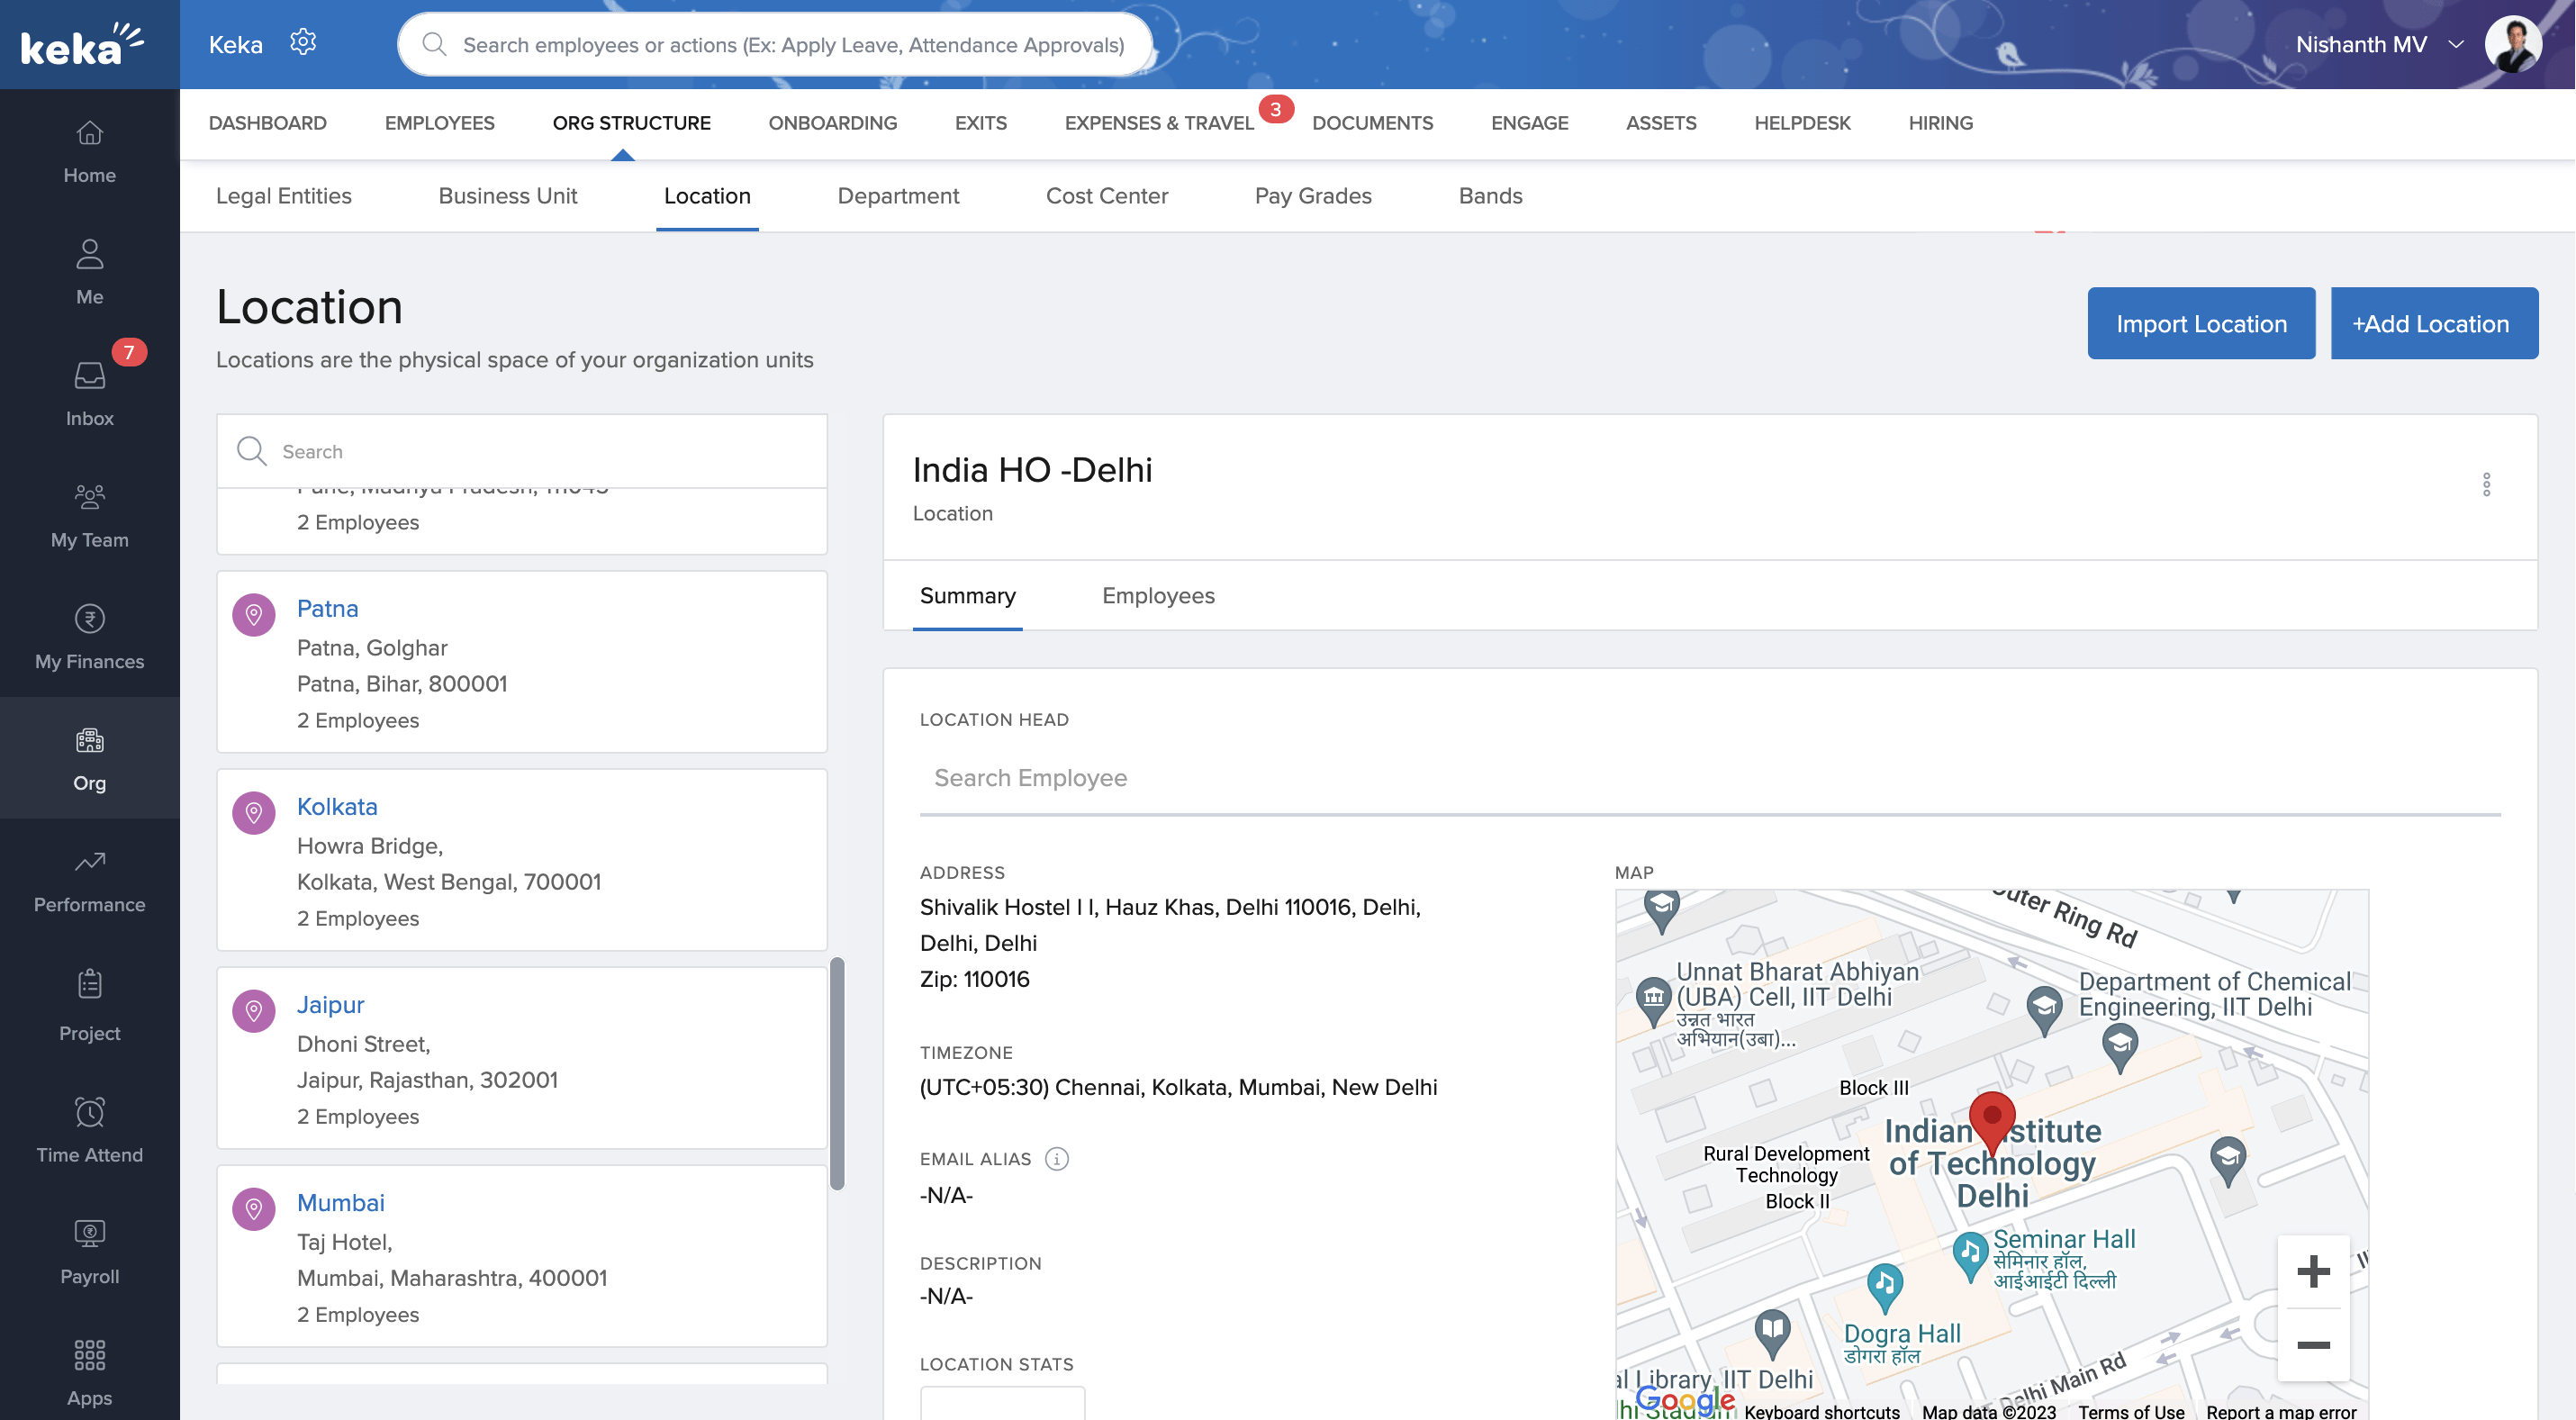
Please let us know if you find this article helpful.
Comments
0 comments
Please sign in to leave a comment.