Overview
Managing multiple clients and projects can be overwhelming when adding them one by one. In Keka, you have the option to bulk-upload Clients and Projects instead of adding them individually.
Who can do this?
- Global Admins
- PSA Admins
- Project Admins with access to Bulk Import
Pre-requisites
- Access to the Projects module and Bulk Import permission.
- Use the provided Excel template for import.
- Ensure mandatory columns (highlighted in red) are filled.
- Prepare accurate client and project data, including addresses if updating.
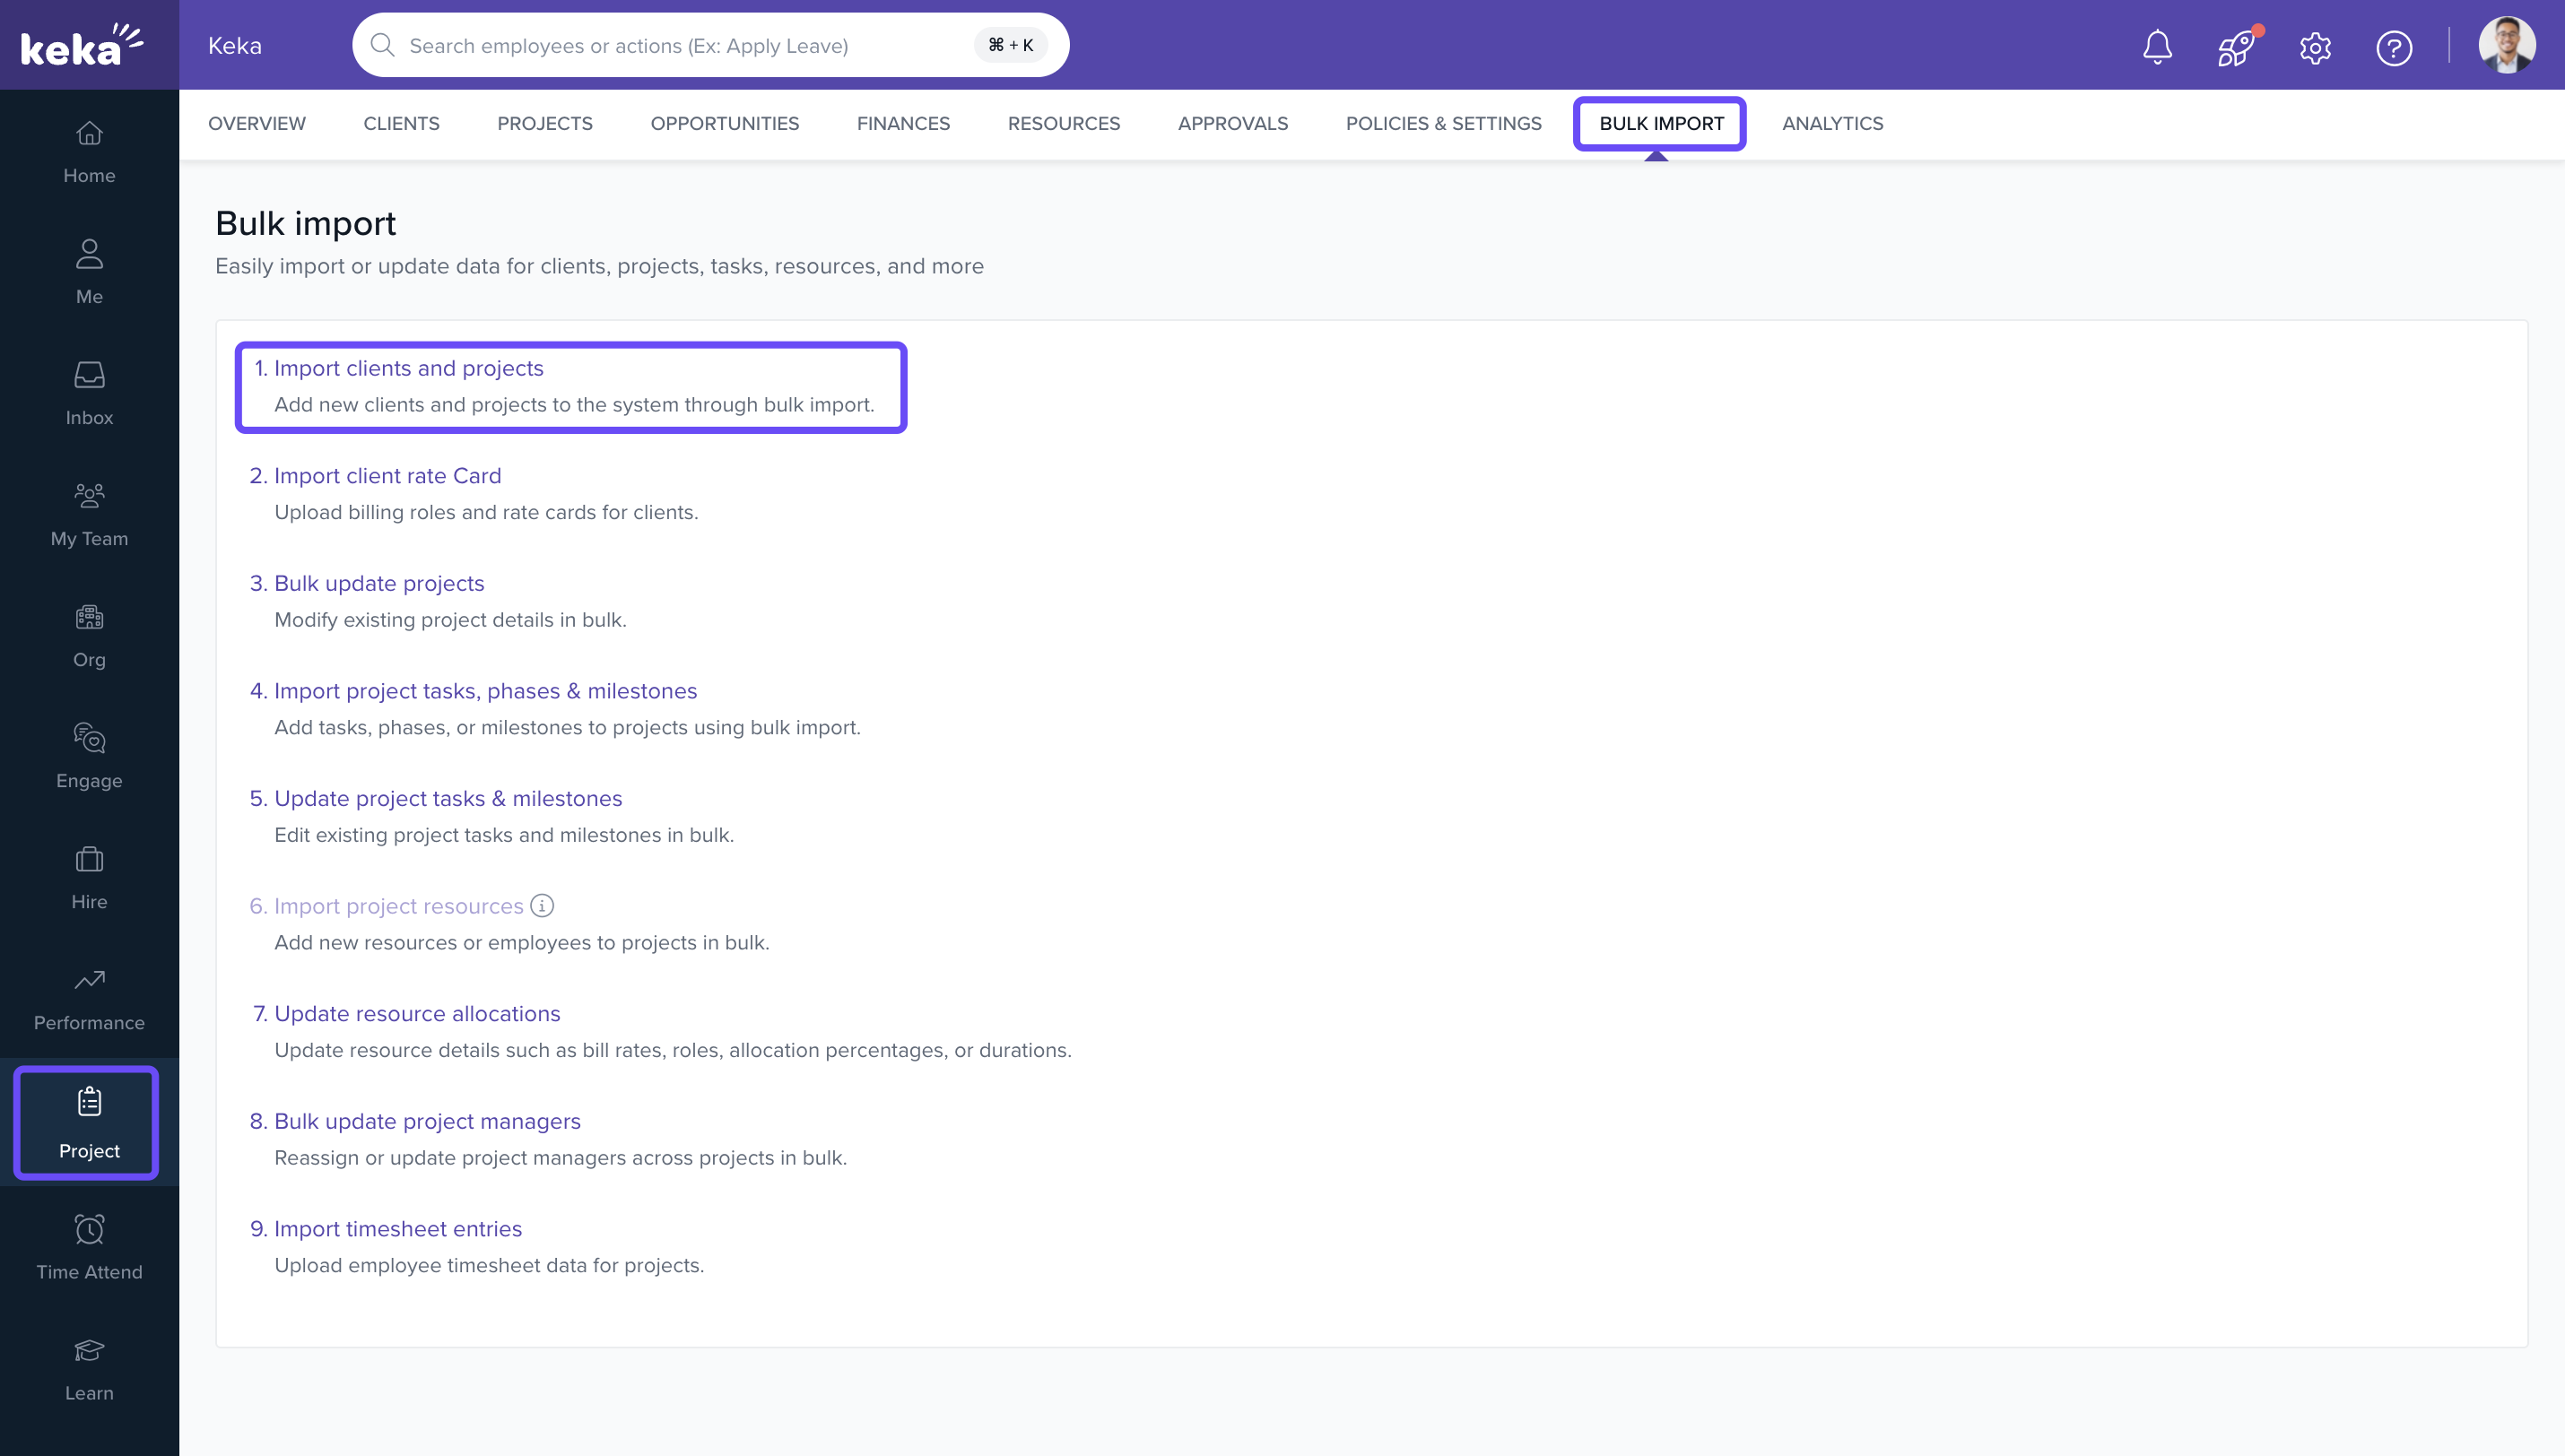
Step-by-step instructions
Access Bulk Import
- Navigate to the Project section and click on Bulk Import.
- Within the Timesheet Imports option, locate Import Clients and Projects.
Download the Excel Template
- Click the option to download the Excel Template from the page to access the template.
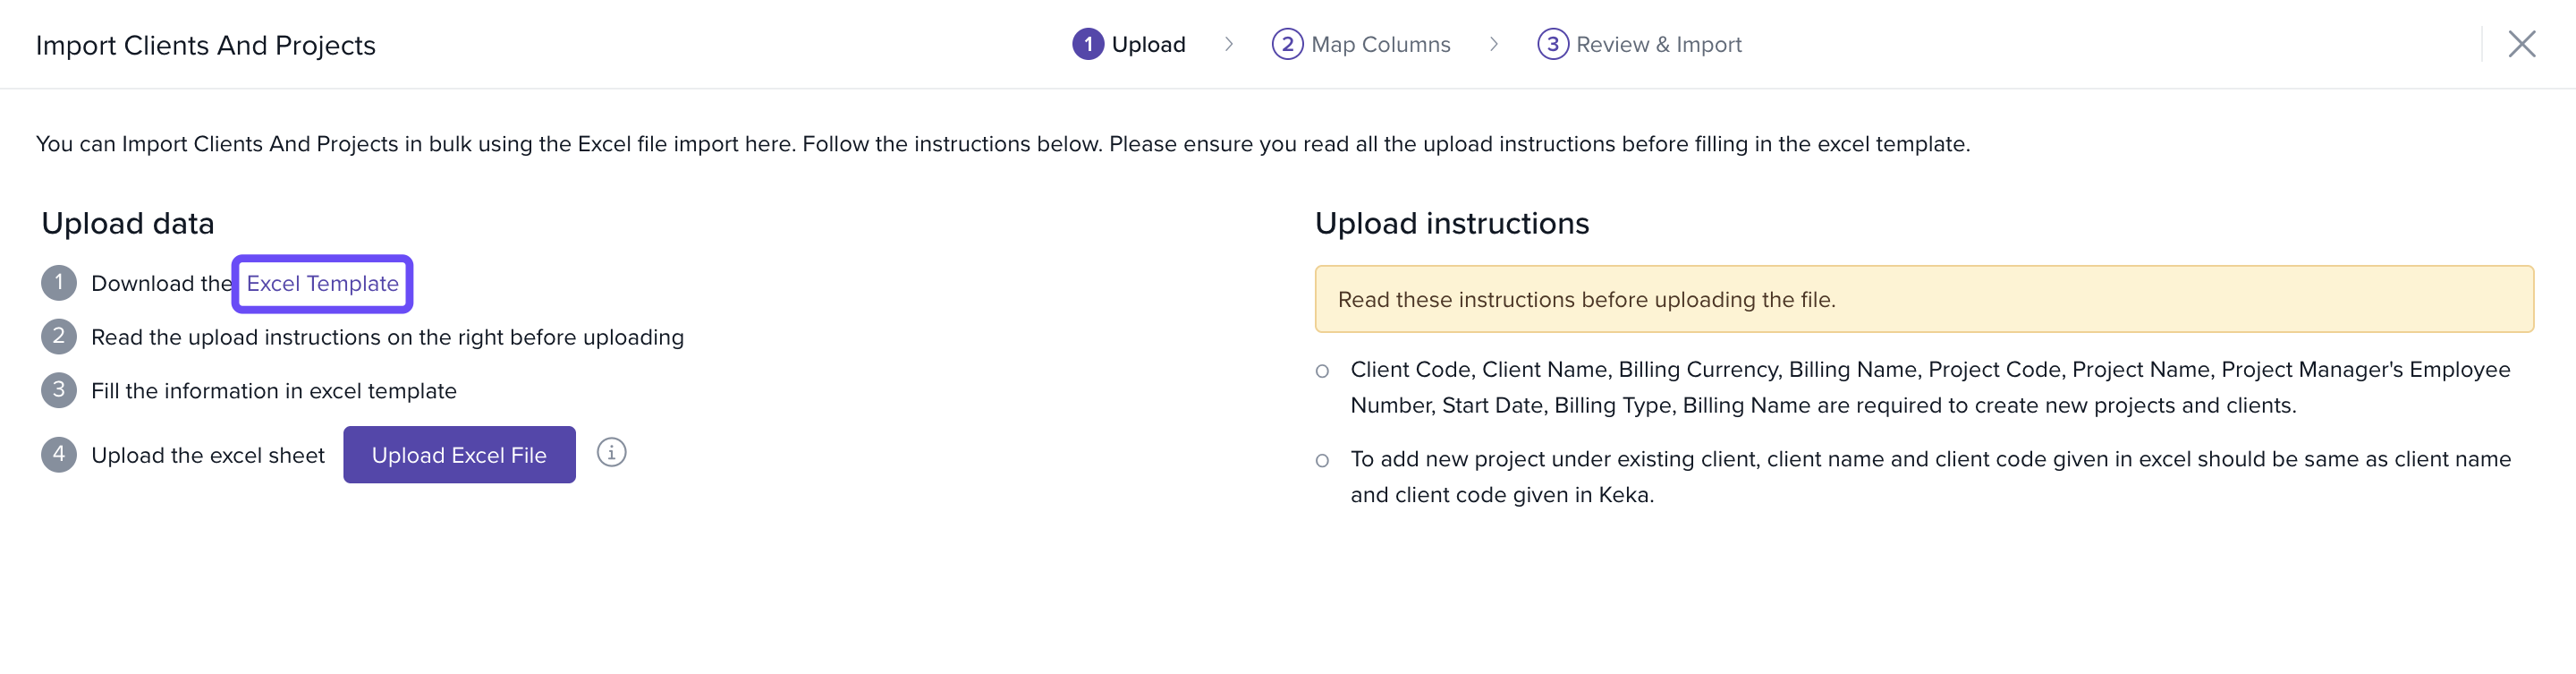
Fill the template
- After downloading the template, fill in all the necessary fields in the sheet.
- Remember, column titles highlighted in red are mandatory.

- Save the file once all the data is entered.
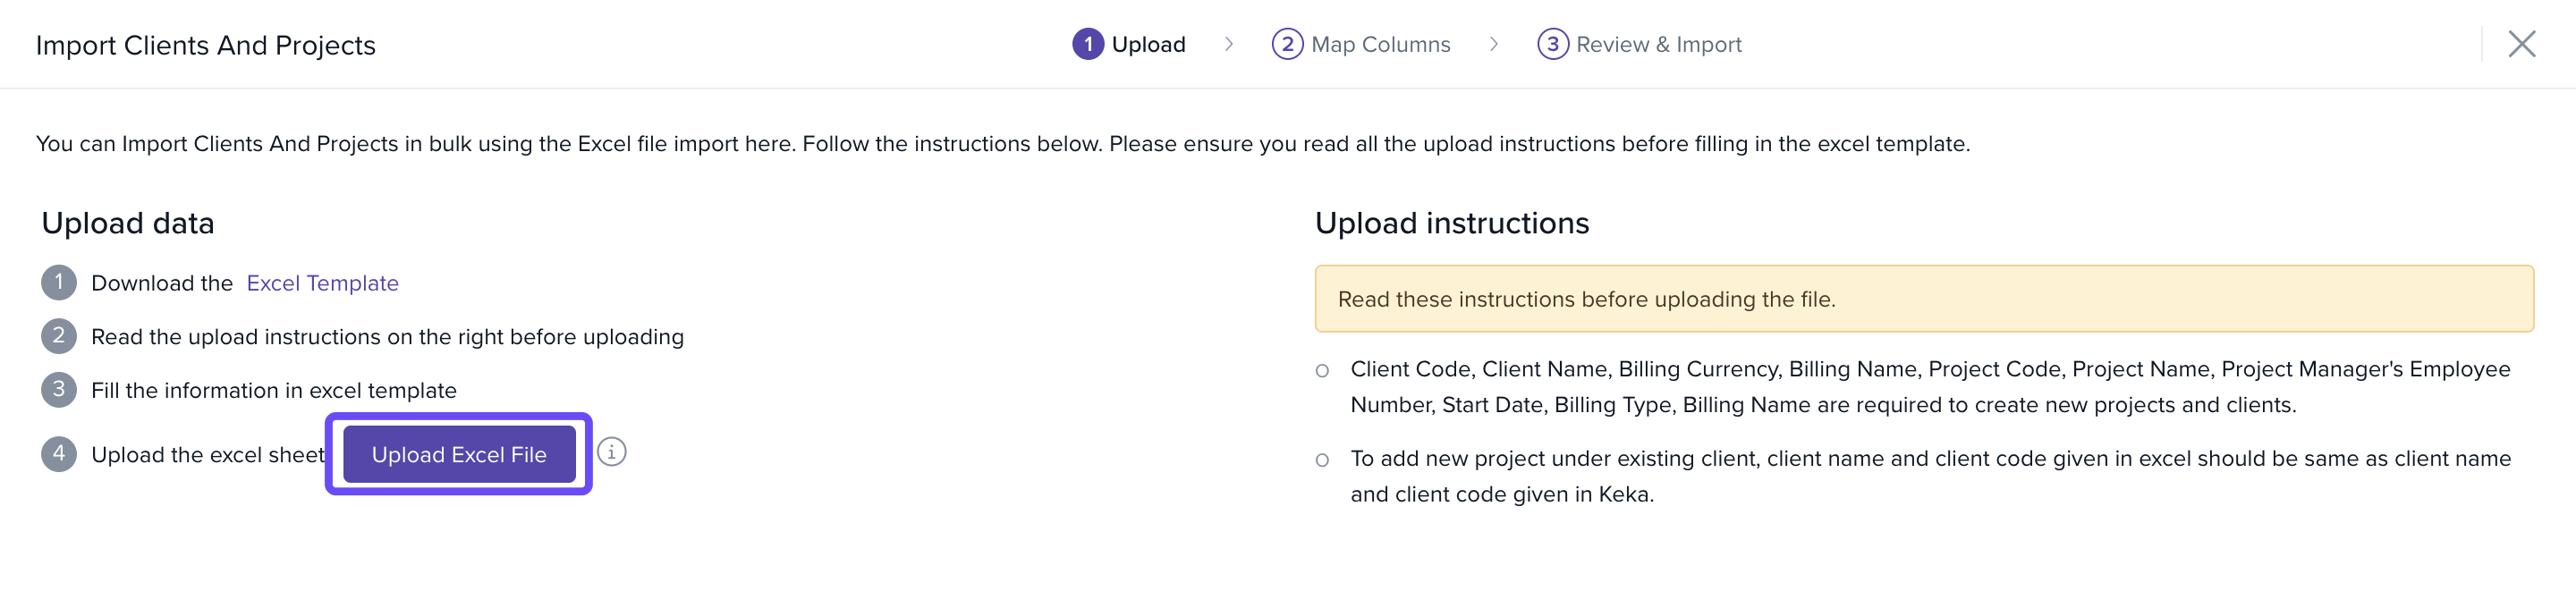
Upload the Excel file
- In Keka, on the corresponding page, choose Upload Excel File and select your saved template.
- After completion, the process will automatically progress to the next page.
- Note: You can now efficiently update client address information during the bulk import process, allowing you to modify multiple client addresses simultaneously.
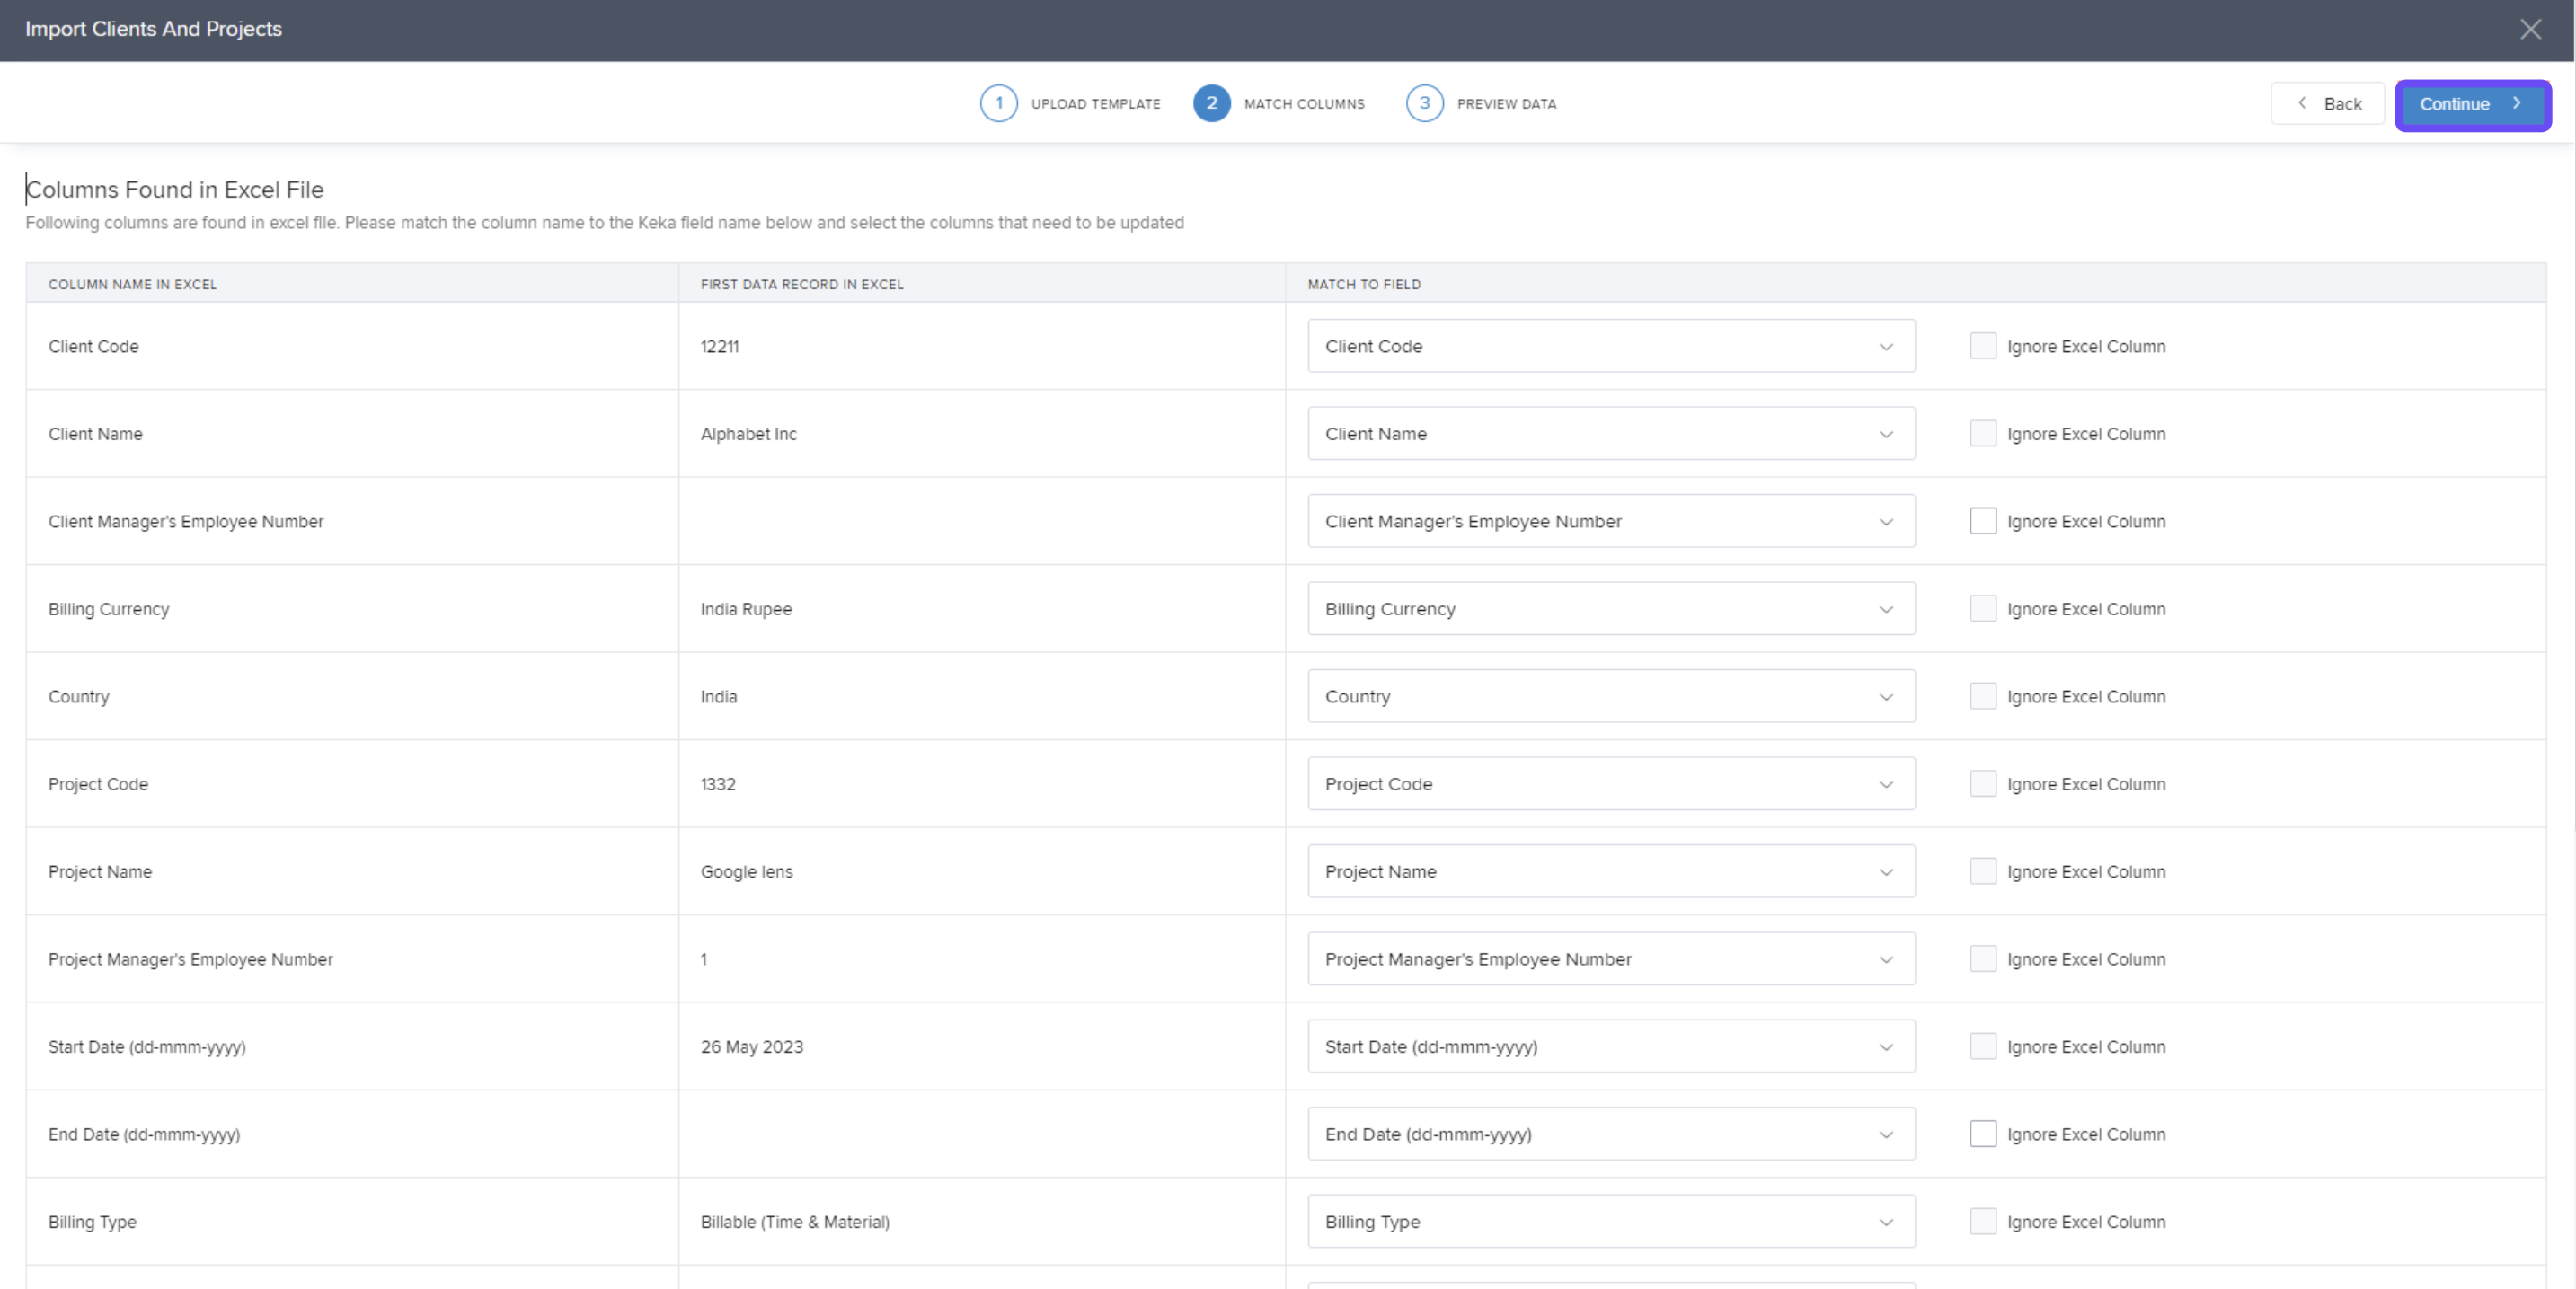
Review column mapping
- Review the columns for accuracy and alignment.
- Click Continue.
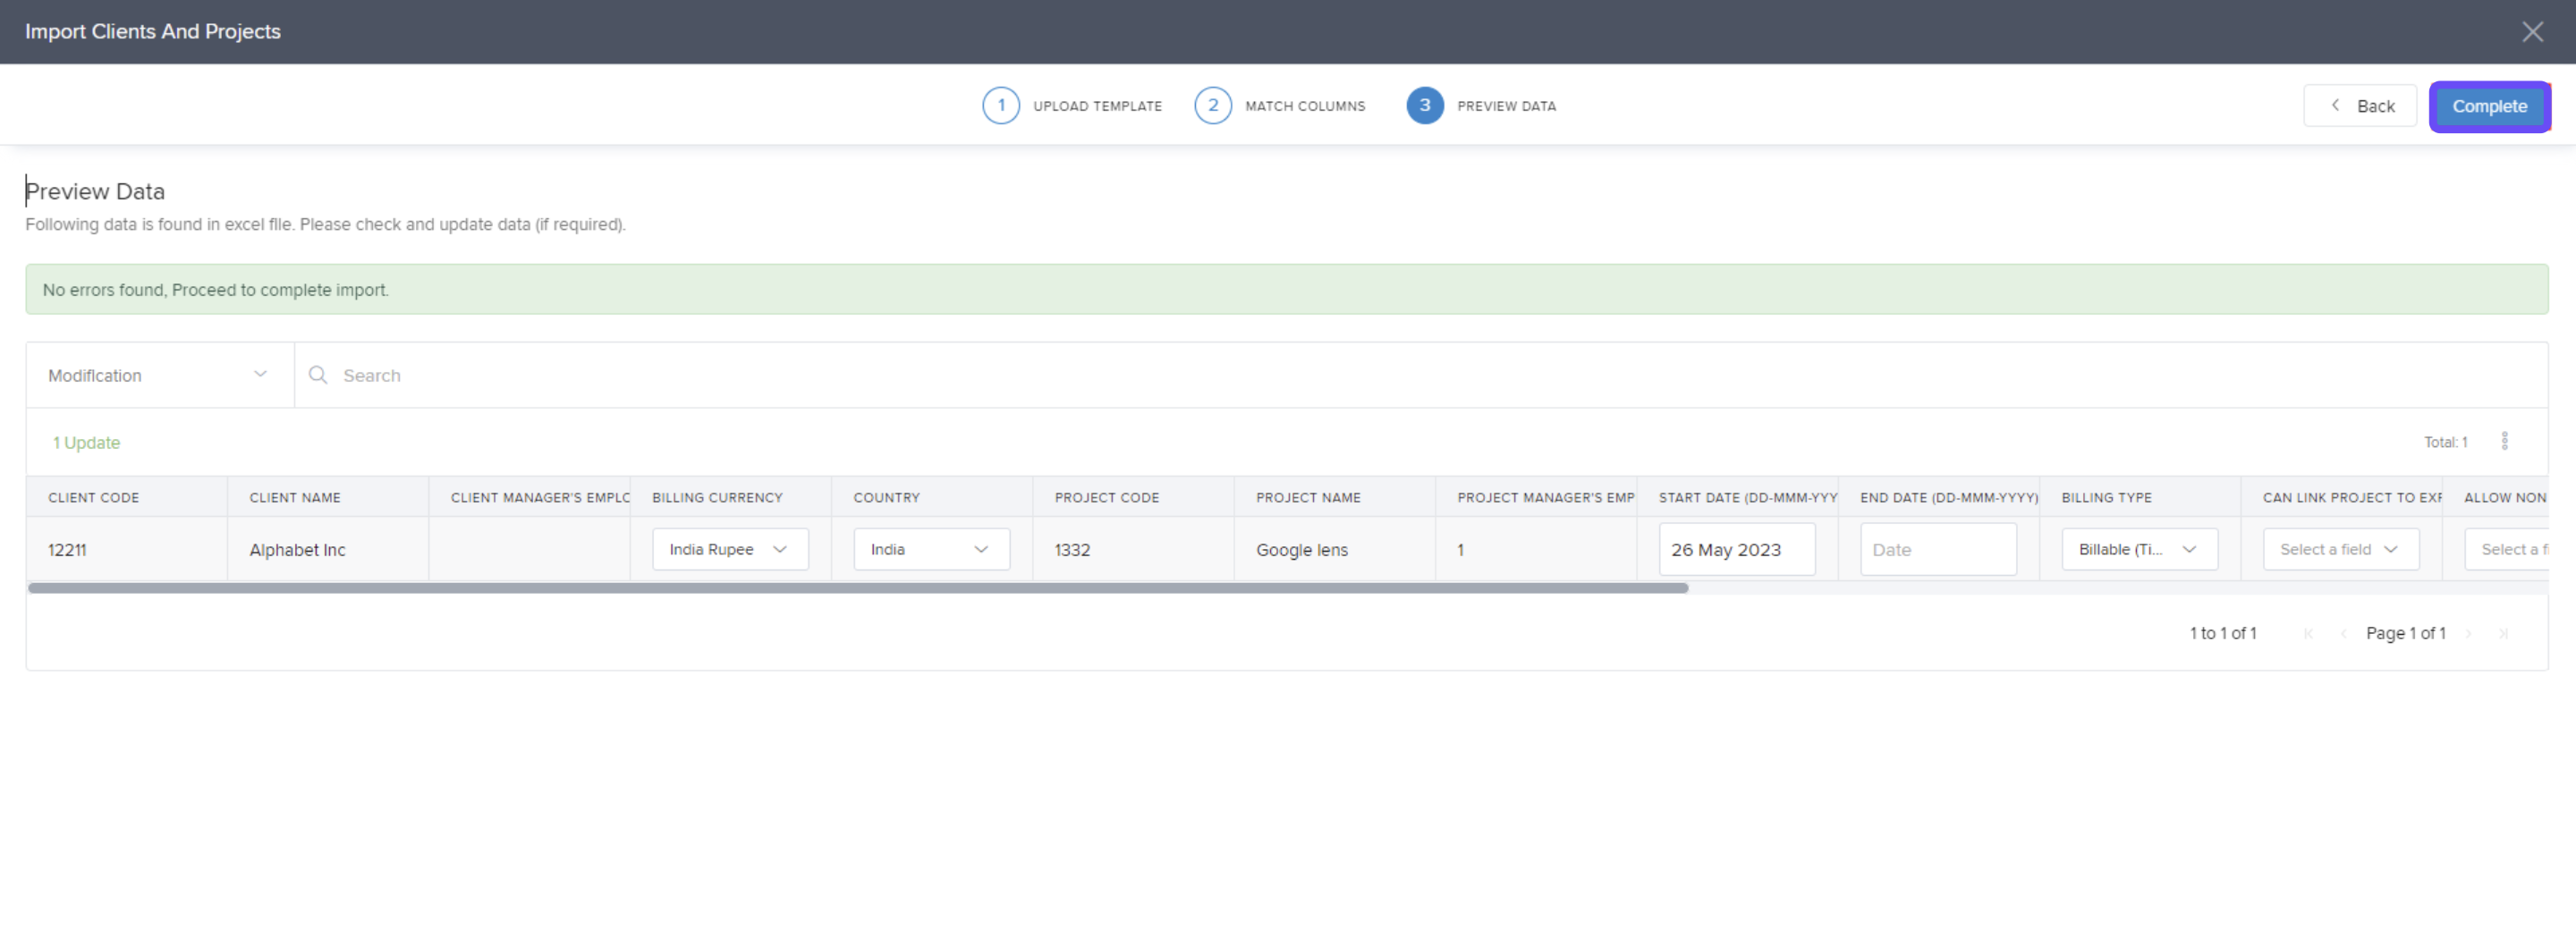
Finalize and complete
- On the final page, make any necessary adjustments.
- Click Complete to successfully upload the file.
How it connects with other modules
- Projects: Creates/updates projects linked to clients for downstream planning and execution.
- Billing & Invoicing: Ensures clients/projects exist for rate cards, invoices, and charges.
- Analytics/Reports: Imported data appears in client/project reports without manual re-entry.
FAQs
Q: Can I include client address details in bulk?
A: Yes. Client addresses can be updated during the bulk import process.
Q: Are all columns mandatory?
A: No. Only the red-highlighted columns are mandatory; others are optional.
Q: What happens after I upload the file?
A: The system validates your data, guides you through column review, and then completes import on confirmation.
Troubleshooting
- Upload failed or rows skipped: Verify mandatory columns are filled and values match expected formats.
- Projects not created: Ensure client names/projects match template requirements and that you used the latest template.
- Address updates not reflecting: Recheck that address columns were included and mapped correctly during the review step.
Comments
0 comments
Please sign in to leave a comment.