Introduction
Use Email Templates in Keka Hire to quickly send common hiring emails—like interview invites, process kickoffs, or rejections—without rewriting each message.
Templates support placeholders (e.g., candidate name, job title) so each email feels personal.
You can create Individual templates (visible only to you) or Shared templates (available to all recruiters in your Keka Hire portal).
Configure and manage email templates
Open Email Templates
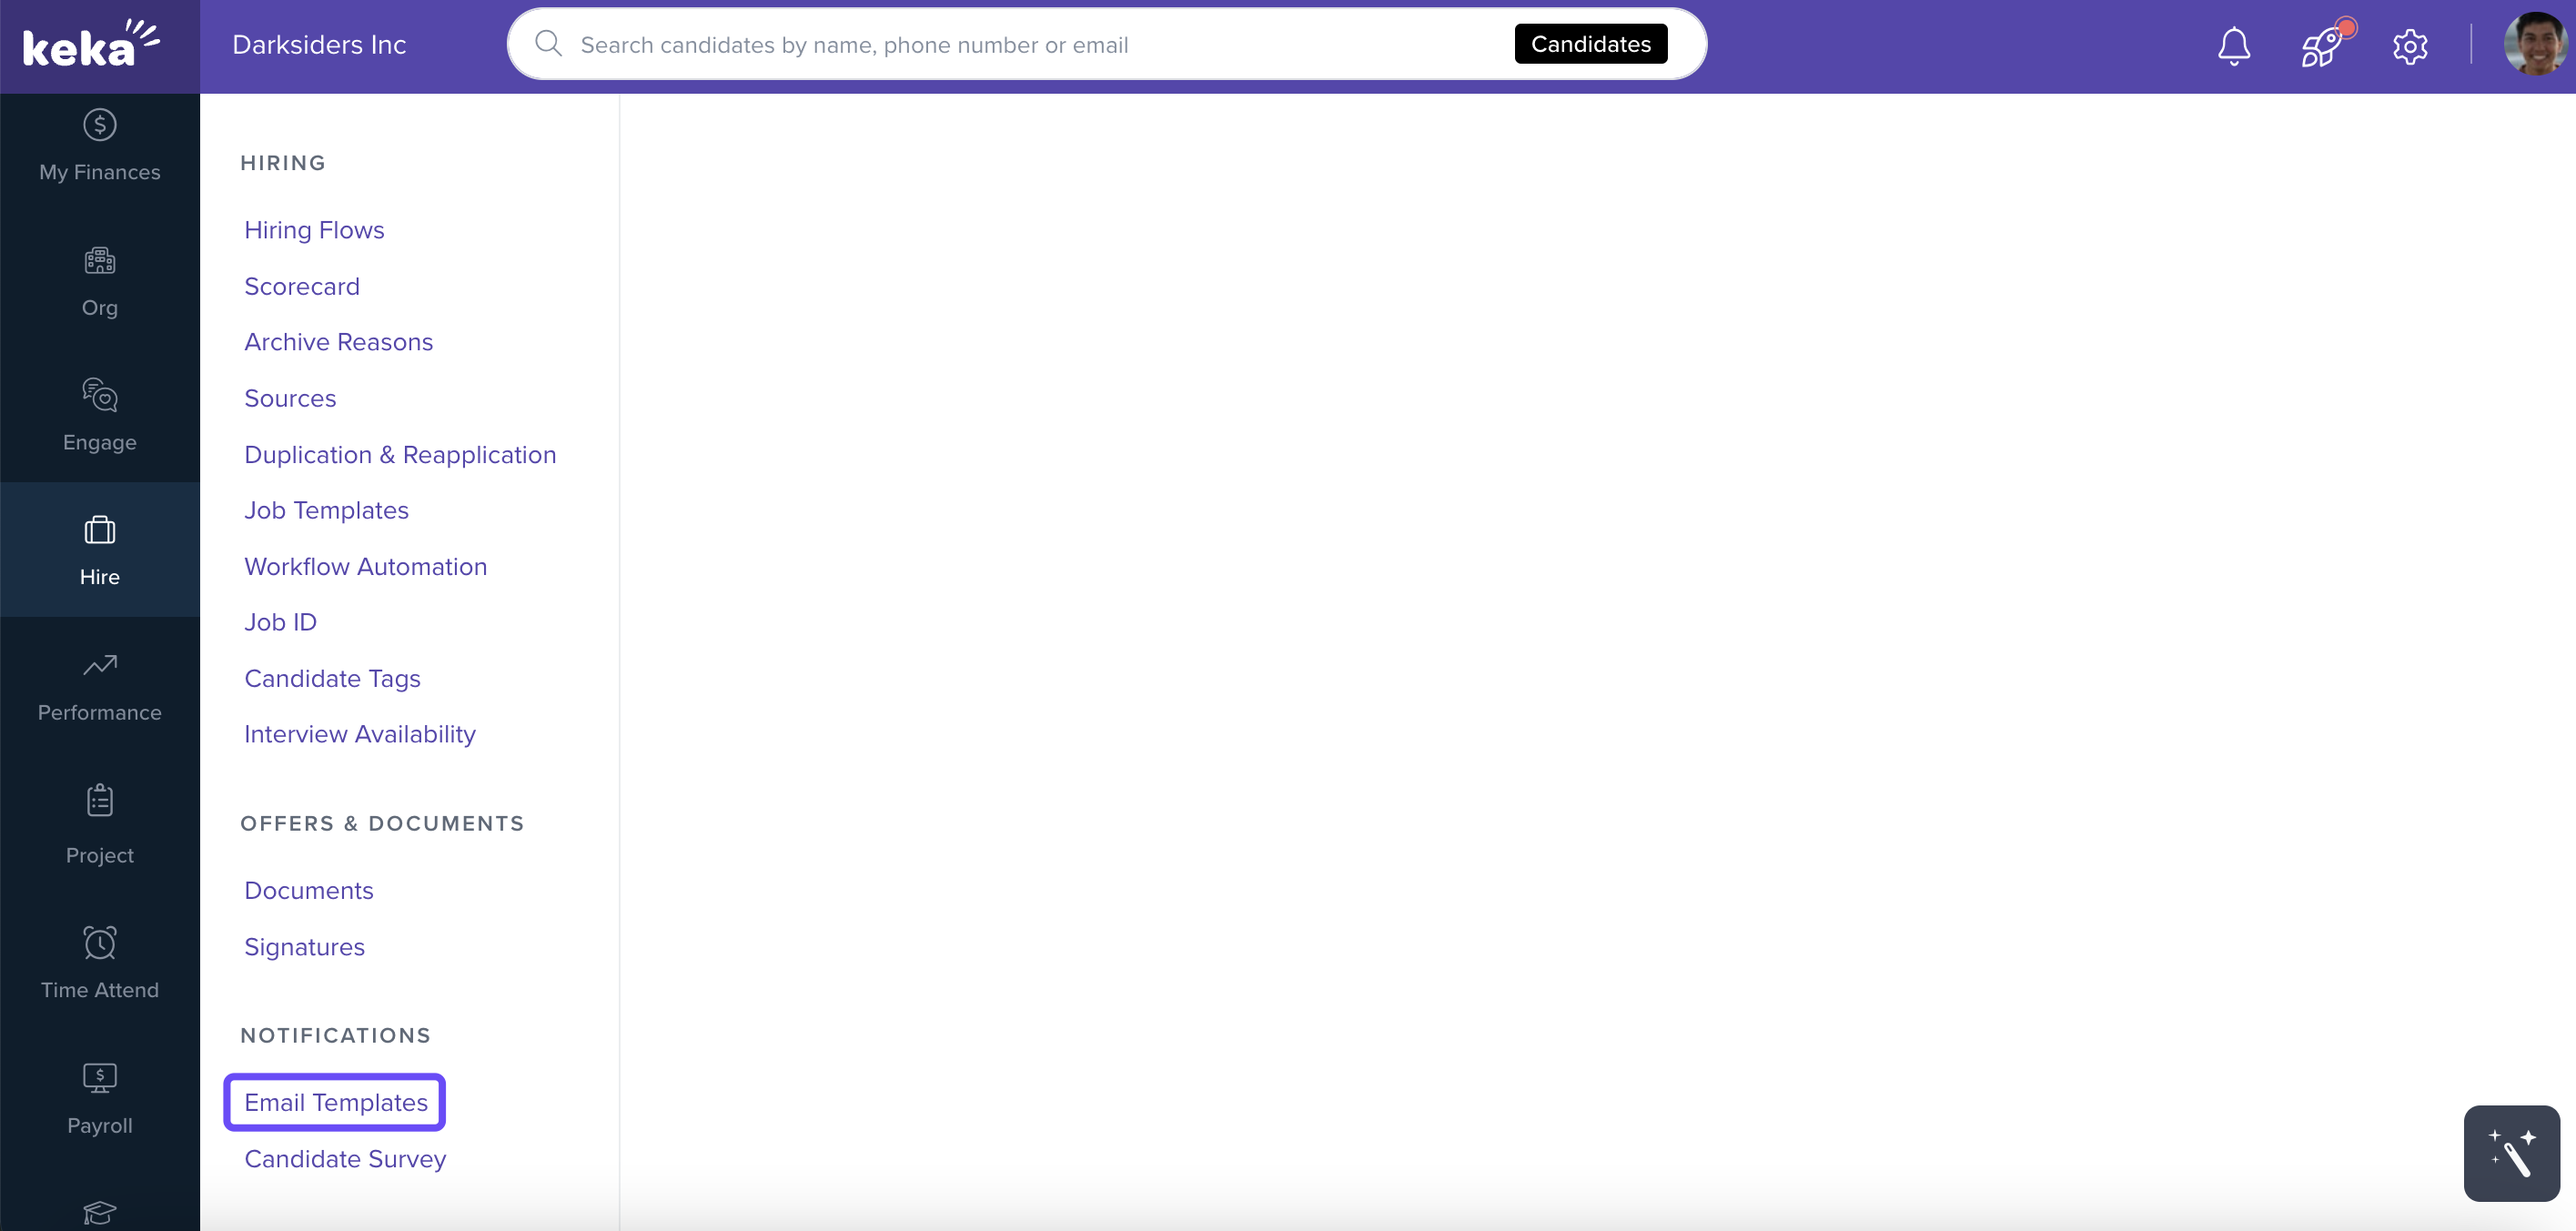
Go to Hire → Settings.
-
Under Notifications, click Email Templates.
Start a New Template
-
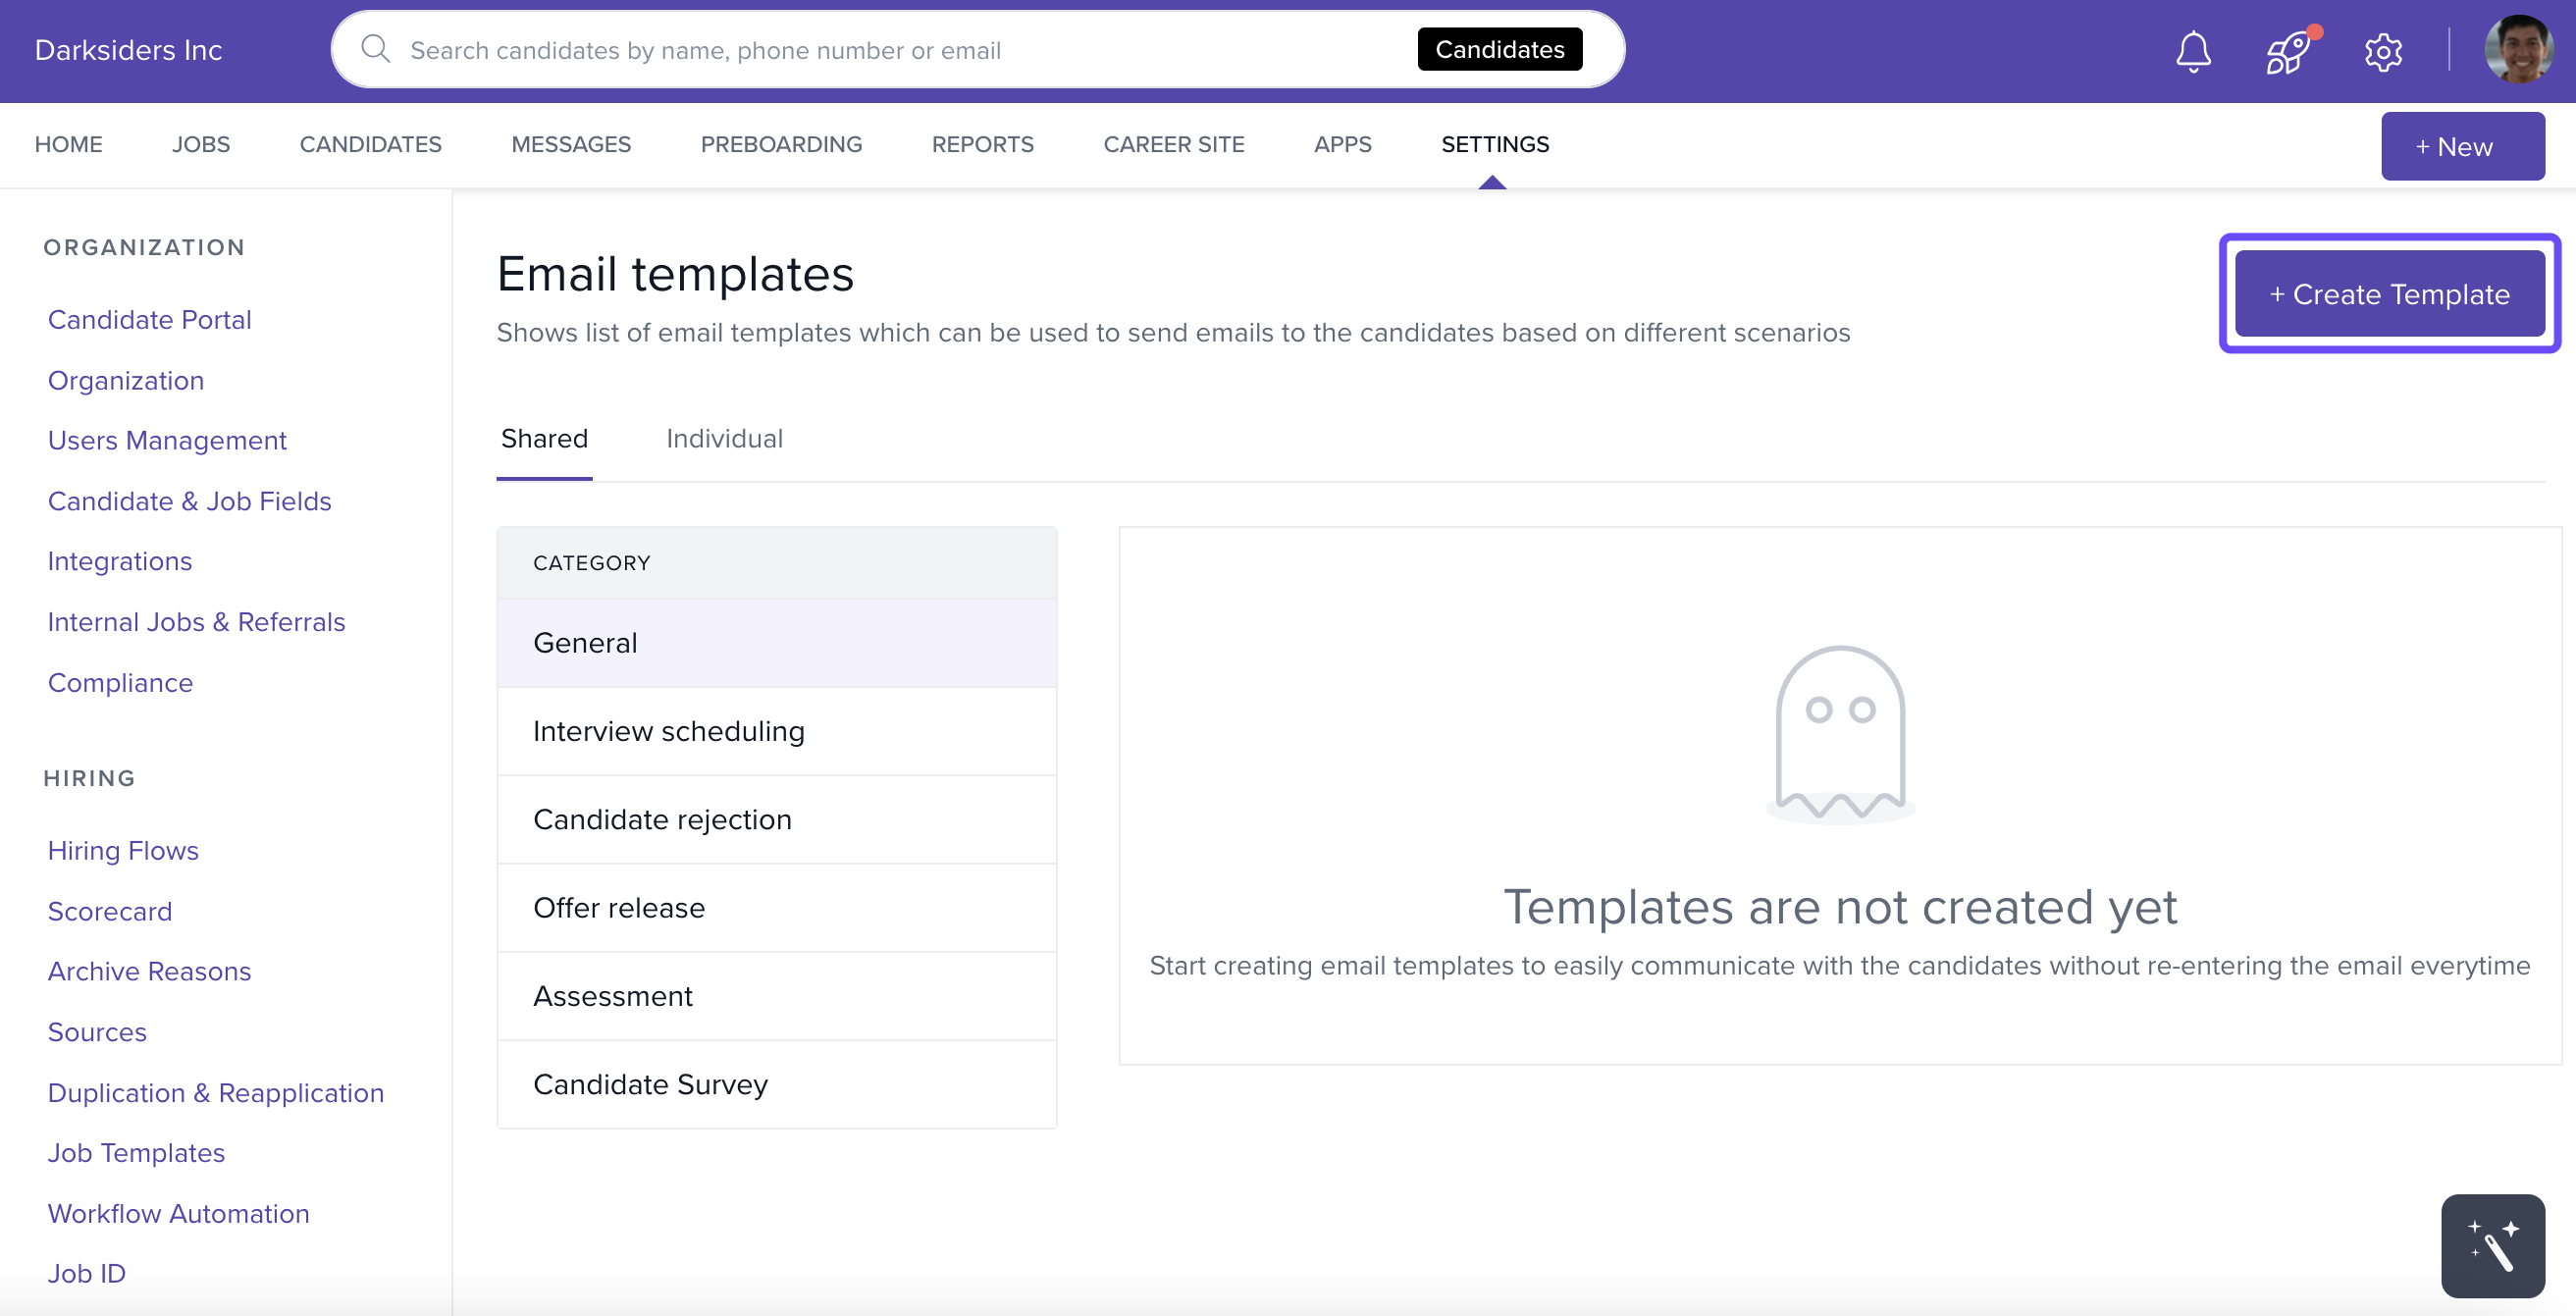
Click + Create Template.
Choose Category & Visibility
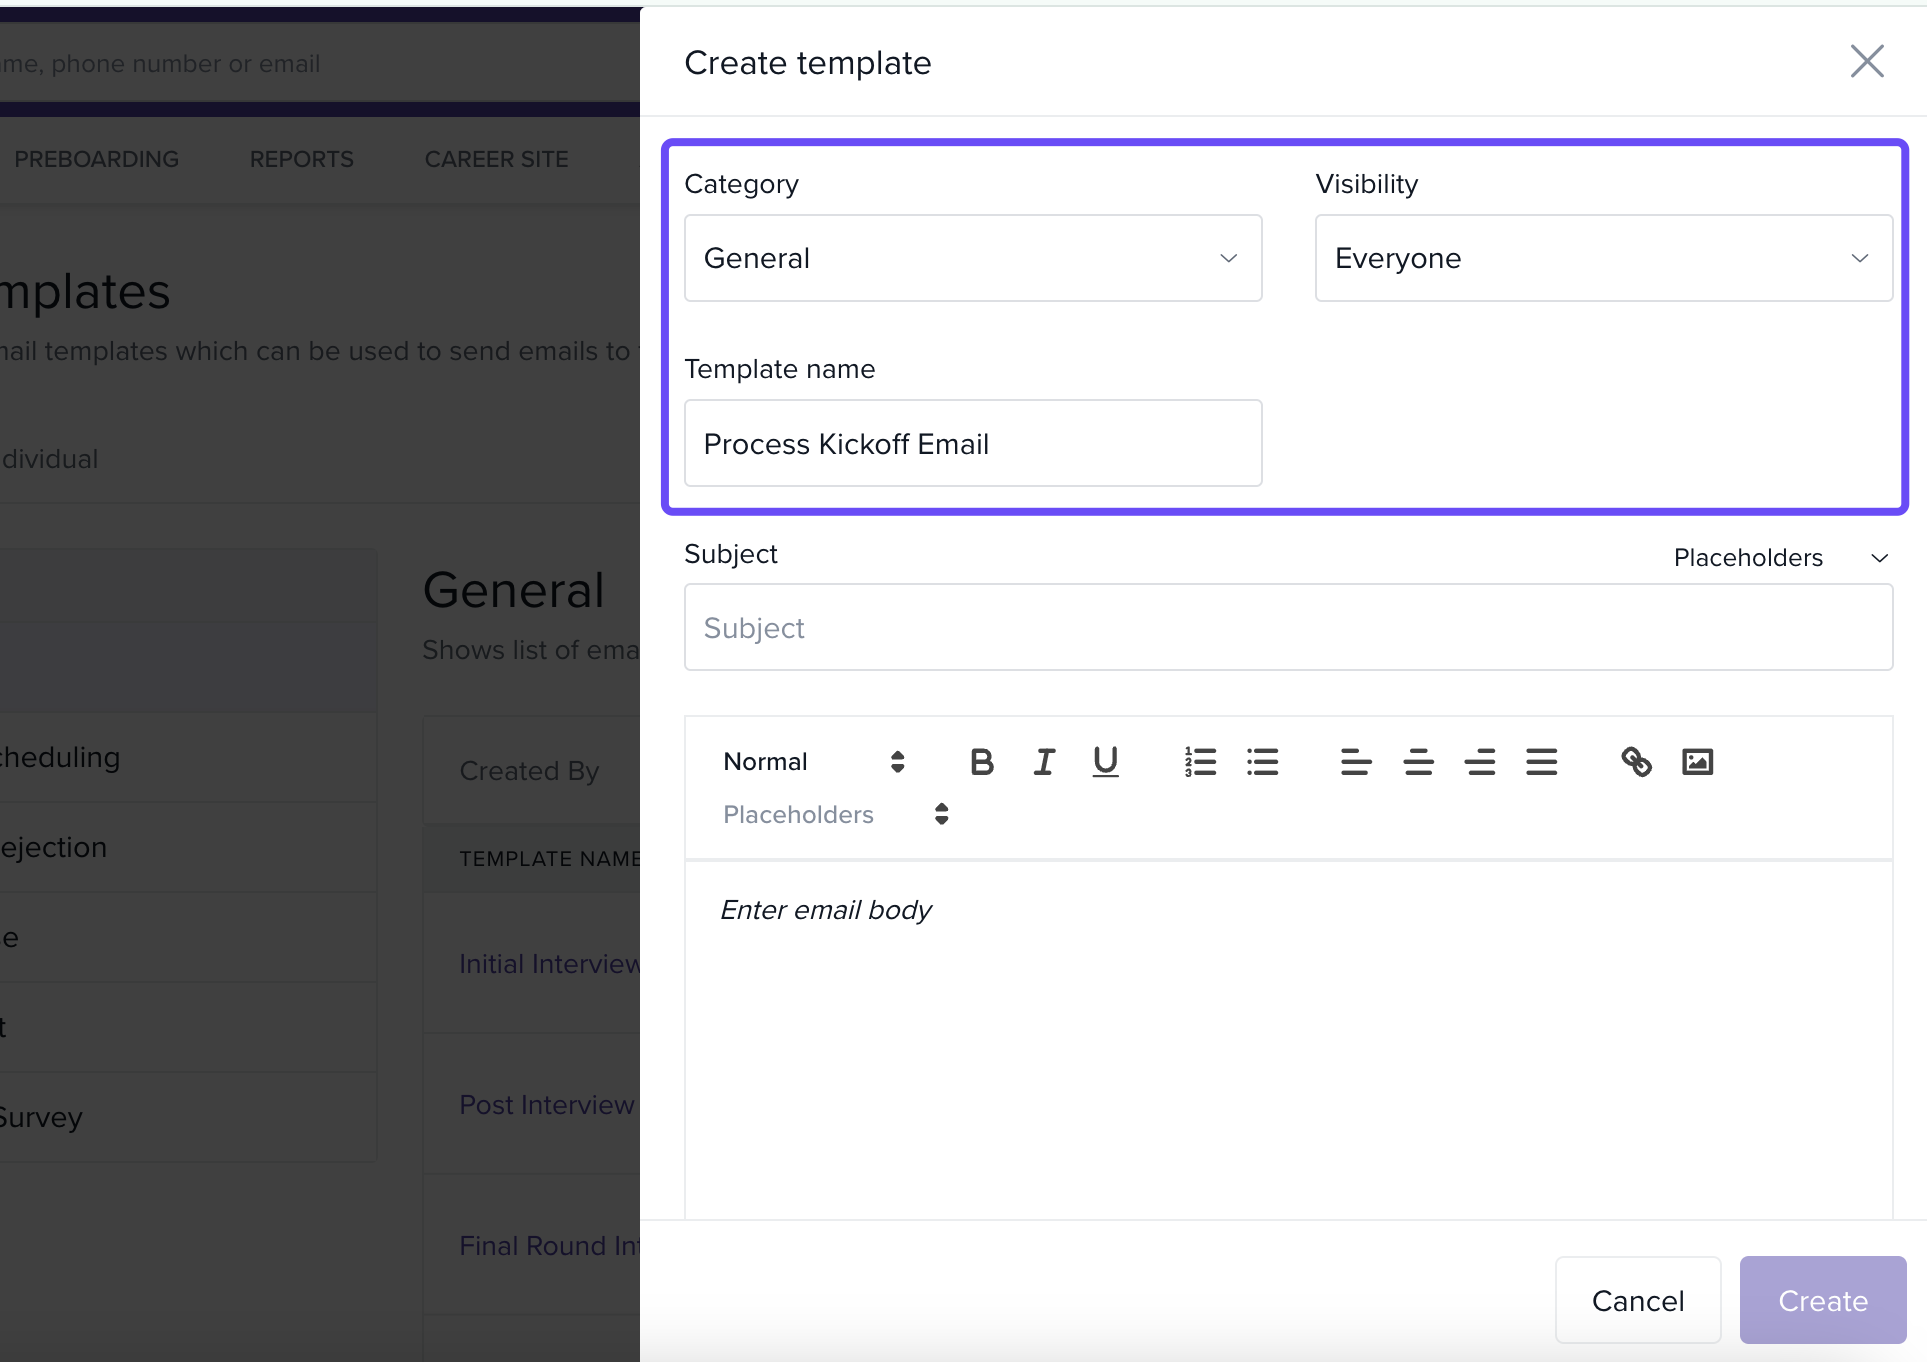
In Create Template, select the Category that matches the hiring stage or communication type.
-
Select Visibility:
Everyone — available to all recruiters on your Keka Hire portal.
Only Me — visible only to you.
Enter a clear Template Name so your team can recognize it later (example: “Hiring process kickoff – General”).
Write the Subject (with Placeholders)
Enter a concise, informative Subject.
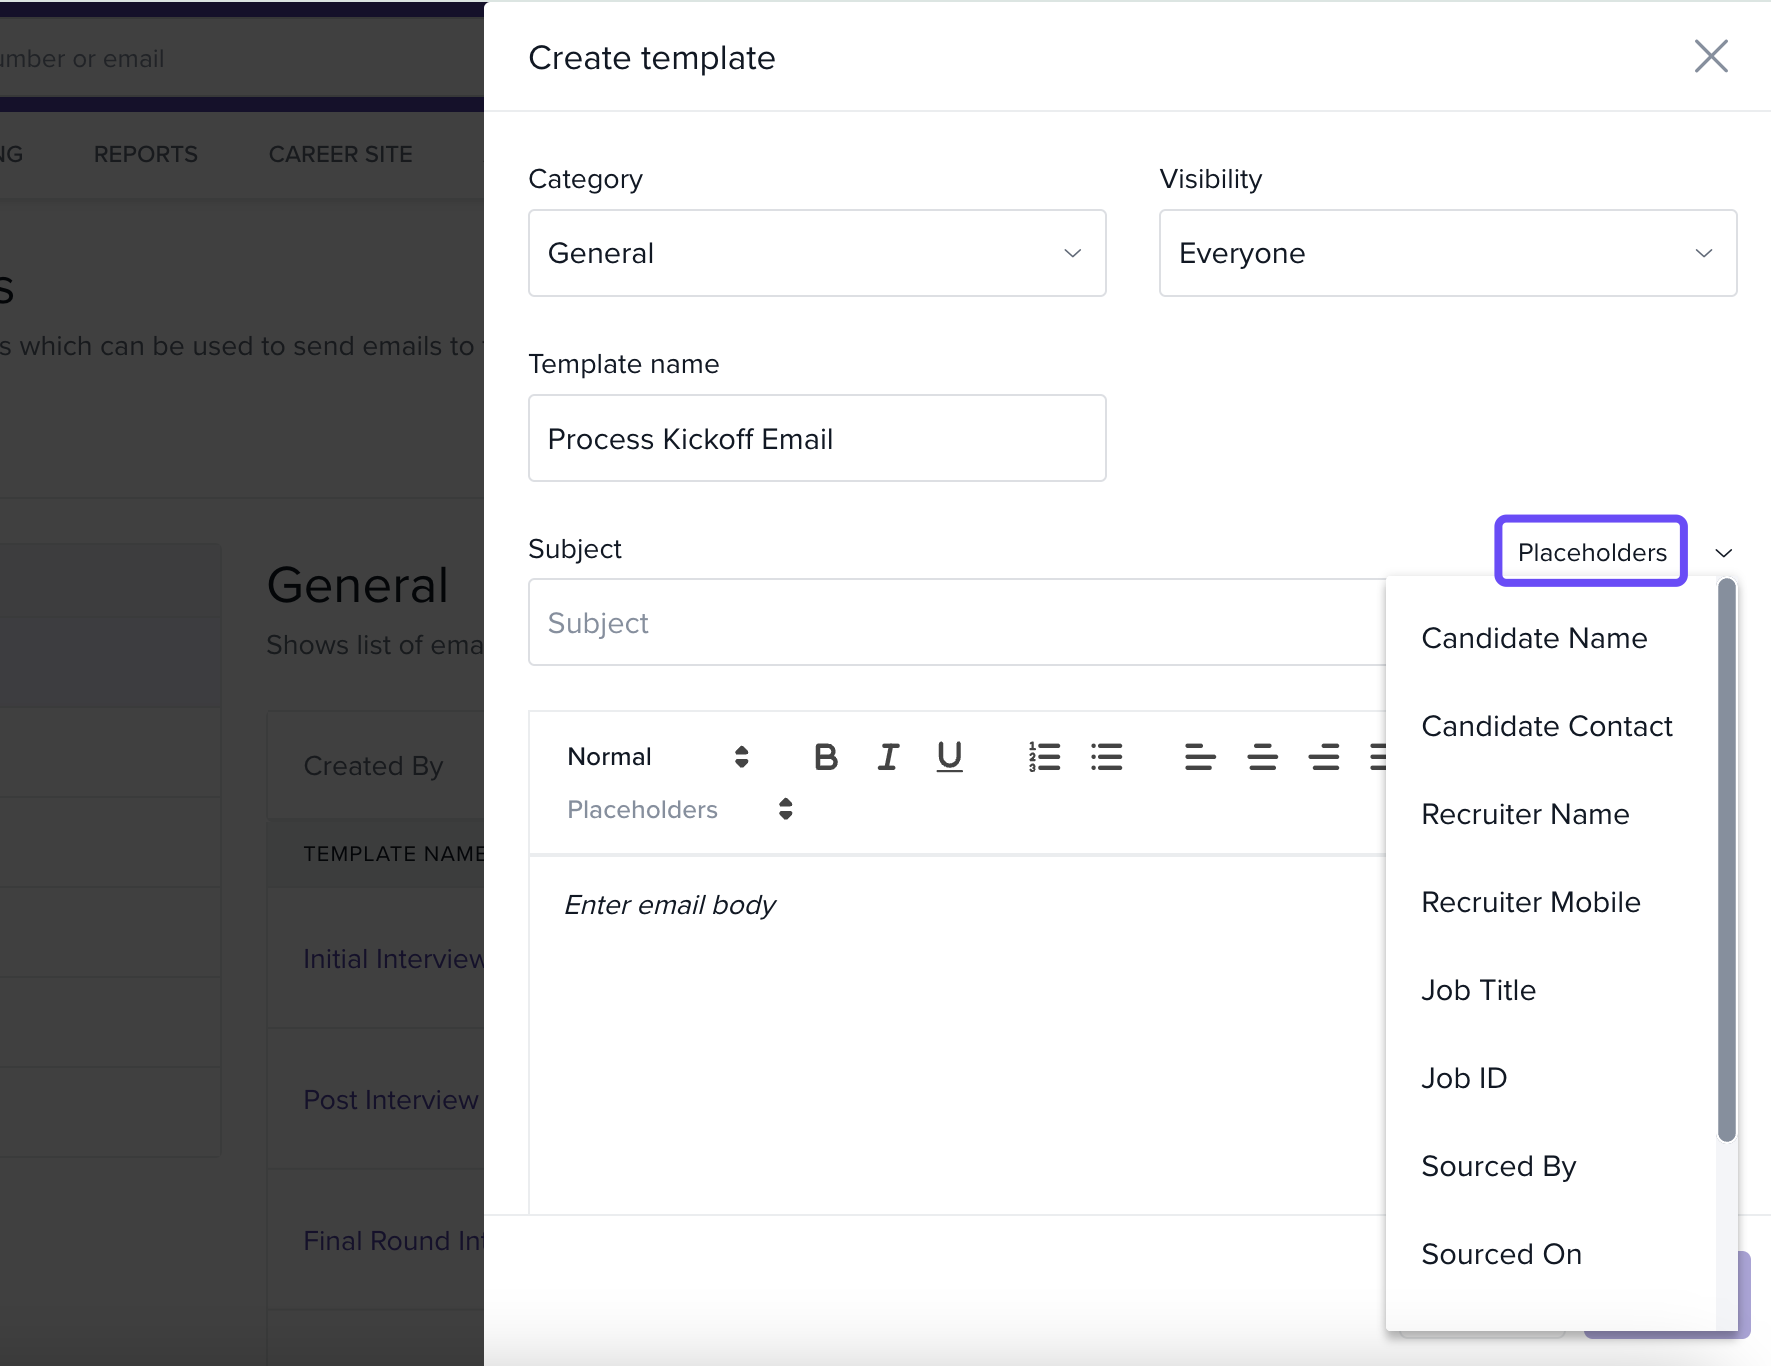
Insert placeholders by clicking the arrow next to Placeholders and selecting the fields you need.
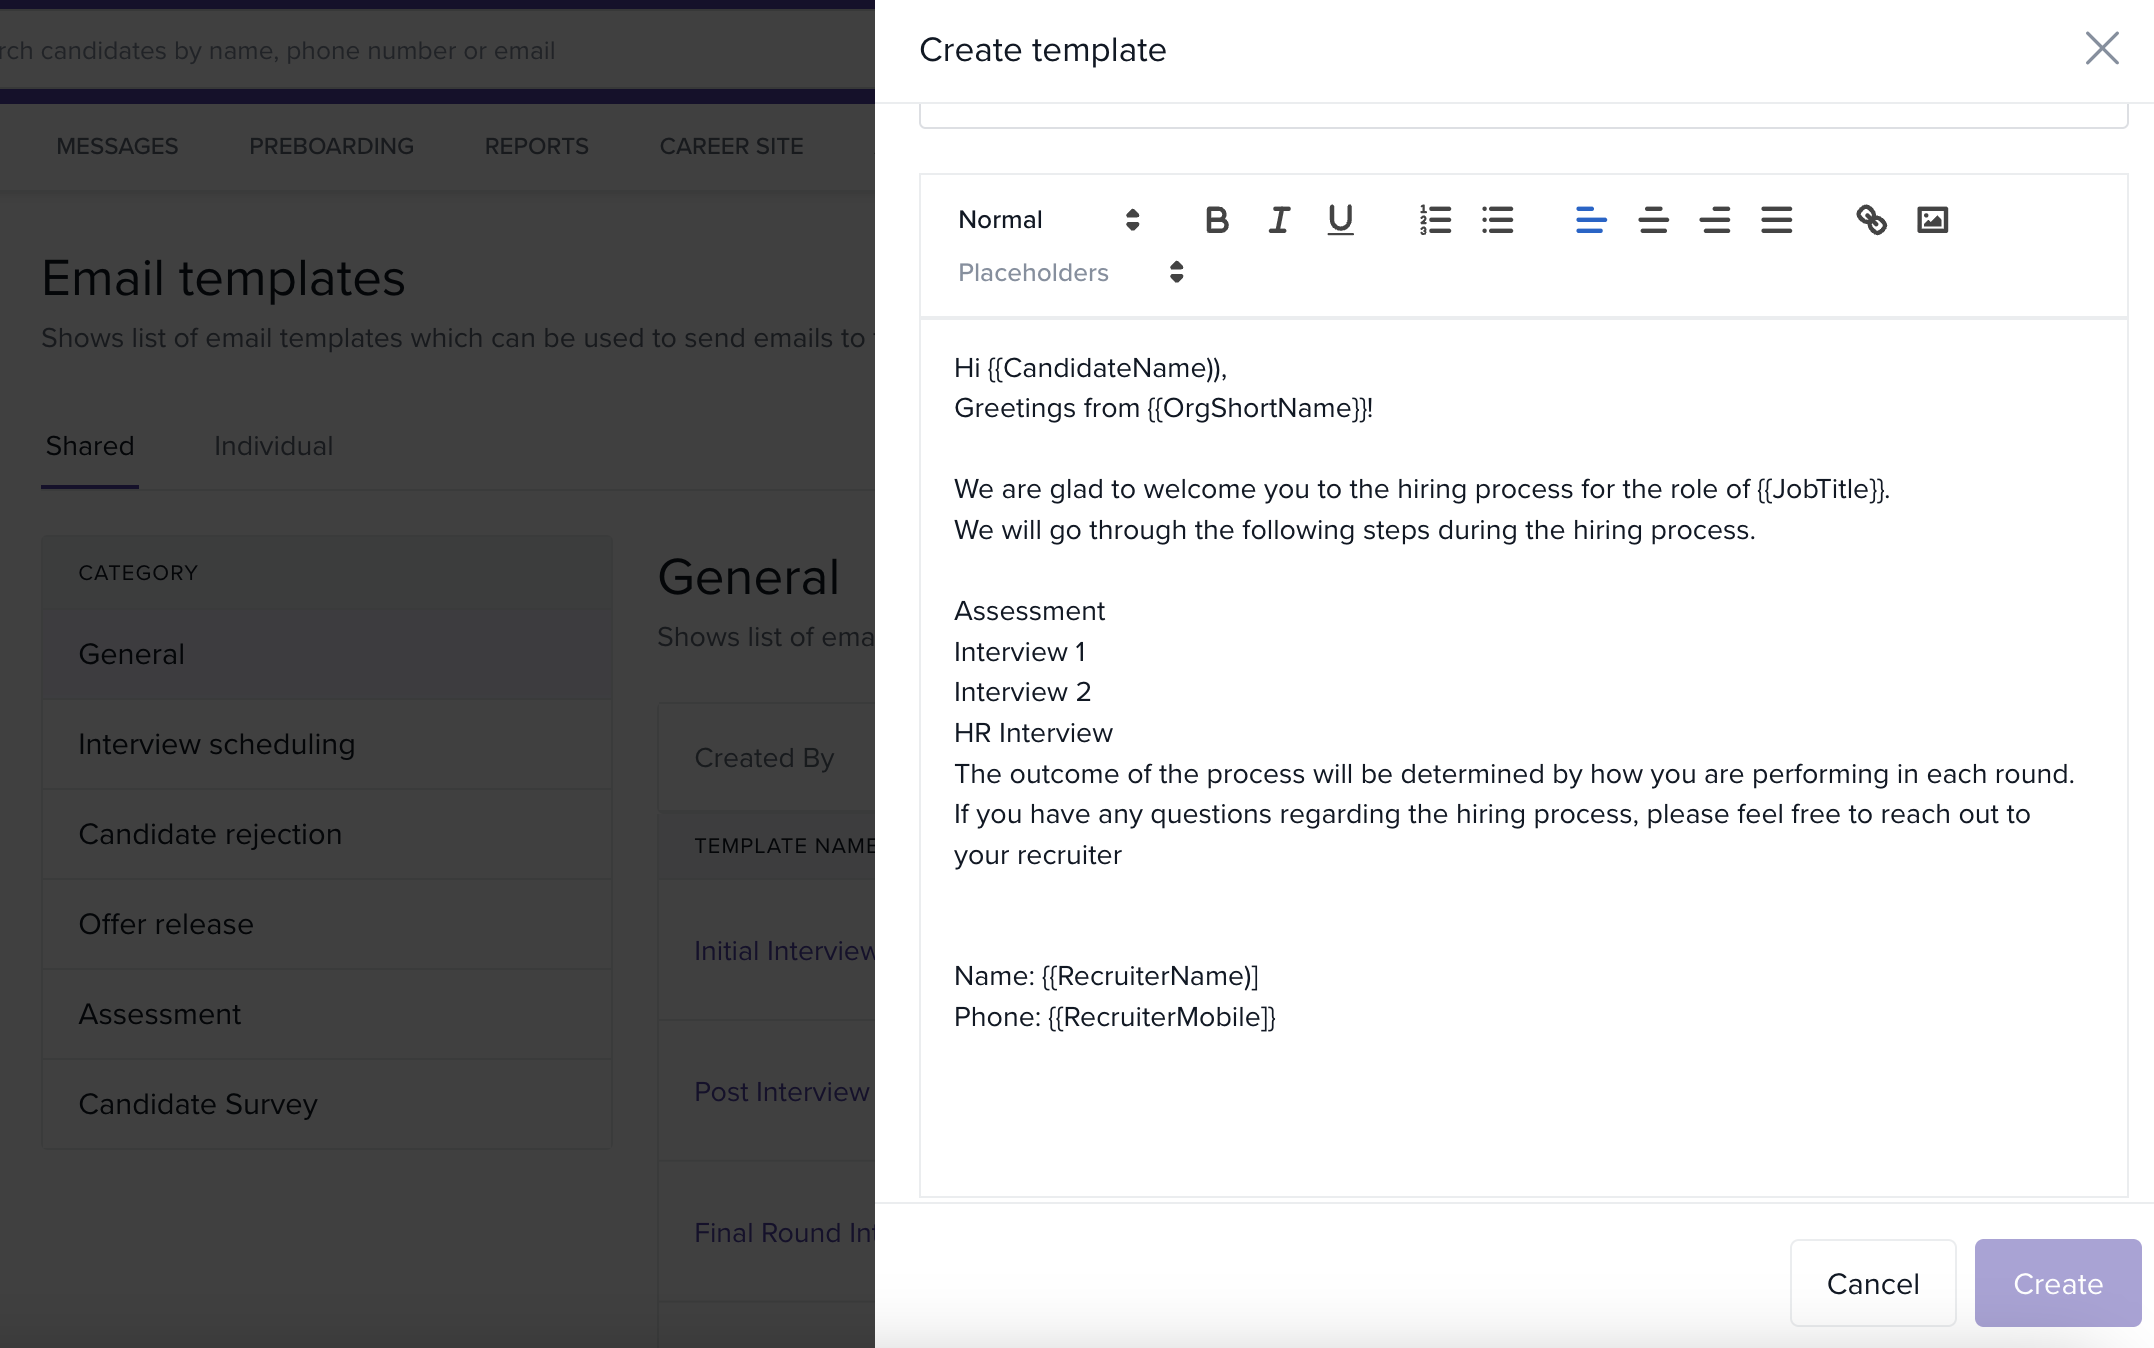
Write the Email Body (with Placeholders)
Compose your email content in the Body text area.
Use placeholders again to tailor the message to each candidate.
Click Create to save the template.
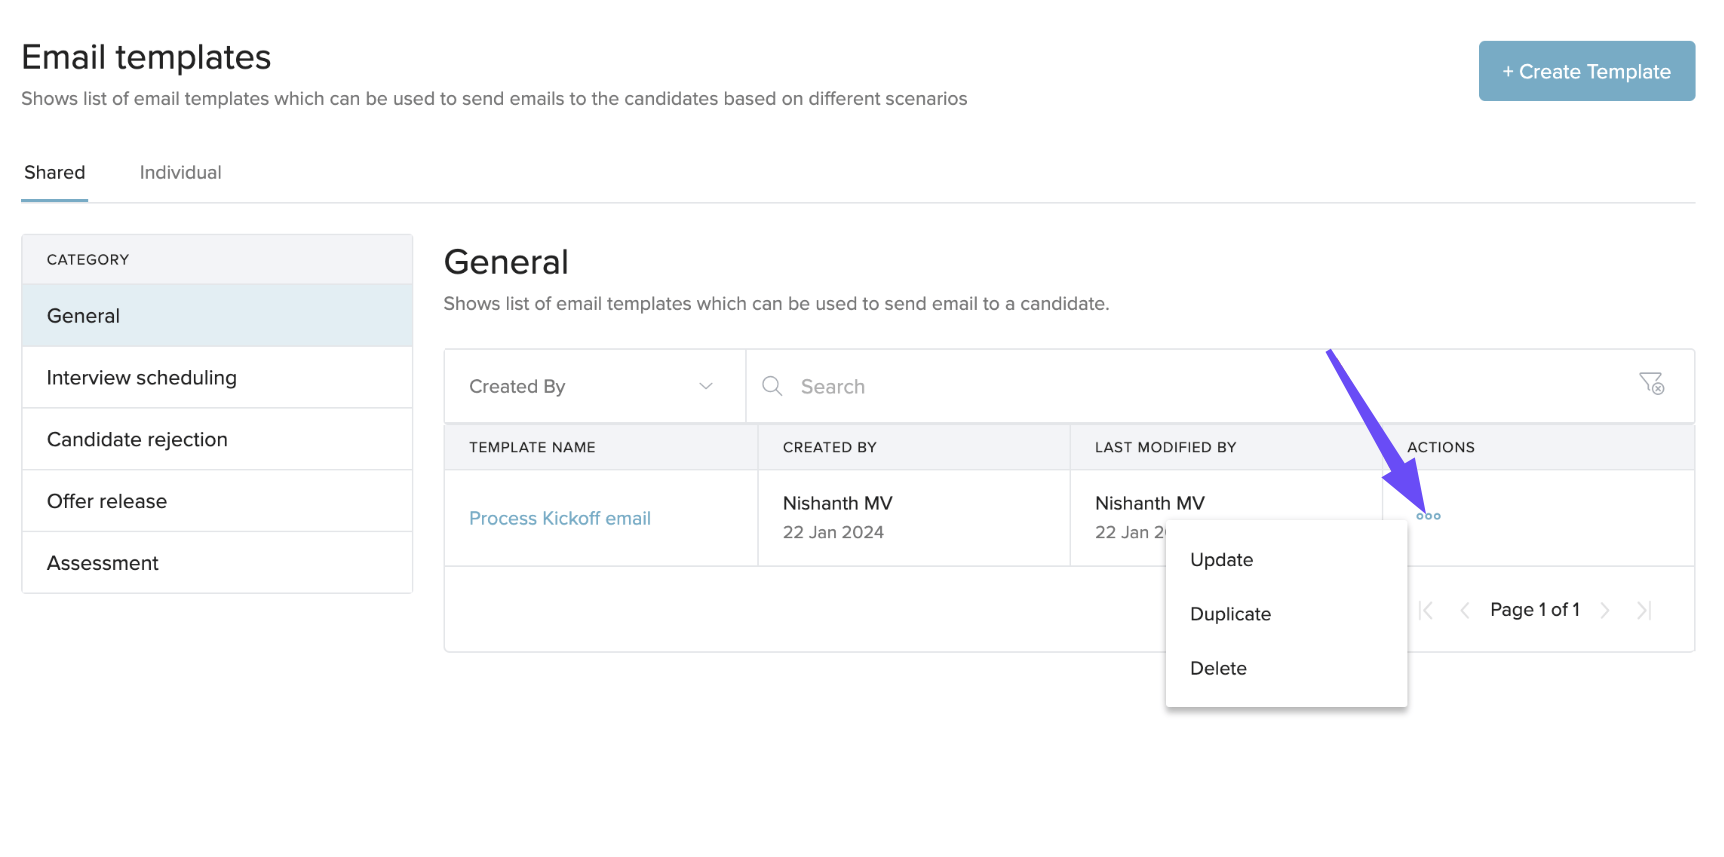
Find & Manage Your Templates
Your templates appear in their respective folders/categories on the Email Templates page.
-
To manage a template, click the three dots under Actions and choose:
Update — Edit the template’s details and content.
Duplicate — Clone a template to create a similar one.
-
Delete — Remove the template if it’s no longer needed.
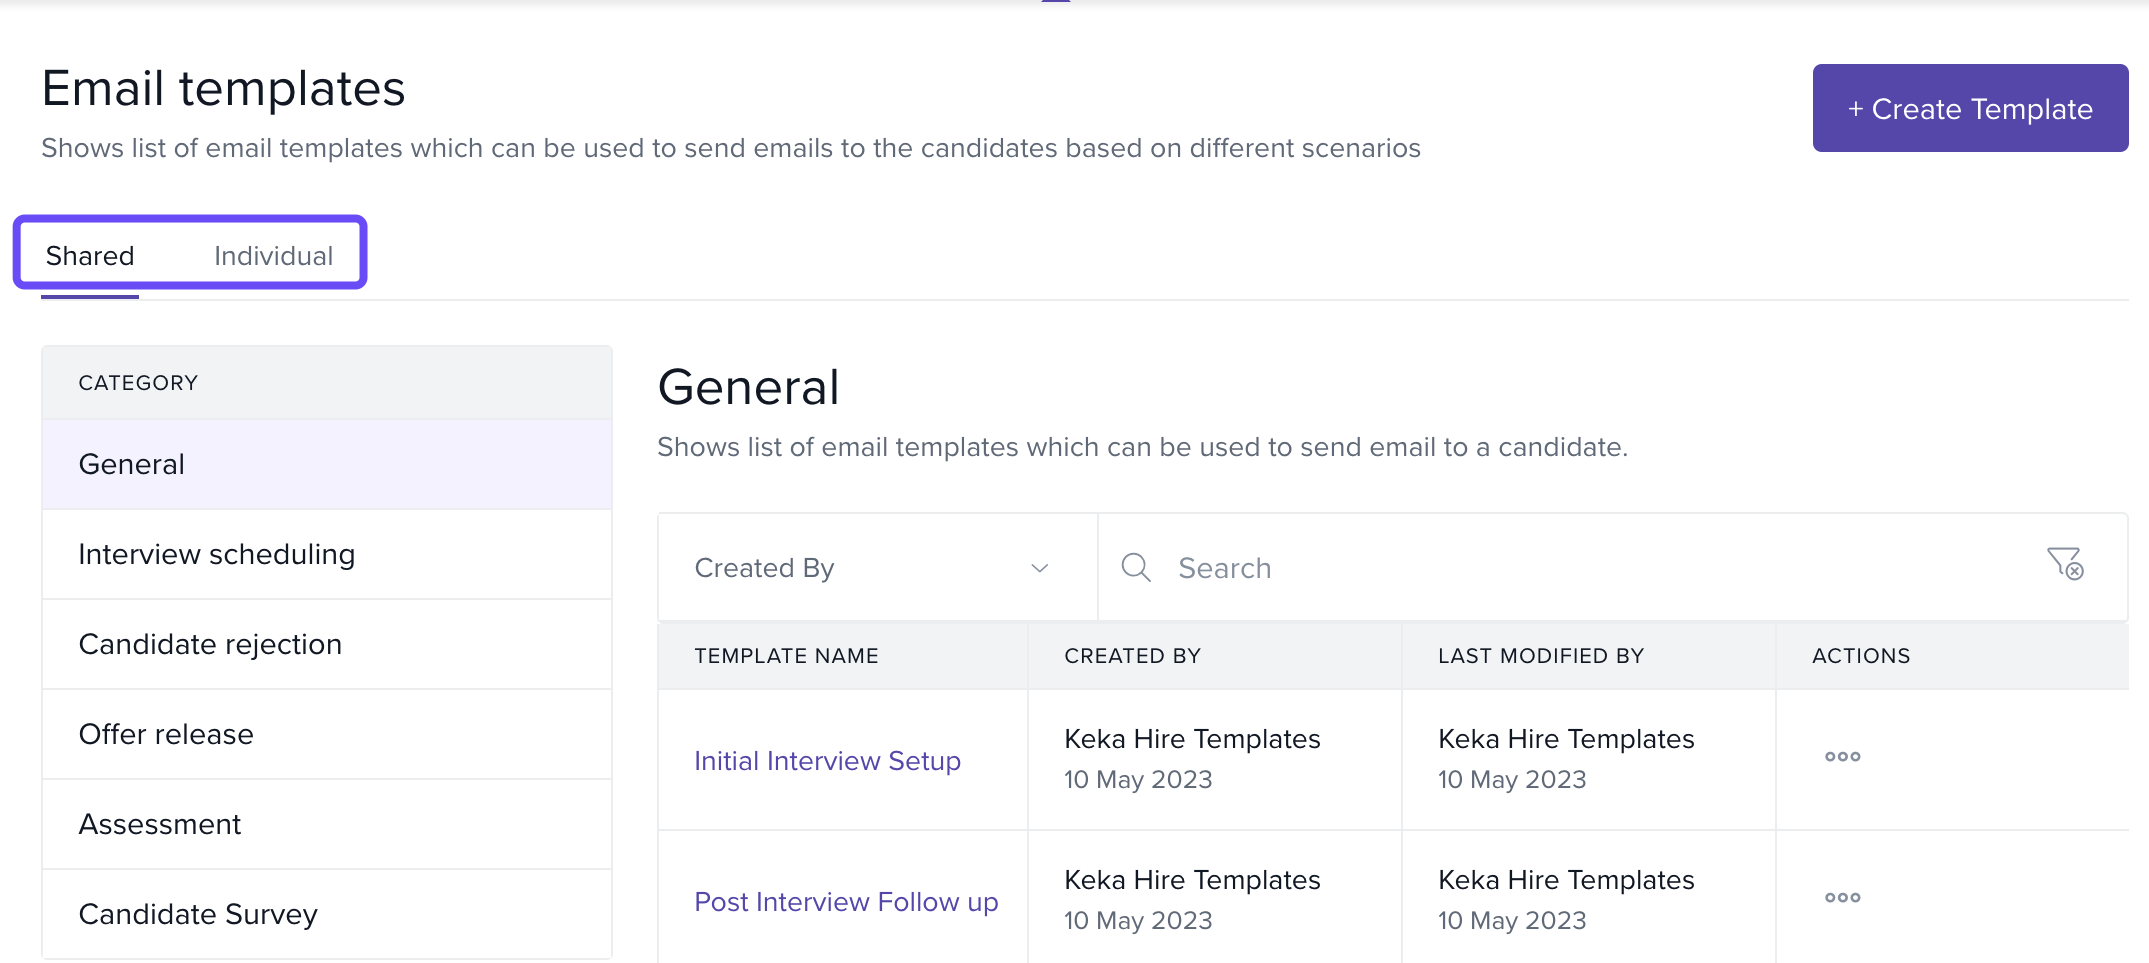
Switch Between Shared and Individual Templates
Click the Shared tab to view templates available to everyone.
-
Click the Individual tab to view your own personal templates.
Options & Variants
-
Visibility
Everyone: Team-wide access to the template.
Only Me: Private template, visible only to you.
-
Categories (Sections)
Templates are grouped by commonly used hiring stages or message types. Create and organize templates per category for faster access.
Field Reference / Parameters
| Field | What it does | Allowed values / details | Tips |
|---|---|---|---|
| Category | Assigns the template to a hiring section for organization and filtering. | Category list defined in your Keka Hire portal. | Pick the category your team expects; it improves discoverability. |
| Visibility | Controls who can use the template. | Everyone, Only Me | Choose Everyone for standard team messages, Only Me for personal drafts. |
| Template Name | Display name for the template. | Free text | Use a naming convention (e.g., “Stage – Purpose”). |
| Subject | Email subject line sent to candidates. | Free text; supports placeholders | Keep it short and specific; include role or candidate fields as needed. |
| Placeholders | Dynamic fields pulled from candidate or job data. | Select from Placeholders dropdown | Test placeholders once to confirm the expected values populate. |
| Body | Main email content. | Free text; supports placeholders | Keep paragraphs short and scannable. |
Notes, Tips, Important, Warnings
Important: Individual templates are visible only to the creator. Shared templates are available to all recruiters on your Keka Hire portal.
Tip: Use placeholders in both Subject and Body to keep messages personalized without extra typing.
Note: Templates appear in category folders. If you’re not seeing a template, check the category and the Shared/Individual tab.
This is how you configure and manage email templates on Keka. More questions? Talk to our product experts today!
Comments
0 comments
Please sign in to leave a comment.